


14
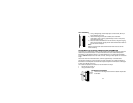
2) Place the mounting bracket over the desired location. Through the three screw holes
of the bracket, mark the mounting surface with a pencil.
3) Where marked, start the provided screws into the mounting surface.
4) Screw mounting bracket onto the mounting surface. Ensure that the screws are flush
with the bracket.
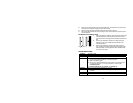
MOUNTING WITH ADHESIVE TAPE
1) With a nonabrasive solution, clean and dry the back of the
mounting bracket and the mounting surface to ensure a
secure hold. The mounting surface should be smooth and
flat.
2) Remove the protective strip from one side of the tape.
Adhere the tape to the middle of the backside of the
mounting bracket
3) Remove the protective strip from the other side of the
tape. Position the outdoor temperature transmitter in the
desired location, ensuring that the radio-controlled clock
can receive the signal.
TROUBLESHOOTING:
Problem:
The LCD is faint.
Solution:
1) Replace the batteries.
Problem:
No reception of WWVB signal
Solution:
1) It may help reception to face the front or back of the radio-controlled
clock in the general direction of Ft. Collins, Colorado.
2) Wait overnight for signal.
3) Be sure the radio-controlled clock is at least 6 feet (2 meters) from
any electrical devices, i.e. TV sets, computers, or other radio
controlled clocks.
4) Remove batteries for 15 minutes. See Setting-up.
Problem:
Hour is incorrect (minute and date are correct).
Solution:
1) Be sure the correct time zone and daylight saving time are
selected.
Problem:
"OF.L“ appears in the indoor temperature section of the LCD
Solution:
1) Move the radio-controlled clock to an area with warmer or cooler
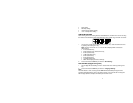
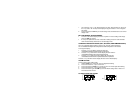
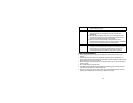
Mountin
g
Bracket