


EVOi.net
14
INSTALLATIONS/SETUP
DELAY SETTING
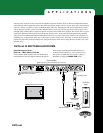
EVO Loudspeakers hooked up to AUX OUT 3A & 4B
outputs can be instructed to automatically set their correct
delay and level to perform optimally with EVO Loudspeak-
ers hooked up to MAIN OUT 1A & 2B outputs. A Haas
delay will also be added to the AUX OUT Loudspeakers to
make sure the MAIN OUT Loudspeakers are the acoustic
focus. Before starting, check that the LOCKED indicator is
off. If it is on, then use the rear panel switch (Feature 14,
page 6) to enable the DELAY SET button.
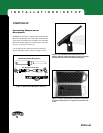
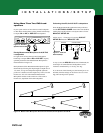
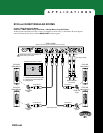
1. Position the Measurement Microphone in the optimum
position. This is located equidistant from each AUX
(delay) EVO Loudspeaker (in most cases on the central
axis of the listening area), approximately 10 feet away.
Pressing any button during the Delay Setting routine will
abort the process and settings will return to previous
values.
If an error is detected during the Delay Setting routine, this
will be shown on the SPEAKER STATUS indicators, and
an attempt will be made to restore any Delay settings to
their previous values.
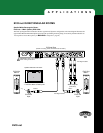
Clear Delay Setting
Press the round DELAY SET button again and the Delay
Setting routine will run again. Previous Delay Settings do
not have to be cleared first.
Press-and-hold this button and all previous Delay settings
will clear and the DELAY SET indicator will go out.
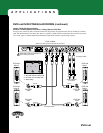
Locking the Settings
After each SETTING routine, the LOCKED indicator will
flash once to remind you that this setting can be locked.
Once the desired SETTINGS routines have been per-
formed and all are satisfactory, they can be “locked in” as
the default or NEUTRAL system settings.
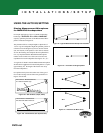
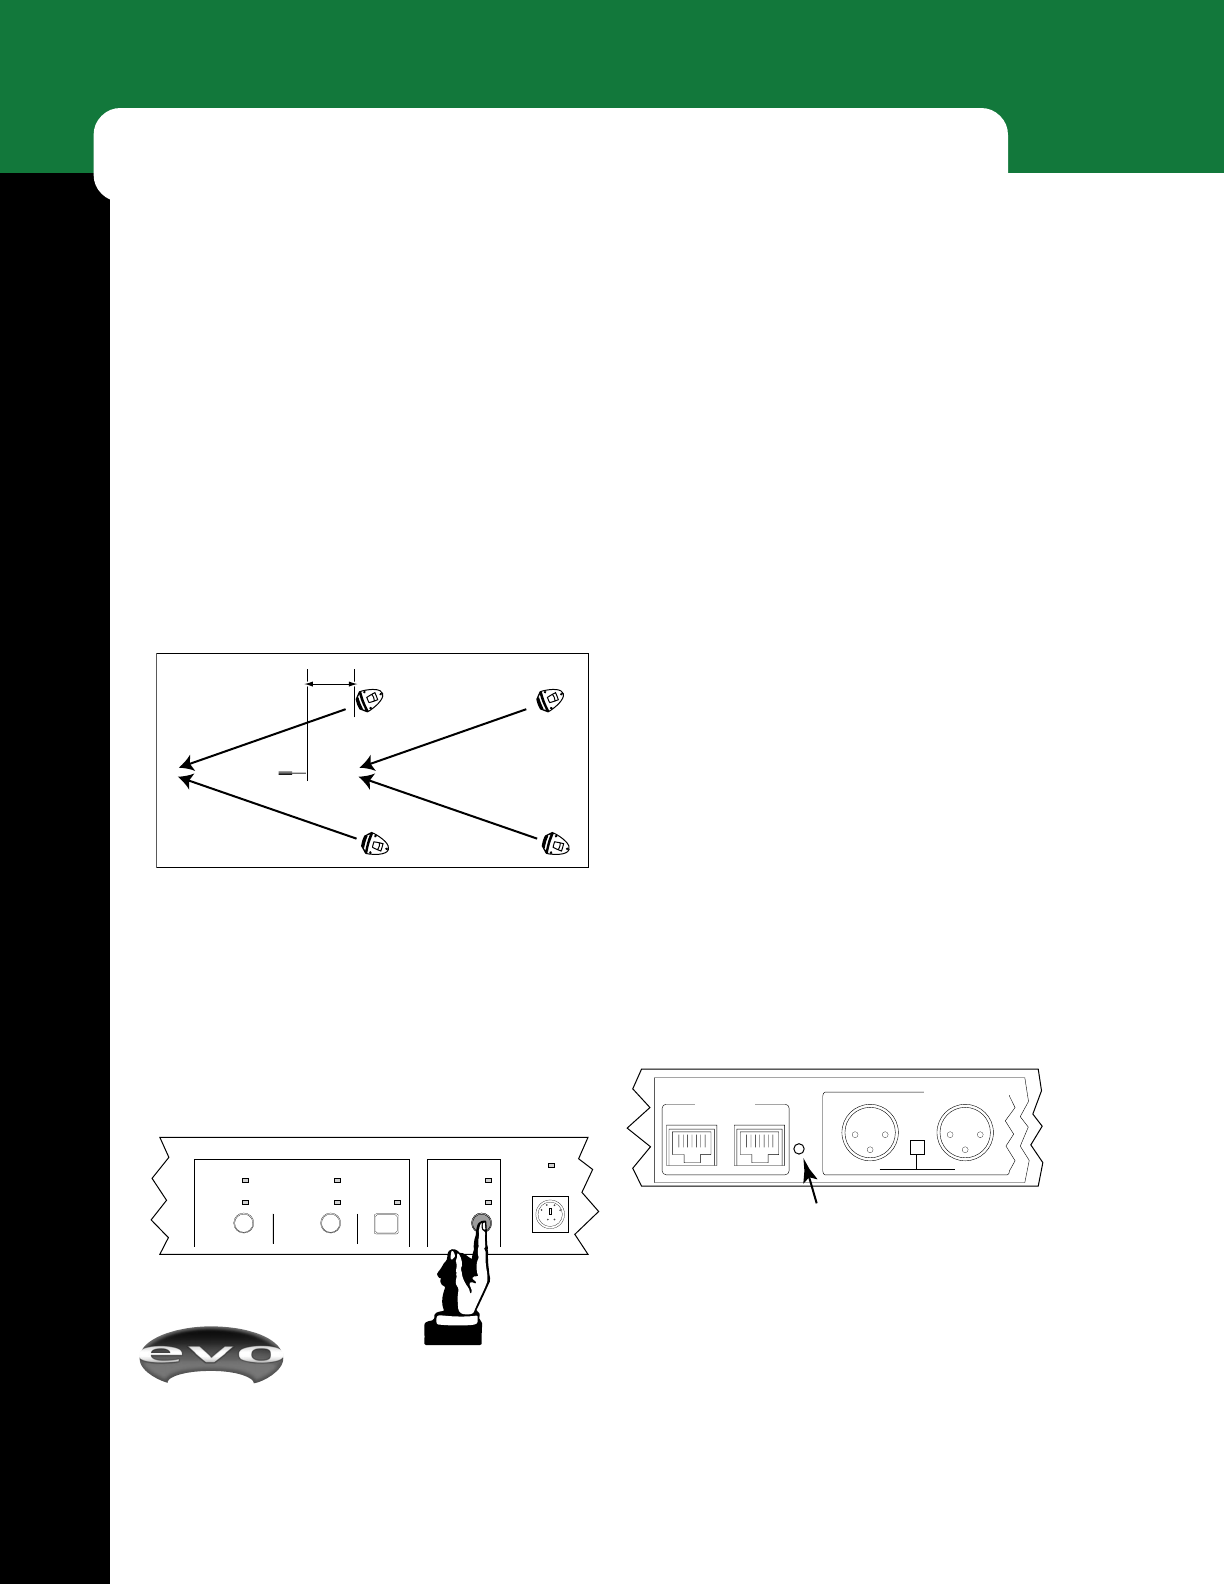
1. On the rear panel, use a pin or matchstick to engage the
LOCKOUT SWITCH (Feature 14, page 6).
2. Once engaged, the LOCKED indicator will illuminate
continuously.
3. All SETTING buttons will now be disabled until the
Lockout Switch is disengaged.
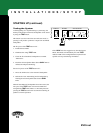
10'
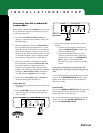
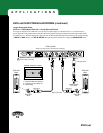
AUTO EQ SETTING DELAY SETTING POWER
EQ SET
AEQ ON
MAIN OUT
SETUP 1&2
EQ SET
AUX OUT
SETUP 3&4
HOLD TO CLEAR MAIN HOLD TO CLEAR MAIN
DELAY SET
SETUP
HOLD TO CLEAR DELAY RS-232
LINK OUT LINK IN
4 B 3 A
INTERFACE
FLOATING BALAN
MONO
SUM
2. Press the round delay SETUP button. When the button
is released the SETUP indicator flashes and the EVO
Loudspeakers hooked up to the MAIN OUT outputs
emit a test signal. Then the EVO Loudspeakers hooked
up to the AUX OUT outputs emit a test signal.
3. When the correct delay and level for the AUX EVO
Loudspeaker/s have been set the DELAY SET
indicator illuminates.
Figure 18: Measurement Mic Placement for Setting Delay
Figure 19: Delay Setup Button
Figure 20: Lockout Switch