


EVOi.net
13
LINK OUT LINK IN
4 B 3 A 2 B 1 A
INTERFACE
FLOATING BALANCED OUTPUTS
MONO
SUM
MONO
SUM
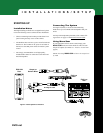
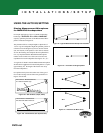
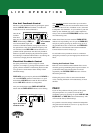
Figure 15 - AUX Out
Speakers 3A and 4B
INSTALLATIONS/SETUP
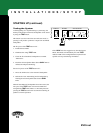
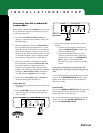
SETTINGS AUTO EQ SETTING
LOCKED EQ SET
TEST AEQ ON
MAIN OUT
SETUP 1&2
EQ SET
AUX OUT
SETUP 3&4
HOLD TO CLEAR MAIN HOLD TO CLEAR MAIN
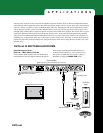
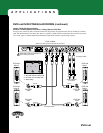
Using More Than Two EVO Loud-
speakers
If your system consists of more than two EVO loudspeak-
ers then these auxiliary/delay systems should be hooked up
to outputs 3A and 4B, the AUX OUT Loudspeakers.
Performing Auto EQ for AUX OUT Loudspeakers
Once the Measurement Microphone has been positioned
and the SETTINGS LOCKED function has been disabled,
running the Auto EQ routine is exactly the same as for the
MAIN OUT SETUP 1&2.
Follow steps 1 – 4 from page 12, pressing AUX OUT
SETUP 3&4 instead of MAIN OUT 1&2.
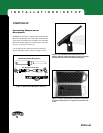
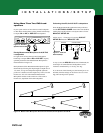
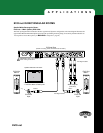
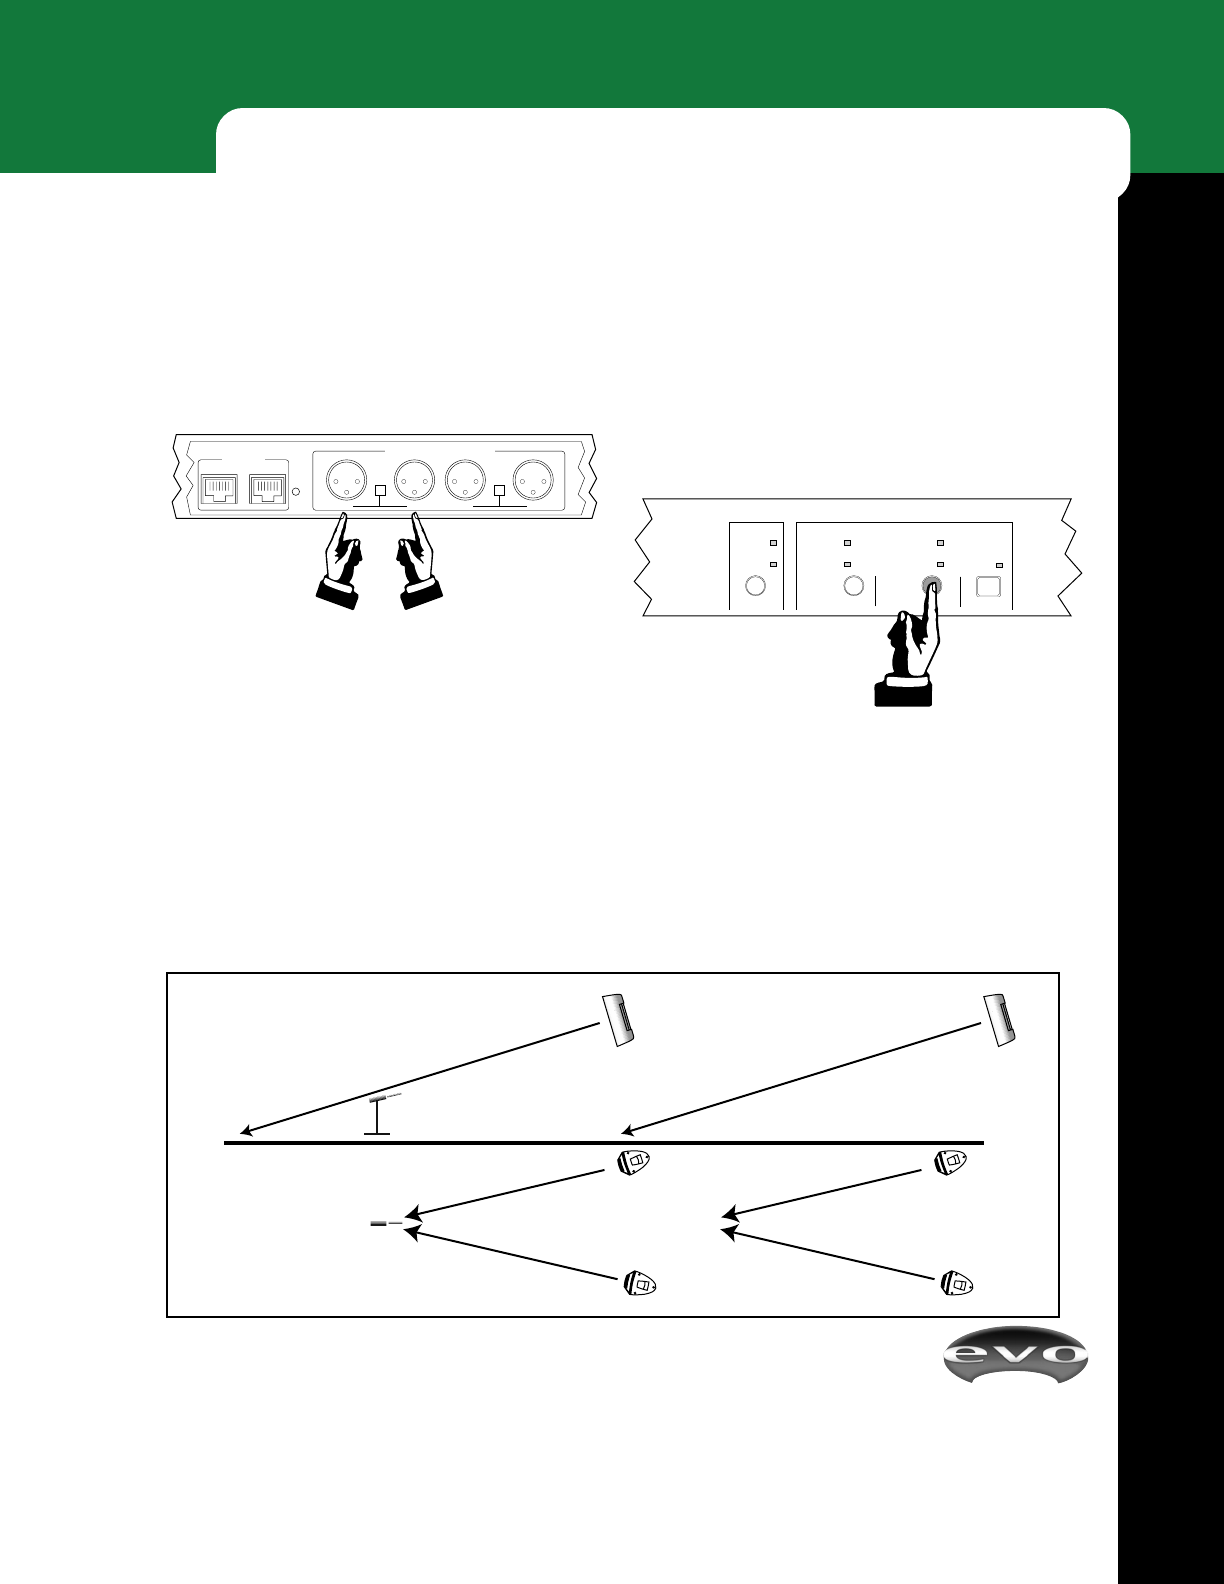
Placing Measurement Microphone for AUX EVO
Loudspeakers
For applications of more than two EVO loudspeakers
hooked up to outputs 3A and 4B(the AUX OUT outputs),
optimum placement of the Measurement Microphone is
illustrated below in Figure 16.
Ideal placement of the Measurement Microphone is again
determined by following the simple height-to-depth ratio of
1:2, where, for a given loudspeaker height the optimum
position is a distance twice the height away from it, into the
listener area. It is still crucial that the Measurement
Microphone remains on the central axis of the room or
listener area, equidistant from each loudspeaker.
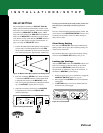
At step 4, once the AEQ ON indicator has illuminated, the
Auto EQ for all connected EVO Loudspeakers can be
listened to simultaneously. See Testing Auto EQ.
If, as the result of this listening test, the Auto EQ set is not
desirable, then the settings can be cleared. See Clear Auto
EQ, and Auto EQ can be repeated.
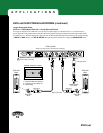
Figure 17 - AUX Out
Auto EQ Setup
Figure 16 - Measurement Microphone Placement for Auto EQ of Aux Speakers 3A and 4B