18 Accessing Photos
Configuring PhotoStarter
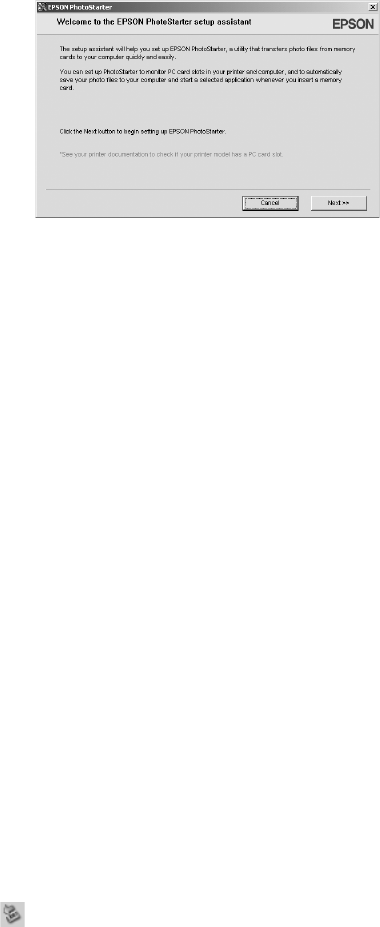
1. When you see the message on page 17, click
Next. You see the PhotoStarter setup assistant:
2. Click
Next again. The setup assistant asks you
a series of questions about how you want
PhotoStarter to work.
The default settings do the following
whenever you insert a memory card:
■ PhotoStarter copies your pictures to the
Photos folder on your desktop.
■ The pictures are stored in folders by date.
■ Film Factory opens automatically.
Note: Film Factory lets you view, modify, and print photos from your computer
quickly and easily. For more information, see the Film Factory Getting Started Guide.
3. Change any of the settings you want, then click Next. When you see the Confirmation
window, click
End.
You can go back and change settings at any time by opening PhotoStarter:
■ In Windows, click Start > Programs (or All Programs) > Film Factory > EPSON
PhotoStarter
. Open the Settings menu and choose Change Settings.
■ On a Macintosh, open the EPSON PhotoStarter (or EPSON PhotoStarter for X)
folder, open
EPSON PhotoStarter, and choose Change Settings from the Tools menu.
Removing a Memory Card
Once you’re finished copying photos from your memory card, follow the steps below to
remove it. Be sure to remove any cards before unplugging the USB cable from your printer.
Caution: Do not eject a card while the card light is flashing or without performing
the steps described below, or you may lose data on the card. Be sure all cards
have been removed before unplugging the USB cable.
1. Depending on your operating system, you may need to do one of the following:
■ In Windows Me, 2000, or XP, click the Unplug or Eject Hardware icon on the
taskbar. In Windows XP, click
Safely Remove USB Mass Storage Device. In
Windows Me and 2000, click
Stop USB Mass Storage Device.
■ On a Macintosh, drag the memory card icon from your desktop to the trash.
2. To remove a card, pull it straight out of the slot.


