57
Connecting to a Computer
To convert images
If you cannot view images copied
from a computer in the unit, you may
view images by converting them into
data which is compatible with the unit.
1 Select [Settings] in the Home
menu using the M/m buttons,
then press .
The setting menu appears.
2 Select [Import Image(s)]
using the M/m buttons, then
press .
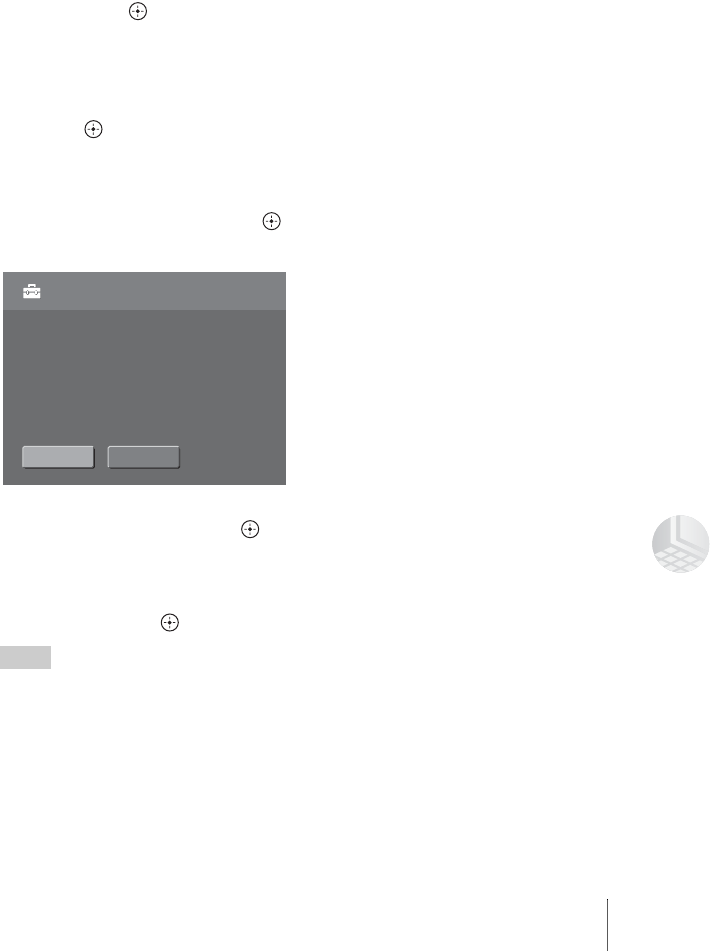
The file conversion screen
appears.
3 Select [NEXT], then press .
The confirmation screen appears.
4 Select [OK], then press .
Conversion starts.
After converting is completed, a
message will be displayed. Select
[OK], then press .
Hints
• Only JPEG or RAW* images based on
DCF (Design rule for Camera File system)
can be recognized by the unit.
* For RAW image that can be displayed
with the unit, see “Supported file formats”
(page63) of “Specifications”.
• The images to convert must be stored in the
“IMPORT” folder.
All images in "IMPORT" folder
will be imported in Sony HDPS format.
Import Image(s)
OKBACK
