This is the method used for recording digital signals from CDs or
MDs
exactly as they
are stored on the original. Compared to recordings made from analog inputs, digital
recordings have extremely high-quality sound.
1
Connect the external equipment.
(See page 8.)
Synchro recording: Page 10
perform the following steps on the
equipment connected to this unit.
(1) First, put it in the playback mode.
(2) Next, put it in the pause mode.
(3) Finally, position it at the beginning
(1) Insert a recordable MiniDisc, and
then press the REC button.
(2) Press the ENTER/SYNC button.
(3) Start the playback on the equipment
connected to this unit.
Manual recording: Page 11
(1) Insert a recordable MiniDisc, and
then press the REC button.
(2) Press the
)[I
button.
0
When recording from digital inputs,it
is not necessary to adjust the record-
ing level.
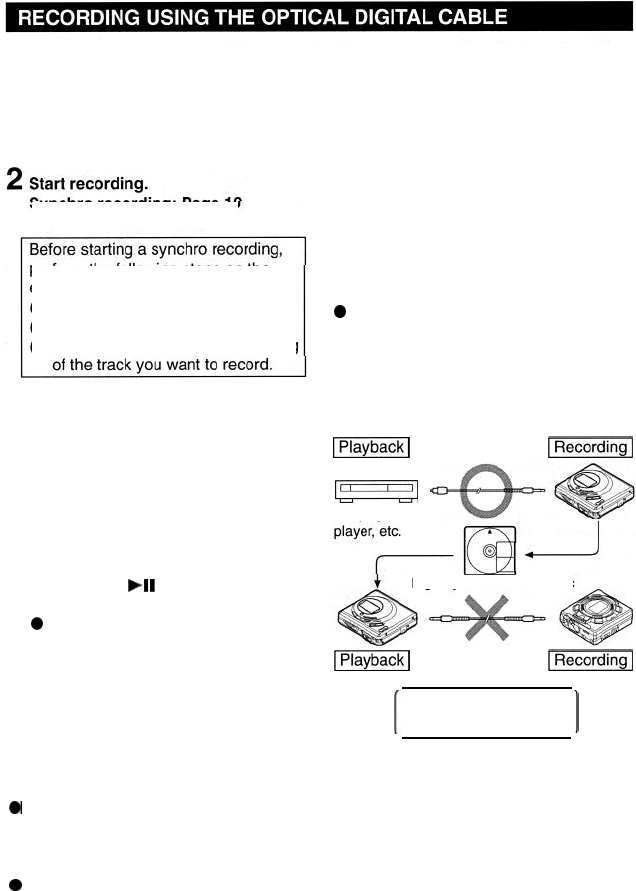
There are cases where digital
recording may be impossible.
In the following cases digital recording is
impossible, even if you are using digital
cables.
When you attempt to make a new digital
recording from a track that was digitally re-
corded on a
MiniDisc.
0
MiniDiscs
are designed so that only first
generation digital copies can be made.
Further digital copies are prevented by
the SCMS (Serial Copy Management
System).
fFGj%aq
Digital cable
-1
E=5
CD player, MD
Digitally recorded
MiniDisc
lPlaybackl
Digital cable
m
Analog recording is
possible.
1
Notes:
0
0
This unit incorporates a sampling rate converter.
When this unit is connected to digital equipment such as a DSS tuner or DAT tape
recorder that use a different sampling frequency (32 kHz or 48
kHz),
recordings can
still be made. (The sampling frequency of this unit is 44.1
kHz.)
When making a digital recording from a portable CD player (if the player has a sound
skip prevention function and this function is turned on) the optical output will drop out
and digital recording will not be possible. Be sure to turn the sound skip prevention
function off.
12


