35
HH
HH
H Listening to sound from an external unit
To listen to sound from an external unit connected to the digital
input terminal:
1 Press the AUX button.
AUX → AUX1 DIGITAL → AUX2 DIGITAL → PHONO
I To select "AUX1 DIGITAL" or "AUX2 DIGITAL".
2 Start playback on the external unit.
3 Adjust the sound level using the VOLUME buttons of this unit.
To listen to sound from an external unit connected to the analog
input terminals:
1 Press the AUX button.
AUX → AUX1 DIGITAL → AUX2 DIGITAL → PHONO
I To select "AUX" or "PHONO".
2 Start playback on the external unit, and adjust the input sound level
using the INPUT LEVEL control.
I When the INPUT LEVEL control is set to Min, no sound is obtained.
I The maximum level should not exceed "0 dB".
3 Adjust the volume using the VOLUME buttons on this unit.
HH
HH
H Recording sound from an external unit
To start recording the moment the external unit starts playback
(synchro recording):
MD recording will start automatically, as soon as playback starts on the
external unit. This applies to both digital inputs and analog inputs.
I The space-cut function will work automatically during synchro record-
ing.
1 Load a recordable MiniDisc.
2 Press the AUX button.
I Select the input that corresponds to the terminals where the external
unit you will record from is connected.
3 Play the recording on the external unit, and adjust the recording level
using the INPUT LEVEL control. (This is only necessary when recording
from analog inputs.)
I In the case of digital inputs, it is not necessary to adjust the recording
level.
I The maximum level should not exceed "0 dB".
I Adjust the recording level, and then stop the external unit.
4 Press the S. SYNC button.
5 Start playing the music you want to record on the external unit.
I Recording will start automatically.
6 When playback has finished on the external unit, this unit will automati-
cally enter the recording stand-by mode.
I Cancel the mode by pressing the MD ■ button.
When the MD ■ button is pressed, the TOC will be recorded.
If you want to perform other operations at this point, wait until this display
disappears.
To stop recording:
Press the MD ■ button.
Note:
I On some CD players, the track numbers cannot be recorded automati-
cally.
→
→
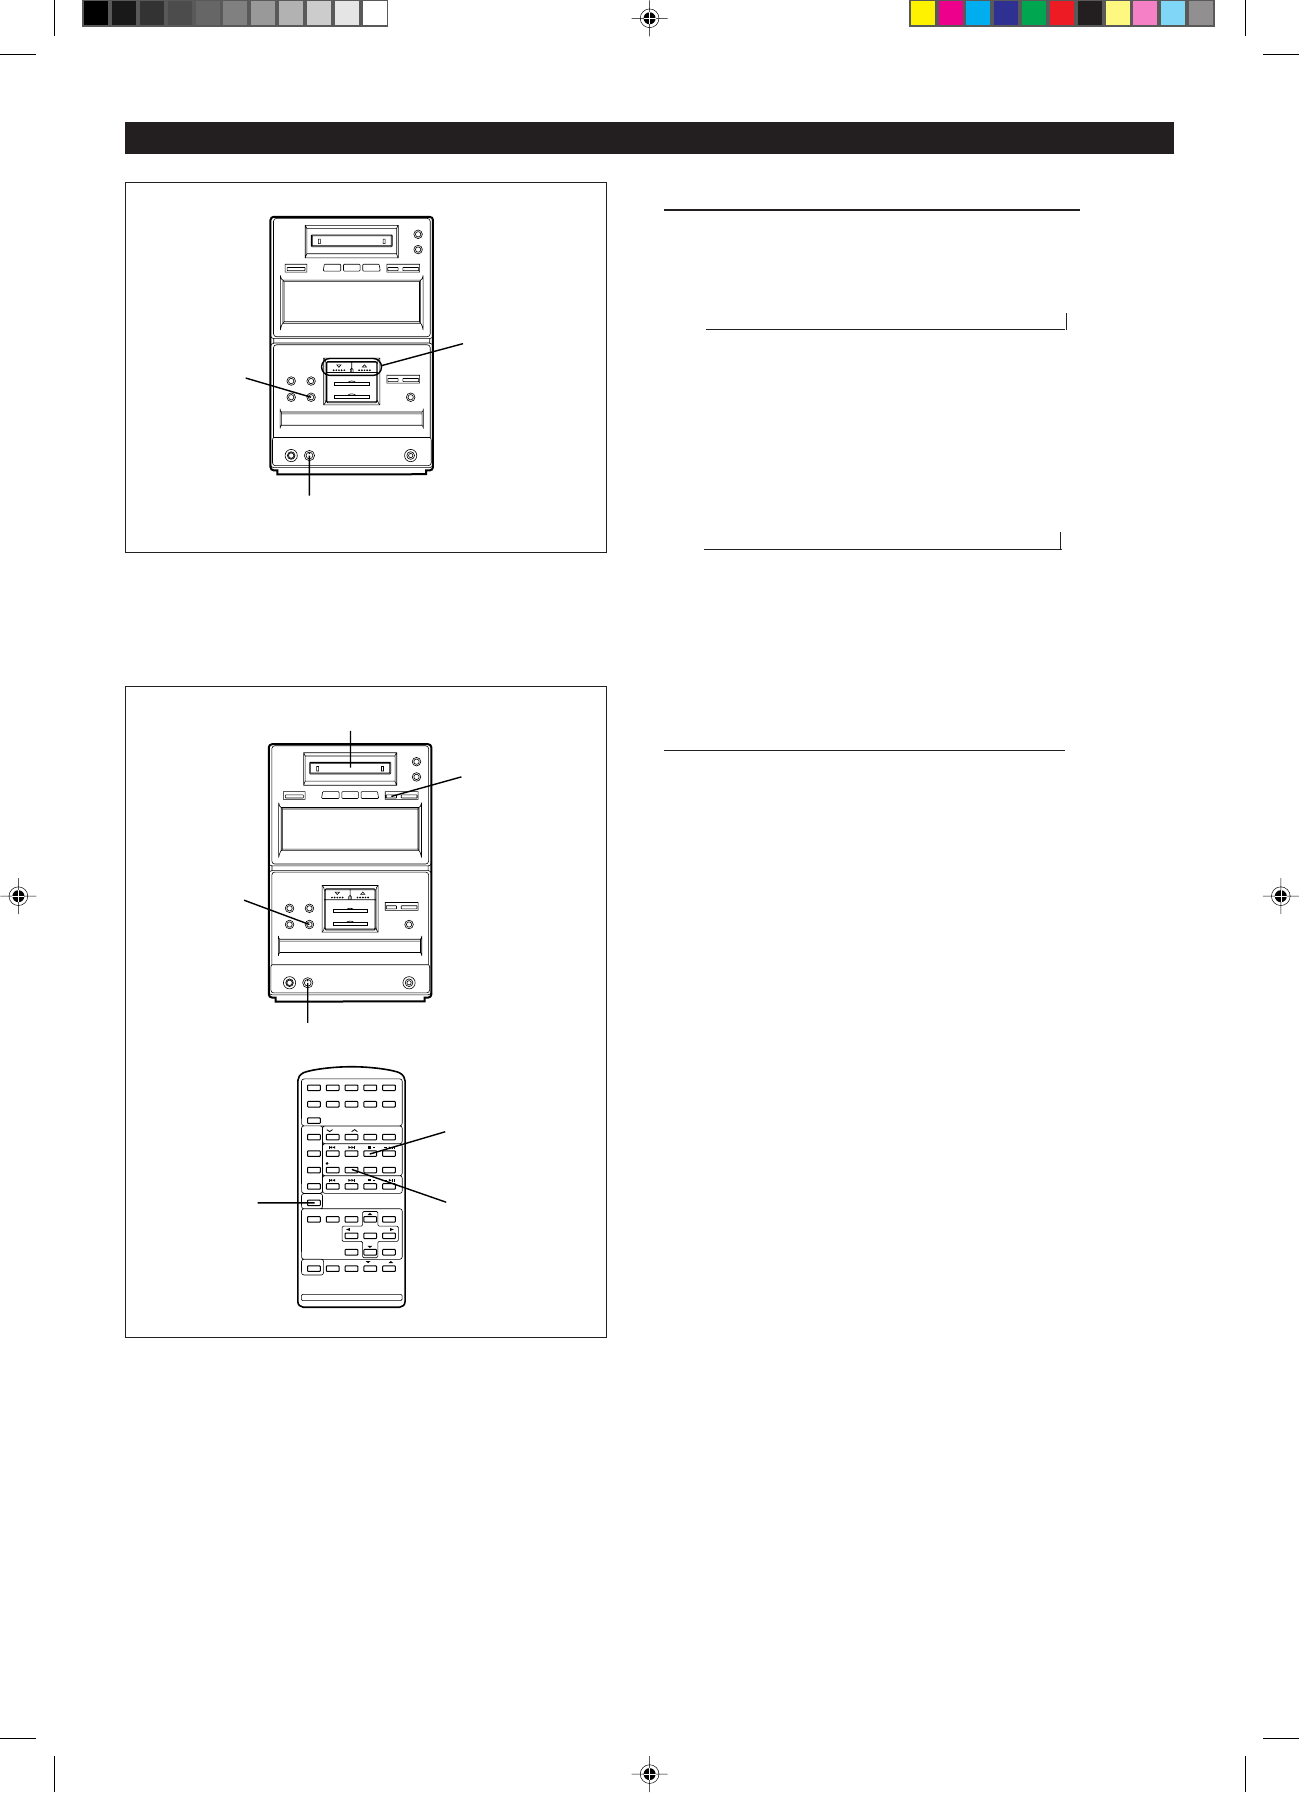
VOLUME
INPUT LEVEL
AUX
1
2
3
4
H
2
H
(Continued)
What is the space-cut function?
If there is silence in the playback signal that lasts 4 seconds during a
synchro recording, the recording will stop automatically and the unit will
enter the recording stand-by mode. Then, when sound from the
playback unit resumes, recording will automatically restart.
(A space of 4 seconds is placed between tracks.)
I If there is noise between tracks of the sound source, the synchro
recording or the space-cut function may not work properly.
If this happens, make the recording manually.
I When you need to record tracks or audio that include very quiet
passages lasting 4 seconds or more, manual recording is recom-
mended.
*22-34 98.6.23, 10:11 AM35


