


27
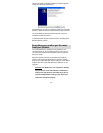
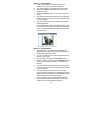
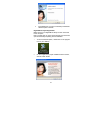
Method 1 – Capture Mode:
1. Position the Webcam so that it is pointing in the
direction of the object you wish to photograph.
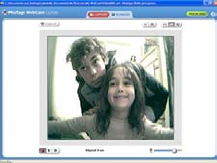
2. The “image” appears in the application’s view screen.
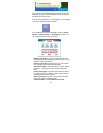
3. Select the “Capture” mode button at the top of the
application screen
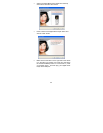
4. Click the “Snapshot” button on the top left of the view
screen.
5. The photo will be saved automatically as a jpeg picture
in the My Documents/ My Pictures/ My WebCam folder
on your computer.
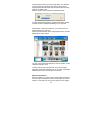
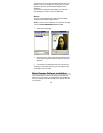
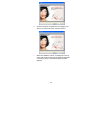
6. You may now edit this photo by opening the Photags
Express application.
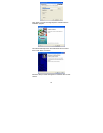
From the Main Menu, select the “Select Photos” mode,
and from the directory tree on the left of the thumbnails
screen, select the My WebCam folder where the photo
has been saved.
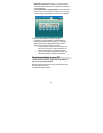
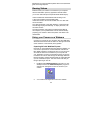
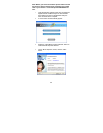
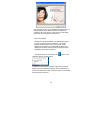
Method 2 – Playback Mode:
1. After capturing an AVI video with your Webcam as
explained above, select the “Playback” mode button at
the top of the application screen.
2. You can now select the AVI video that appears on the
left of the view screen.
3. Run the video by pressing the “Play Video” button.
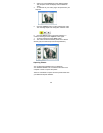
4. While the video is running select the “Snapshot” button
to take photo snapshots that are now saved as jpeg
pictures.
5. The photo will be saved automatically as a jpeg picture
in the My Documents/ My Pictures/ My WebCam folder
on your computer.
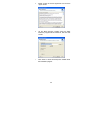
6. You may now edit your photos with the “Photags
Express” software application by selecting the Photags
Express icon on the desktop, and from Main Menu that
appears select the “Select Photos” mode.
7. From the directory tree on the left of the thumbnails
screen open the “My WebCam” folder and select the
photos you wish to edit using the software.