


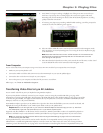


Chapter 3: Playing Files
19
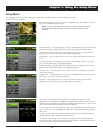
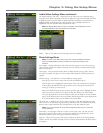
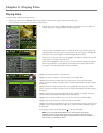
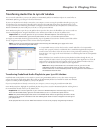
8. Press SELECT to begin recording, or highlight one of the pre-set times to record so you
don’t have to press Stop. Once recording begins, the record screen appears with status,
Recording time (if Start Recording was selected, this will be blank) elapsed time, recording
quality and the file name shown.
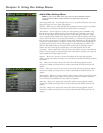
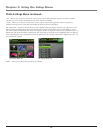
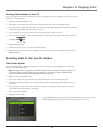
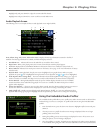
9. If necessary, press Stop to stop recording. When finished recording, you will be prompted to
rename the new file. The following screen appears:
10. Select No and the default file name is used and you’re returned to Video Navigation mode.
Select Yes and the on-screen keyboard appears. Go to Using the On-Screen Keyboard on page
31 for information.
Note: Recorded video files must use the .asf file extension. If a file extension isn’t
specified, then the system automatically adds the .asf file extension to the file
name during the save process.
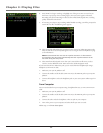
11. Select Done from the keyboard screen when you’ve entered the new file name, or select Cancel
to use the default file name. You’re returned to Video Navigation mode.
From Computer
You can record video from your computer using a Line Out to mini-Line In cable if your computer has a Line Out jack.
1. Make sure your Lyra AV Jukebox is off.
2. Connect the smaller end of the cable (mini-Line In) to the LINE IN jack on your Lyra AV Jukebox player.
3. Connect the other end to the Line Out jack on your computer.
4. Turn on the power to your computer, and select the file you want to record from.
Follow steps 5-11 of From an Audio/Video Component.
Transferring Video Files to Lyra AV Jukebox
You can transfer video files to your Lyra AV Jukebox using Windows Explorer.
If your Lyra AV Jukebox isn’t already connected to your computer, connect it using the provided USB cable (go to page 10 for
information on connecting the USB cable). Don’t disconnect the USB cable during video download. Doing so may corrupt system files
or the files being downloaded. It is highly recommended that the Lyra AV Jukebox be connected to the ROOT USB PORT (the main
USB port) on the PC or a self powered USB hub.
From Windows Explorer, open the Lyra AV Jukebox drive. Open the drive where the files/folders you want to transfer are located, and
highlight them. Drag the files/folders to the VIDEO system folder on the Lyra AV Jukebox drive.
Helpful hint: You can also right click on your content in Windows Explorer and select Copy (or Ctrl + C). Then from
the VIDEO folder, right click and select Paste (or Ctrl + Y) to add the copied content.
Supported video files (MPEG4 in avi file format) must be stored in the VIDEO system folder in order to be available for playback on
the device. Sub-folders may be created under the VIDEO system folder for easy navigation and organization of your video content.
Note: You must stop the USB connection before disconnecting the USB cable (go to page 12 for more information
on disconnecting the USB cable).
A CompactFlash memory card can also be used to transfer video files. If a CompactFlash memory card is properly inserted, an
additional drive is available through Windows Explorer to transfer content onto. Please ensure the correct drive is being used when
transferring content from the device. Go to page 32 for more information on transferring files from the CompactFlash memory card.