


52
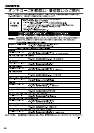
Transferring MP3 files to the MB-S1
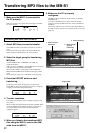
Connecting the MB-S1 to PC
1. Make sure the MB-S1 is connected to
the PC properly.
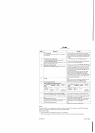
When the connection is properly made, the display in the MB-
S1 shows as below.
Transferring MP3 music files to the MB-S1
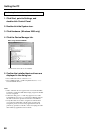
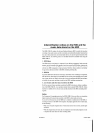
1. Select MP3 files you want to transfer.
Click CHECK column on the track list to select or de-select a
track.
To select all tracks on the track list, click the CHECK ALL
button. Click the CLEAR button to de-select all tracks.
2. Select the target group for transferring
MP3 files.
Click the EXPORT TO. “CURRENT” and “NEW” are
displayed alternately.
When you select “CURRENT”, selected MP3 files are transferred
to the group currently selected on the MB-S1.
When you select “NEW,” a target group is newly created on the
MB-S1 and selected MP3 files are transferred to the newly created
group.
Also confirm the display area on the MB-S1 for target group.
3. Press the EXPORT button to start
transferring.
The progress bar indicates the progression of file transfer.
On the MB-S1, the target group and track position in the group
to which a current file is being transferred to.
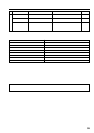
1. Mark a file to be
transferred
2. Select a target
group for
transferring
3. Start transferring
Progress Bar
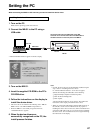
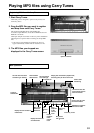
2. Make sure the PC is properly
configured.
The MB-S1 can be connected to the PC running on Windows
98SE/Me/2000.
You can use the dedicated Carry Tunes music file transfer
software to transfer the MP3 music files on PC to the HDD on
the MB-S1.
Connect the USB connector on the front panel of the MB-S1 to
the USB connector on the PC and configure the PC as necessary
(page 50).
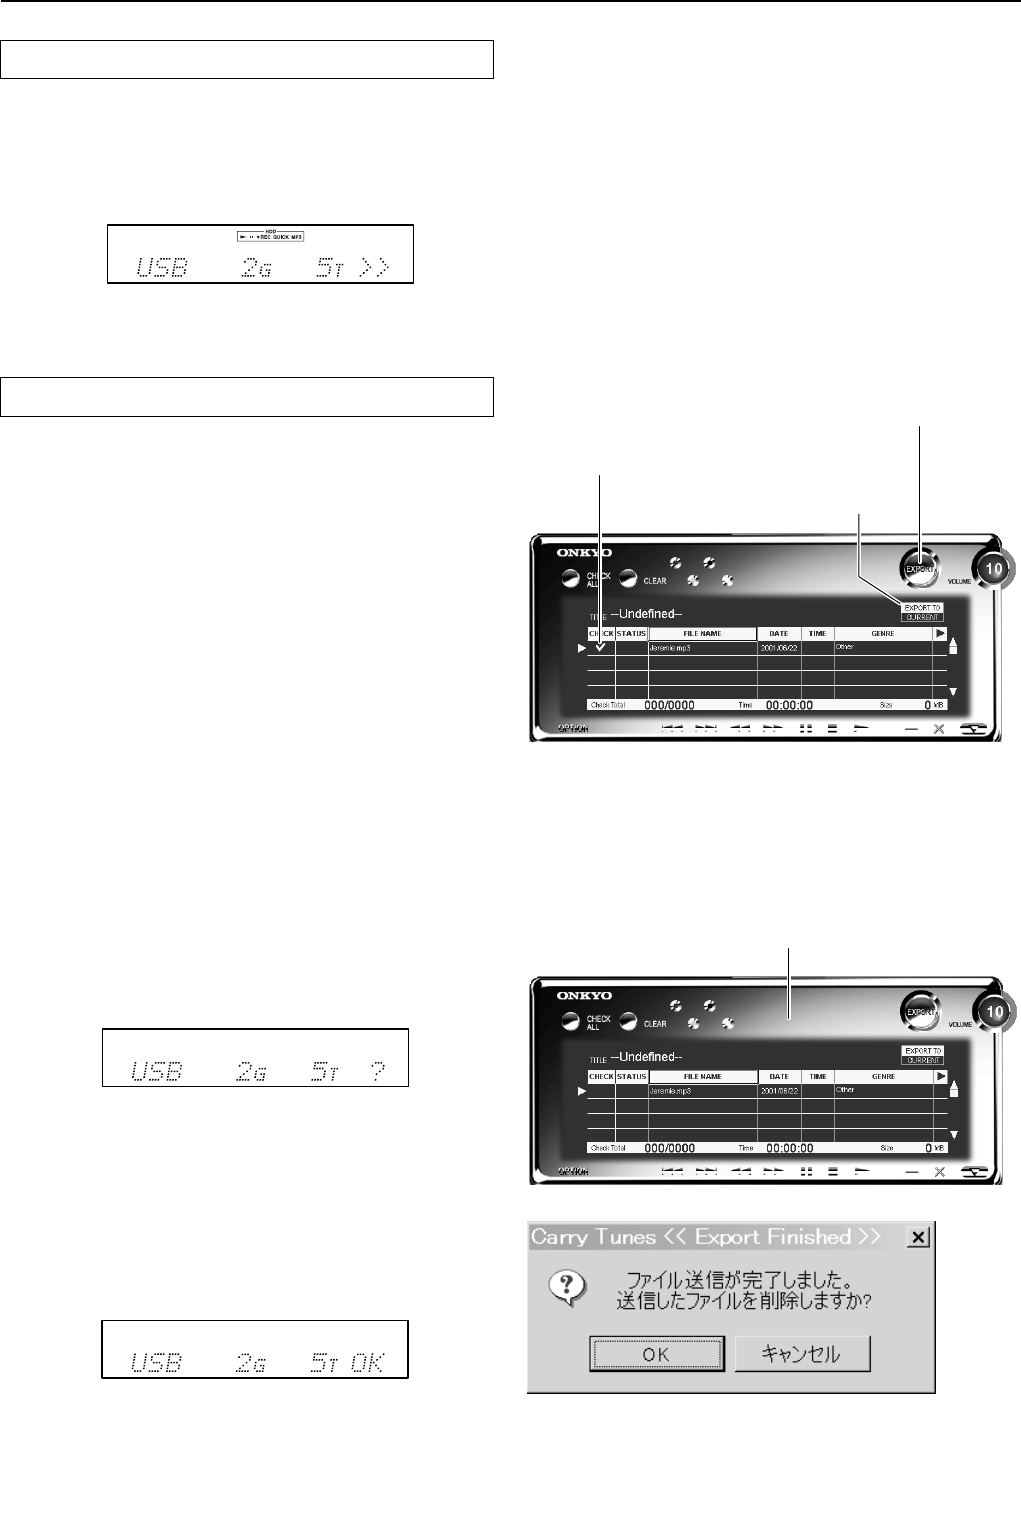
4. Transfer completes.
The indication showing file transfer completion appears on the
Carry Tunes.
When you delete the transferred files from the PC, click OK. When
you do not delete the transferred files on the PC, click “Cancel”.
Also on the MB-S1, the indication showing file transfer
completion appears.
5. When you listen to the transferred MP3
files using the MB-S1, remove the USB
cable from the MB-S1.