71
4
EN
Menu setting method
Menu setting method
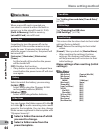
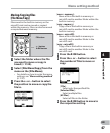
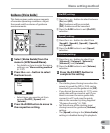
[Time] setting:
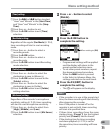
1 Press the 9 or 0 button to select
"Hour" and "Minute" in the [Start Time]
and "Hour" and "Minute" in the [Stop
Time].
2 Press the + or – button to set.
3 Press the `OK button to exit [Time]
selection.
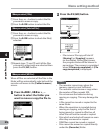
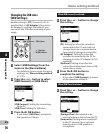
[Rec Mode] setting:
Regardless of the regular [Rec Mode] (☞ P.54),
timer recording will start in a set recording
mode.
1 Press the + or – button to select a
recording mode.
2 Press the `OK button.
3 Press the + or – button to select a
recording rate.
4 Press the `OK button to exit Recording
mode selection.
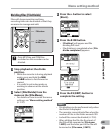
[Folder] setting:
1 Press the + or – button to select the
destination to save to (Memory).
2 Press the `OK button to move to the
[Folder] setting.
3 Press the + or – button to select the
destination to save to (Folder).
4 Press the `OK button to exit [Folder]
setting selection.
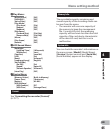
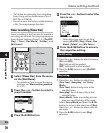
[Mic Sense] setting:
Regardless of the recorder’s microphone
sensitivity setting (☞ P.53), timer recording
will start at a set microphone sensitivity.
1 Press the + or – button to select from
[High], [Middle], and [Low].
2 Press the `OK button to exit [Mic Sense]
selection.
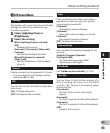
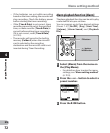
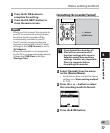
6 Press + or − button to select
[Finish].
• Programmed settings will be applied
and the display will return to the
preset number selection menu.
• To set other preset numbers, repeat
the abovementioned procedure.
• When the 9 button is pressed
in the Select in Advance Menu, the
settings selected can be confirmed.
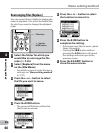
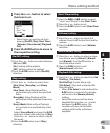
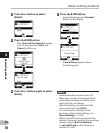
8 Press the F2 (EXIT) button to
complete the setting.
• The [«] will appear on the display.
Notes
• If the recorder is in use at the preset start
time, the timer recording will start directly
after stopping the recorder.
• Even if the power is turned off or the
recorder is put on Hold, timer recording
will start at a specified time.
• If three timer recordings have the same
starting times, [Preset 1] has the highest
priority and [Preset 3] has the lowest.
• If the starting time for timer recording
and alarm playback (☞ P.72) is set for
the same time, timer recording will have
priority.
7 Press the `OK button to
complete the setting.
When setting to [ON]


