57
4
EN
Menu setting method
Menu setting method
a
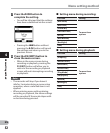
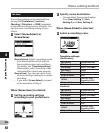
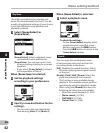
2 Sets the detection time.
[1 second] [2 seconds] [3 seconds]
[4 seconds] [5 seconds] [10 seconds]:
If the input (recording level) is equal
to or below the specified level for
longer than the specified detection
time, the recorder will return to the
standby mode.
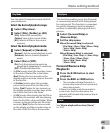
Adjust the voice sync level:
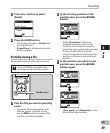
1 Press the REC (s) button to start
recording.
• To use voice sync recording, set
[V-Sync. Rec] to [On] and specify a
detection time.
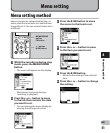
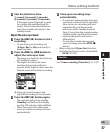
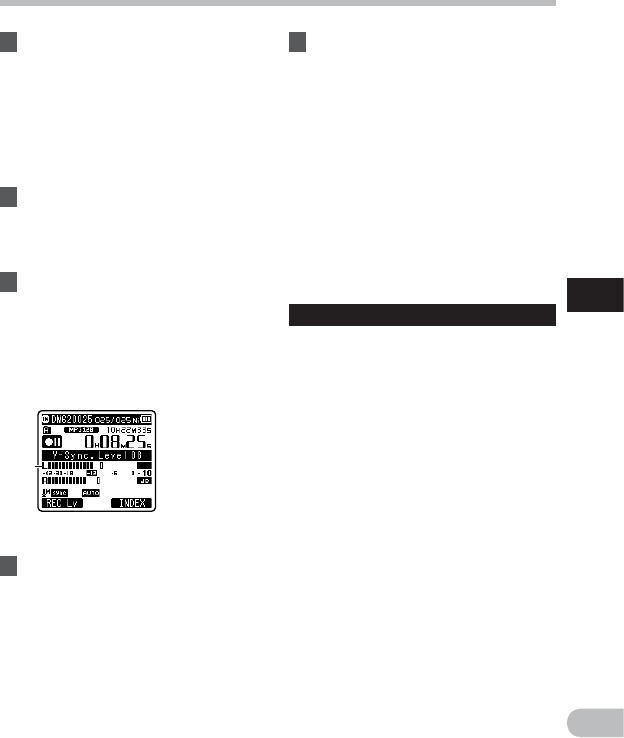
2 Press the 9 or 0 button to
adjust the voice sync level.
• The voice sync level can be set to any
of 23 different values.
• The higher the value, the more
sensitive the recorder will be to
sounds. At the highest value, even the
faintest sound will activate recording.
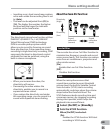
a Voice sync level (moves to the
right/left according to the set level)
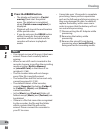
3 Press the REC (s) button again.
• The recorder will go into standby.
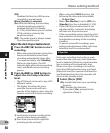
[Standby] will flash on the display
and the LED indicator light will flash.
• When the input is at or above the
voice sync level, recording will start
automatically.
4 Voice sync recording stops
automatically.
• If sound at a volume below the voice
sync level continues for the specified
time, voice sync recording will end
automatically, and the recorder
will return to the standby mode of
Step 3. Every time the recorder enters
standby mode, the file will be closed
and recording will continue in a
different file.
• To stop the recorder during voice
sync recording, press the STOP (4)
button.
• When using the [V-Sync. Rec] function,
the following functions are not available.
• [VCVA] (☞ P.55)
Timer Rec
See “Timer recording [Timer Rec]” (☞ P.70).


