


18
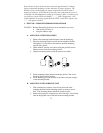
3.
Remove the protective strip from the other side of the tape, and
situate the mounting bracket. Firmly press the mounting bracket
onto the mounting surface.
4. Fit the mounting post into the receptor of the mounting bracket.
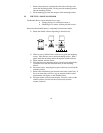
II) THE TX5U—RAINFALL SENSOR
The Rainfall Sensor can be mounted in two ways:
• Simply placing it in a desired location, or
• Mounting it to a surface with the provided screws.
Ensure that the Rainfall Sensor is completely horizontal and stable.
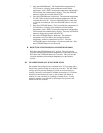
2) Rotate the rainfall collector separating it from the base.
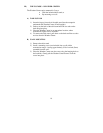
3) There are two cylindrical holes in the base to guide the mounting
screws. Place the base over a desired mounting surface. With a
pencil, mark the mounting surface through the cylindrical holes.
4) Where marked, start the screws.
5) Place the base over mounting surface. Install screws through the
cylindrical holes and into the started holes on the mounting
surface.
6) Secure the screws, ensuring that no part of the base can lift off the
mounting surface.
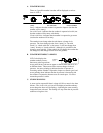
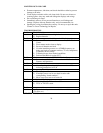
7) Remove the manufacture tape from the teeter-totter on the base. If
this is not done there will be no way to measure rainfall, and no
measurement will display on the Weather Center.
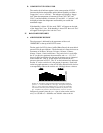
8) Place the rainfall collector onto the base. Place the 3 tabs (on the
rainfall collector) into the tab slots (on the base) and turn
counter-clockwise.