


P a g e | 26
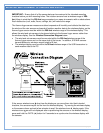
WIND SENSOR
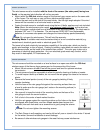
The wind sensor must be installed with the front of the sensor (the solar panel) facing true
South, or the reported wind direction will not be accurate.
Mount within the 200-foot wireless range of the thermo-hygro sensor and on the same side
of the house. The roof may or may not be an ideal mounting location.
Secure the main unit to the shaft of the mast holder. Use the right-angle adaptor if the wind
sensor will be mounted on a horizontal mast or surface.
Fasten the wind sensor to a suitable mast using the two U-bolts, washers and nuts included.
Note: Mount the wind sensor onto a mast, at a minimum height of 6 feet, so the wind can
reach the sensor unobstructed from all directions for an accurate reading. The ideal mast is
between 0.62" and 1.3” in diameter. The wind sensor DOES NOT have replaceable
batteries; it consumes solar power and charges the internal battery pack automatically.
Note: Do not open the wind sensor. This will void the warranty.
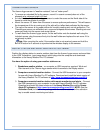
Mounting Masts: A suitable mast must be made entirely of a non-conductive material (e.g.
treated wood, electrical grade metal or electrical grade PVC).
The issue is the static electricity transmission capability of the entire pipe, which can lead to
erratic wind readings, or loss of signal. Coating or painting a pipe does not resolve the static or
RF interference risks, as the inside of the material can conduct. The color gray is also not a
guarantee of electrical grade protection. Any non-electrical grade mast may conduct, which
may result in data spikes, RF interference, etc.
RAIN SENSOR
The rain sensor should be mounted on a level surface in an open area within the 200-foot
wireless range of the thermo-hygro sensor and on the same side of the house.
Mount the rain sensor at least 6 feet off the ground and level for optimum wireless
transmission.
The rain sensor should be accessible to allow for periodic cleaning of debris or insects.
To avoid frequent build-up of debris, do not mount the rain gauge too close to the trees or
plants.
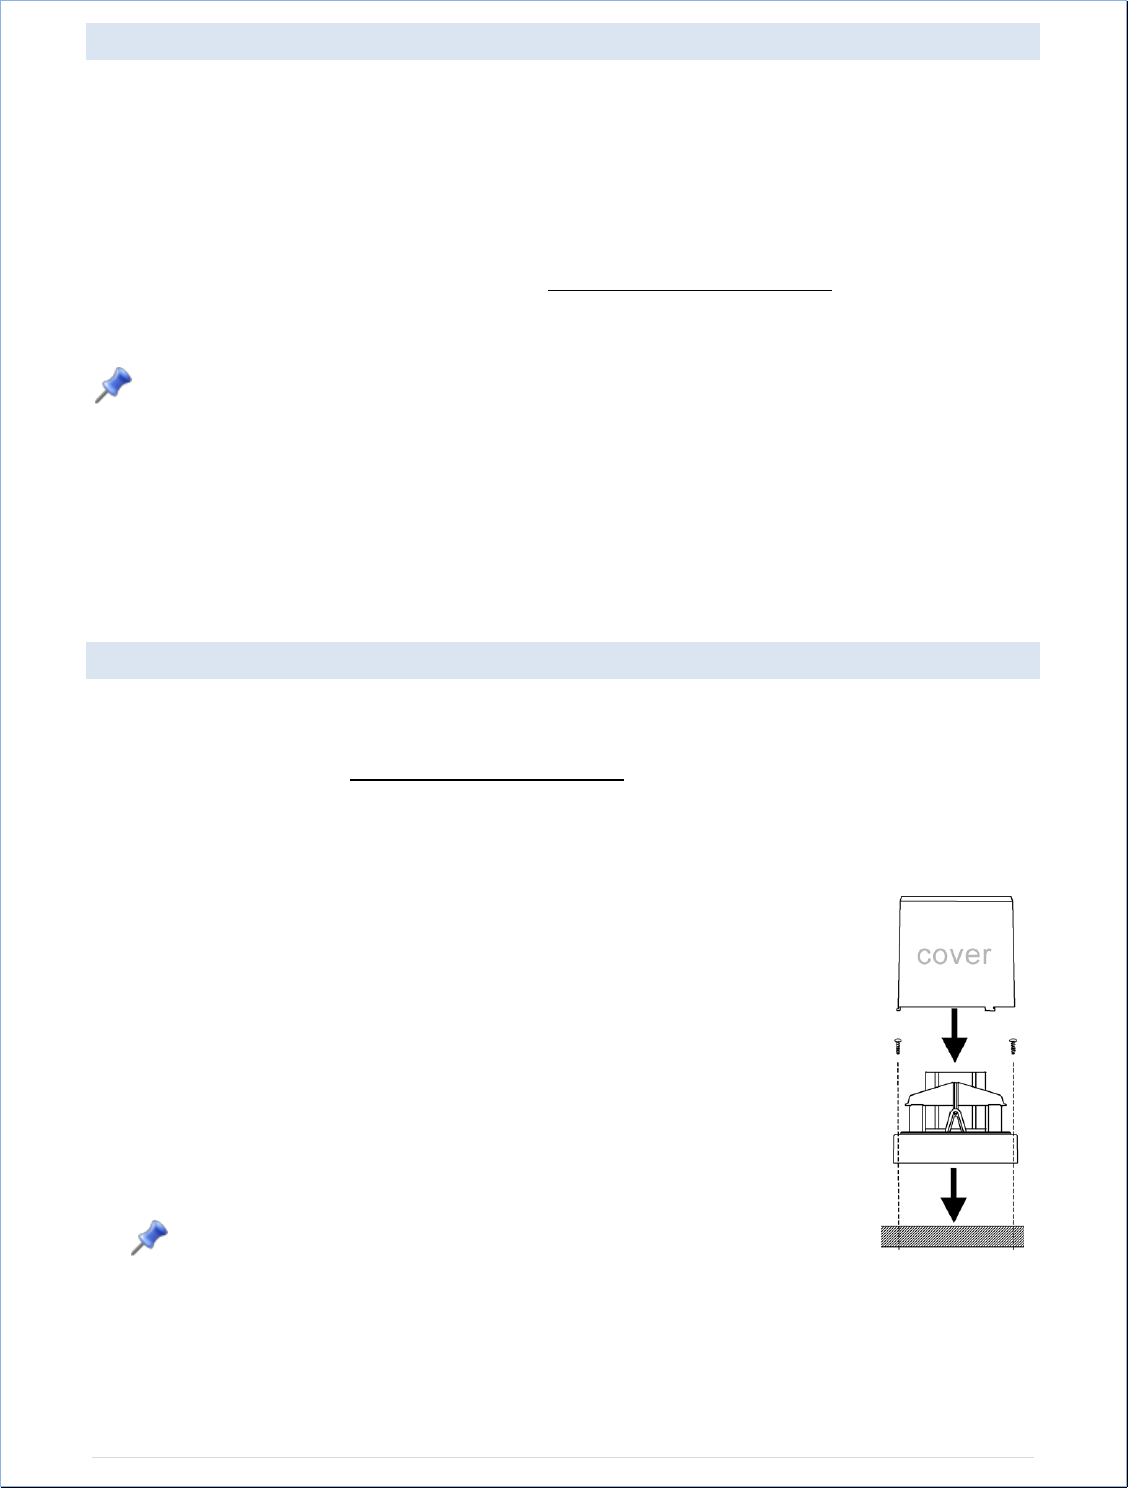
Remove the funnel portion (cover) of the rain gauge by twisting it firmly
counter clockwise.
Hold the base of the rain gauge flat against the mounting surface then use
a level to make sure the rain gauge (as it rests on the mounting surface) is
horizontally level.
Use a pencil to trace the inside of the mounting holes on the base of the
rain gauge to mark the screw locations.
Drill a hole in the center of each marked location.
Hold the rain gauge against the mounting surface so the holes on the base
are aligned with screw holes, and then thread washer head screws (not
included) into each hole and use a screwdriver to gently snug the screws.
Note: Do not over tighten the mounting screws.
The Rain Gauge is self-emptying and can be left out all year or stored in the winter. If stored
for the winter, remove the batteries to avoid leakage.
Be aware of other wireless rain gauges in the area that may cause interference.