


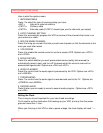
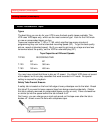

Getting Started (Initial Setup)
27
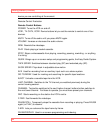
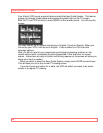
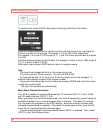
Here is what the options mean:
1 ANTENNA/CABLE
Press 1 to select the type of receiving setup you have:
<ANT.> Internal or external antenna
<CATV1> Ordinary cable
<CATV2> Alternate cable (if CATV1 doesn't give you the channels you expect)
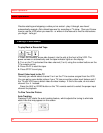
2 AUTO CHANNEL SETTING
Press 2 to automatically program the VCR to receive all the channels that come in on
your antenna or cable.
3 ADD OR ERASE CHANNEL
Press 3 to bring up a screen that lets you add new channels or limit the channels to the
ones you most often watch.
4 VCR CODING
Press 4 to enable the remote control to control a second VCR. Options are <VCR1>
and <VCR2>.
5 MOVIE RETURN
Press 5 to select whether you want prerecorded movies (safety tab removed) to
automatically rewind, eject, and turn off the power when the movie is over and no
prerecorded signals exist. Options are <ON> and <OFF>.
6 AUDIO PLAYBACK
Press 6 to control how the audio signal is processed by the VCR. Options are <HIFI>
and <LINEAR>.
7 STEREO/MONO
Press 7 to control how the audio signal is recorded and sent to the TV. Options are
<STEREO> and <MONO>.
8 SECOND AUDIO
Press 8 when you are ready to record a second audio program. Options are <OFF>
and <ON>.
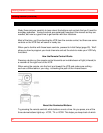
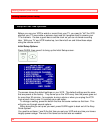
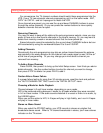
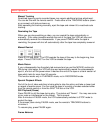
Setting the Clock
This is easy to do and important for your later timed recordings.
You'll need to set the clock when first hooking up your VCR, and any time the power
goes out more than 1 hour.
When you first plug in the VCR or after a power outage, the clock display will read "--:--
".