Using the pull tractor with the rear tractor
If you are using labels or multi-part forms with more than six
sheets (including the original), do not use the rear tractor; use
the front tractor as described in the previous section.
You can switch between the front and rear tractors at any time
when you are using the pull tractor. Just press the Front/Rear
button and then use the LF/FF Load button to feed the paper
the additional distance to the pull tractor.
To tear off printed pages, press the LF/FF Load button to
advance the paper to a point where it can be torn off.
The following steps explain how to load paper using the
optional pull tractor (already installed) with the printer’s
built-in rear tractor. If you have not yet installed the pull
tractor, load paper onto the rear tractor and then install the
pull tractor as described earlier in this chapter.
1. Turn off the printer, then open the top cover.
Note:
If paper is loaded on the rear tractor, in either the top-of-form
or standby position, skip to Step 6.
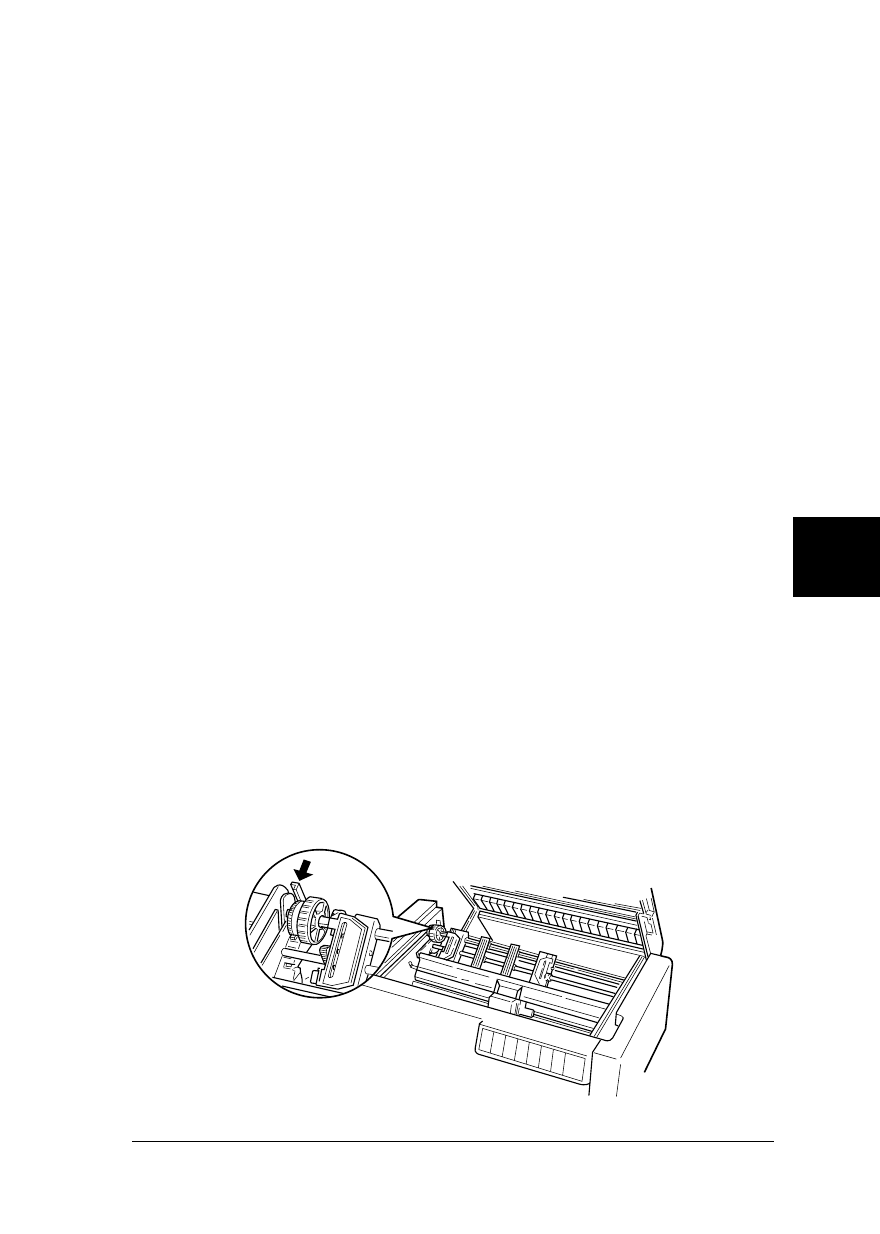
2. Pull the levers on the pull tractor toward you to release
the pull tractor.
D-4-10
6
R
Peony Rev.C
A5 size Chapter 6
98/01/07 Pass 4
Using Printer Options 6-9
