36
Adjusting the Picture
Size and Quality
You can adjust the picture displayed on
the LCD screen. See “General Setup”
(page 41), when outputting the video
signal to TV, etc.
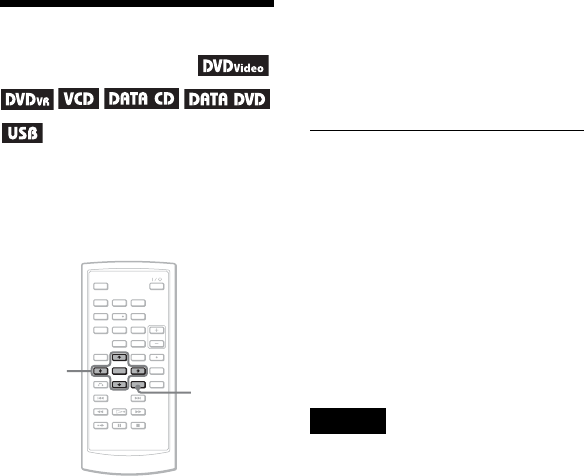
1 Press OPTIONS.
The Option Menu appears.
2 Press X/x to select “LCD
Mode” and press ENTER.
The items for “LCD Mode” appear.
3 Press X/x to select items and
press ENTER.
• LCD Aspect: Change the picture size.
Select
“
Normal
”
or
“
Full
”
by
pressing
X
/
x
*.
• Backlight: Adjust the brightness of
the LCD screen by pressing C
/
c.
• Contrast: Adjust the difference
between light and dark areas by
pressing C
/
c.
• Hue: Adjust the red and green
colour balance by pressing C
/
c.
• Color: Adjust the richness of
colours by pressing C
/
c.
• Default: Returns all settings to the
factory defaults.
* In “Normal,” the pictures are displayed in
the original configuration, retaining the
aspect ratio. For example, a 4:3 picture will
have black bands on both sides, and the
letterbox pictures recorded either in 16:9 or
4:3 will have black bands on all sides. In
“Full,” a 16:9 picture will be adjusted to fill
the entire screen.
z Hints
• The screen turns off automatically when the
LCD panel is closed.
• You can see the settings for the display in
“General Setup” (page 41).
Notes
• The screen size you can select differs
depending on the DVD.
• You cannot select “Normal” for a DVD
recorded in “16:9.”
• You cannot adjust the picture size and
quality when playing a VIDEO CD with
“PBC” set to “Off.”
• You can select “Normal” or “Full” by
pressing OPTIONS repeatedly when
inputting from external sources.
123
456
78
0
9
C/X/x/c
ENTER
OPTIONS
