


US-12
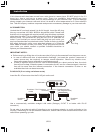
Steps for connecting your radio to your wireless network
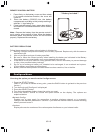
Step 1-Power up the radio
First, connect the AC power. In use, the radio can be switched on or off with the standby button,
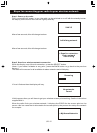
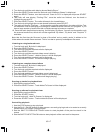
the display on the front of the radio will light up and say:
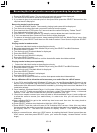
After a few seconds, this will change to show:
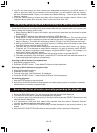
After a few seconds, this will change to show:
Step 2 Scan for a wireless network connection
When the display says<Scan for networks>, press the SELECT button.
(Note: if you make a mistake at any point, press the BACK button to go back to the previous
screen.)
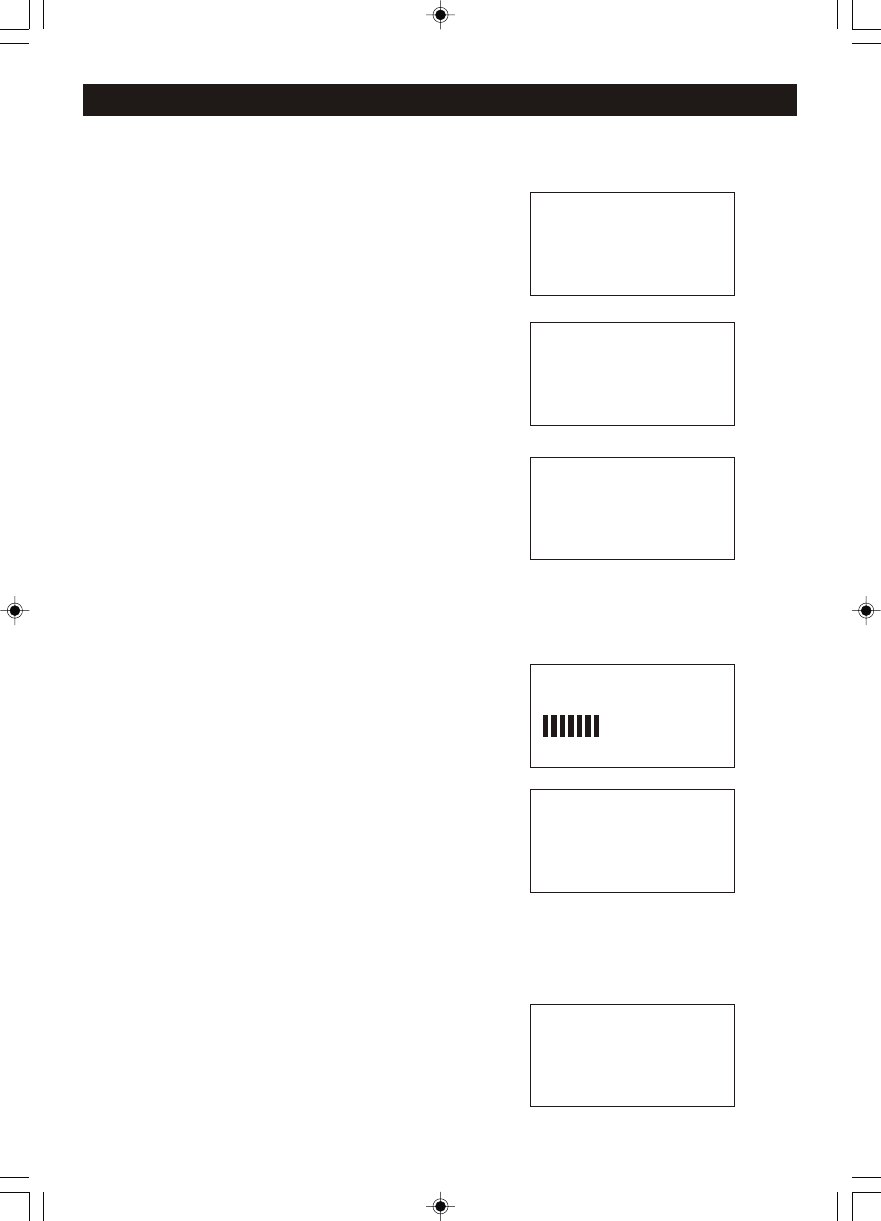
The radio will now scan for all available wireless networks and will display:
If it can't find one then the display will say:
If this happens then you will have to get your wireless access point working. See the instructions
supplied with it.
When the radio finds your wireless network, it displays the ESSID for the access point on the
screen this is a name that is allocated to the access point by the person who set up the network
for example:
SANYO
Initializing network
< Scan for networks >
Enter network
View Config
No networks
Found
< My Home Network >
Scanning