


Initial Settings menu
11
61
En
English Italiano Français
Nederlands
EspañolDeutsch
• Default setting:
Video
• If you make a setting here that is incom-
patible with your TV, the TV may not
display any picture at all. If this happens
switch everything off and reconnect to the
TV using the supplied audio/video cable.
• SCART cables come in various configura-
tions. Make sure you use the correct one
for your TV/monitor. See page 72 for the
SCART pin assignment diagram.
•
Video
– Standard video, compatible with
all TVs.
•
S-Video
– Higher quality, but check your
TV for compatibility.
•
RGB
– Best quality, but check your TV for
compatibility.
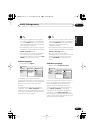
Component Out
Not Applicable to the European model
You only need to make this setting if you
connected this system to your TV using the
component video outputs.
• Default setting:
Interlace
If you have a progressive-scan compatible TV,
set this to
Progressive
for flicker-free video
output. If your TV is not compatible with
progressive-scan video, set to
Interlace
.
Check the operating instructions that came
with your TV if you’re unsure about its
compatibility.
When setting to
Progressive
, you have to
press
ENTER
once more to confirm (or
RETURN
to cancel). See also below for
important information on progressive scan
video.
About progressive scan video
Compared to interlace video, progressive
scan video effectively doubles the scanning
rate of the picture, resulting in a very stable,
flicker-free image. Progressive scan video is
available only from the component video
output.
•
When TV format is set to
AUTO
or
NTSC
only:
When
Component Out
(above) is set
to
Progressive
, there is no video output
from the
VIDEO
and
S-VIDEO
jacks. If you
want to display video on more than one
monitor simultaneously, make sure that it
is set to
Interlace
. See also
Setting the TV
format
on page 73.
• If you connect a TV that is not compatible
with a progressive scan signal and switch
the system to progressive, you will not be
able to see any picture at all. In this case,
press
STANDBY/ON
to put the system
in standby, then press and hold the front
panel
(stop) button for about 8 seconds
until the display shows
Mem.Clr.?
. Press
the front panel
VOLUME
–
(
DOWN
) or
+
(
UP
) button so that the display shows
Interlace?
. Press the front panel
button to set to interlace and switch the
system back on.
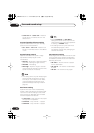
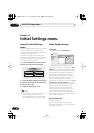
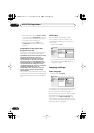
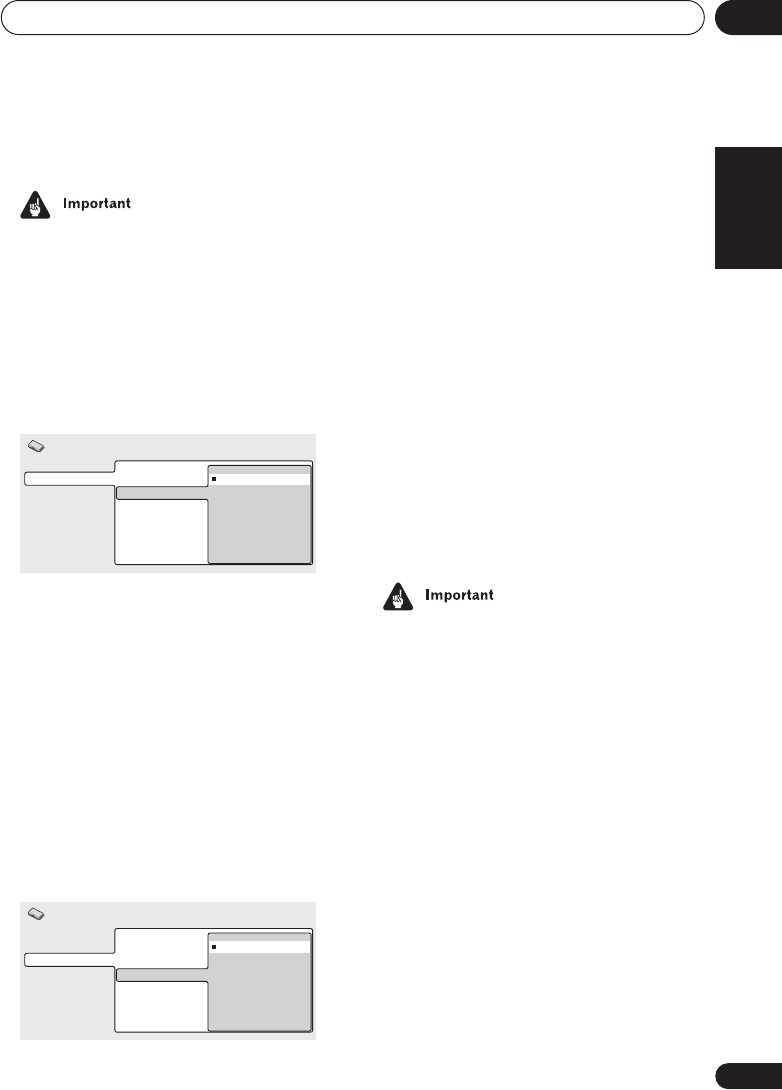
Video Output
Language
Display
Options
TV Screen
AV Connector Out
Video
S-Video
RGB
Initial Settings
Digital Audio Out
Video Output
Language
Display
Options
TV Screen
Auto Progressive
Component Out
S-Video Out
Interlace
Progressive
Initial Settings
HTS.book 61 ページ 2003年2月25日 火曜日 午後1時45分