


49
RQT8415
After performing steps 1–4, page 48
§
Multiple editing is possible.
[Note]
≥Timer recordings do not start when performing “Add Pictures”, “Create Album”, “Copy to DVD-RAM” or “Copy to HDD”.
≥You cannot perform “Add Pictures” or “Create Album” to a higher folder.
Album and picture operation
Delete Picture
§
Delete Album
§
[HDD] [RAM] [SD]
Press [2, 1] to select “Delete” and press [ENTER].
≥Once deleted, the recorded contents are lost and cannot be restored. Make certain before
proceeding.
≥When deleting an album, files other than the still picture files inside the album will also be deleted. (This
does not apply to folders under the album concerned.)
Enter Album Name
[HDD] [RAM] [SD]
You can give names to albums.
➡ 63, Entering text
≥Album names input using this unit may not be displayed on other equipment.
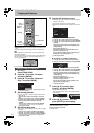
Set up Protection
§
Cancel Protection
§
[HDD] [RAM] [SD]
If set, this will protect the still picture or album from accidental deletion.
Press [2, 1] to select “Yes” and press [ENTER].
The lock symbol appears when the still picture or album is protected.
≥Even if the protection setting is used by this unit to protect an album, the album
may be deleted by another unit.
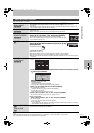
DPOF
§
[SD]
You can select individual pictures for printing and specify the number of prints to be made.
Press [2, 1] to select number of print (0 to 9) and
press [ENTER].
The DPOF mark appears.
To cancel the print setting
Set the number of print to “0”.
≥Print settings (DPOF) made using this unit may not be viewable on other equipment.
≥When this is set by this unit, any settings established by other units will be released.
≥Settings cannot be made for files not in accordance with DCF standards or if there is no remaining space
on the card.
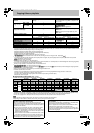
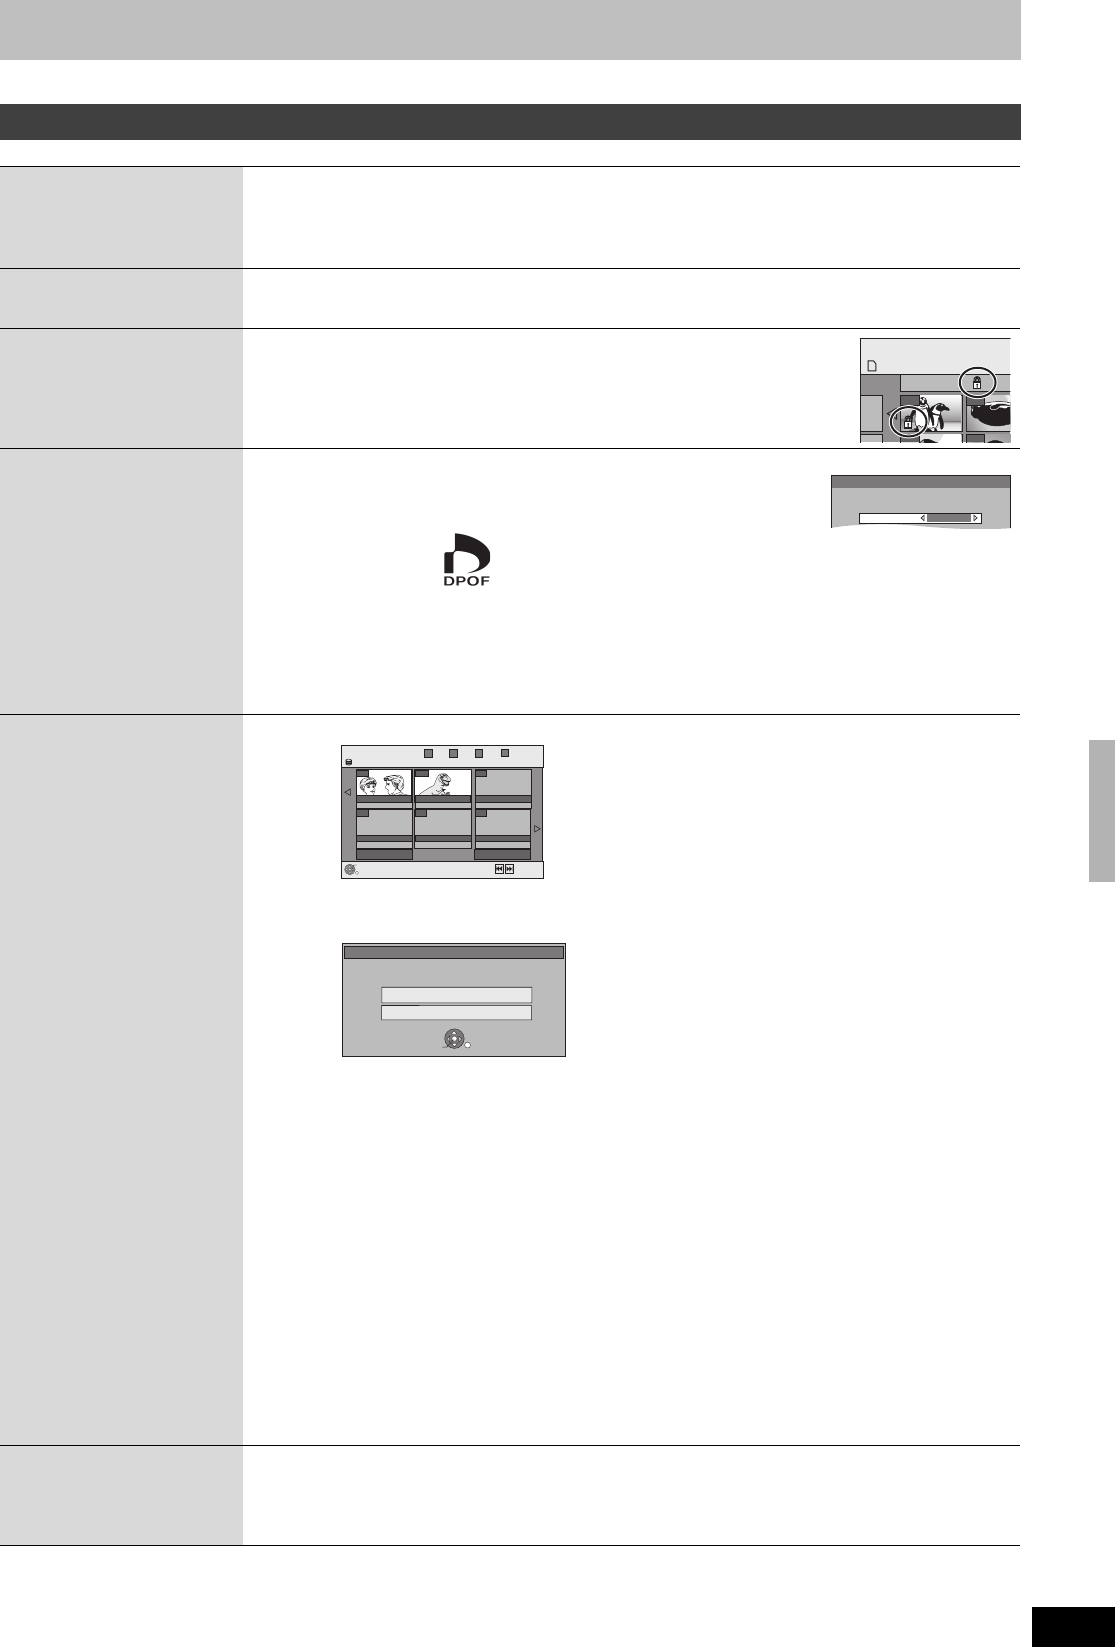
Add Pictures
Create Album
[HDD] [RAM] [SD]
1Press [2, 1] to select “Start” or “Yes” and press [ENTER].
2Press [3, 4, 2, 1] to select the album that contains the still picture you want
to add and press [ENTER].
[RAM] [SD]
To switch to another higher folder
1 Press [SUB MENU].
2 Select “Select Folder” and press [ENTER].
3Press [2, 1] to select the higher folder and press [ENTER].
3Press [3, 4] to select the item and press [ENTER].
≥If “Copy Pictures” is selected
Select the still picture you want to add and press [ENTER].
≥If “Copy Album” is selected
All the still pictures in the album will be copied.
4Press [2, 1] to select “Yes” or “No” and press [ENTER].
≥If you want to continue copying, select “Yes” and go to step ➁.
Only for “Create Album”
5Press [2, 1] to select “Yes” or “No” and press [ENTER].
≥If “Yes” is selected:
You can give names to albums. (➡ 63, Entering text)
≥If “No” is selected:
The recording date of the first picture in the album becomes the album name. (If there is no recording
date information, the date will appear as [--/--/--].)
Copy to DVD-RAM
[HDD]
Copy to HDD
[RAM]
Press [2] to select “Start” and press [ENTER].
You cannot copy if multiple albums are selected.
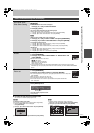
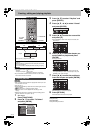
DIRECT NAVIGATOR Pi
c
SD CARD
0001
Album Name
103__
0002
0005 0006
DPOF
Set up DPOF on the picture (JPEG).
Setting on other equipment will be cancelled.
1
P ENTER t t
Number of prints
Create Album
Previous Page 02/02
Next
12. 6.06 Total 312. 5.06 Total 24
101_DVD100_DVD
007
008
- - -
- - -
- - -
- - -
HDD
RETURN
ENTER
Previous
Next
Step
1
2
3
4
Please select album to copy.
e.g.,
Copy Album
Copy Pictures
Copy all the pictures in the selected album?
ENTER
RETURN
SELECT
Create Album
e.g.,
Editing still pictures
EH55.book Page 49 Thursday, January 19, 2006 1:58 PM