


X`
Unicorn Information System
3.3 The SETUP Menu
Chapter 3: Basic Setup
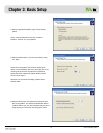
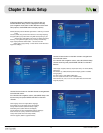
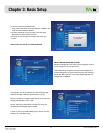
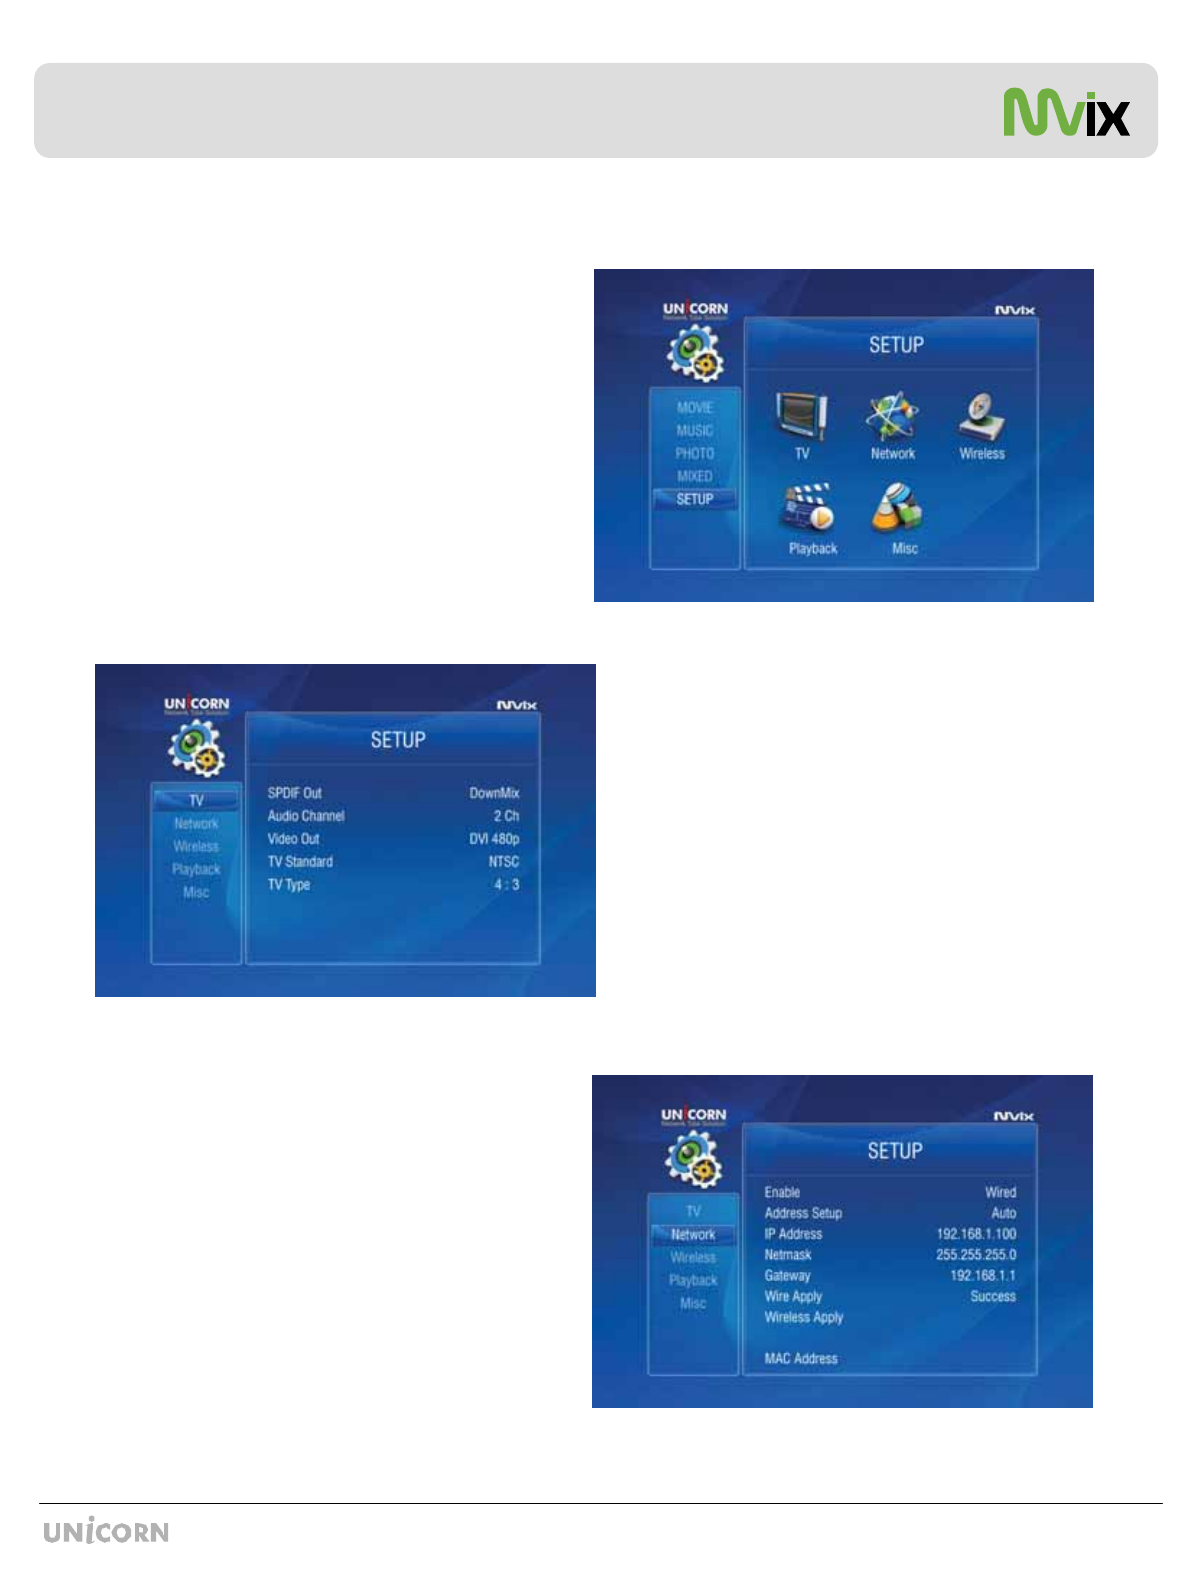
Use the left -arrow button on the Mvix Remote to navigate
back to the left-side column.
From the left-side navigation column, select NETWORK Setup.
Press ENTER / SELECT on the Mvix Remote.
Enable: Wired / Wireless (Choose Wired versus Wireless Network)
Address Setup: Auto vs Manual (Choose manual to enter IP Address,
Netmask and Gateway manually)
IP Address: (IP address is set automatically, if Address Setup is AUTO)
Netmask: Subnet Mask setup
Gateway: (If using Router, use IP address of the router)
MAC Address : Displays MAC address information (Wired / Wireless)
Wire Apply: Displays Wired Network Status: Success vs Fail
Wireless Apply: Apply Displays Wireless Network status: Success vs Fail
(If Wireless Appy is selected, the System automatically moves to next
screen… <see next page>)
( Select Wire Apply or Wireless Apply to apply settings or Press SETUP
on Mvix Remote to Apply these settings.)
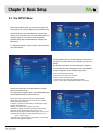
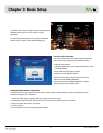
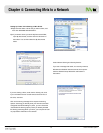
Use the navigation button on the Mvix Remote to select the TV
icon/option. This option allows you to configure your video-out
settings.
Use the right-arrow button on the Mvix Remote to navigate to
the main panel and select configuration option. Press ENTER
on each configuration to view available setup options.
SPDIF out: DownMix and Passthrough
Audio Channel: 2 Channels and 5+1 Channels.
Video Out: S-Video, Component, DVI etc.
TV Standard: PAL versus NTSC (USA customers use NTSC)
TV Type: 4:3 versus 16:9 (If using Widescreen Display / TV use 16:9)
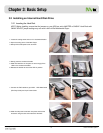
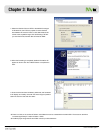
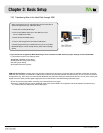
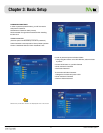
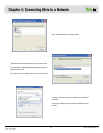
Before using the Mvix player, you may need to configure the
Mvix player to work with your Display (TV) and Network Setup.
Press SETUP menu on the Mvix Remote to view the setup
options on the main panel. The main panel displays options to
configure settings for TV, Network, Wireless, Media file
playback settings and some Miscellaneous settings for the
Mvix Player.
To apply SETUP settings, select the option and press SETUP
on the Mvix Remote.