Item Description Default
User color This feature adjusts the color balance in each color (red, green, blue, cyan,
magenta, yellow and white by using color correction adjustment. Increasing a
color’s setting heightens the intensity of that color on the screen, while a lower
setting makes the color less intense. Press the up or down cursor button to select
a color. Press the left or right cursor button to adjust the selected color (range: 0 -
100).
80
White peaking White Peaking increases the output in the brightest whites without changing the
blacks and dark grays. Higher settings may cause very bright shades of gray to
saturate. For a smoother, more natural image, use lower settings. Press the left or
right cursor button to adjust the value of white peaking (range: 0 - 10).
Data source:
10
Video source:
2
Logo display Press the left or right cursor button to enable or disable if the logo displays when
the projector starts, and when no source is detected (range: On - Off).
on
Fan speed Press the left or right cursor button to toggle between Normal and High fan
speeds.
normal
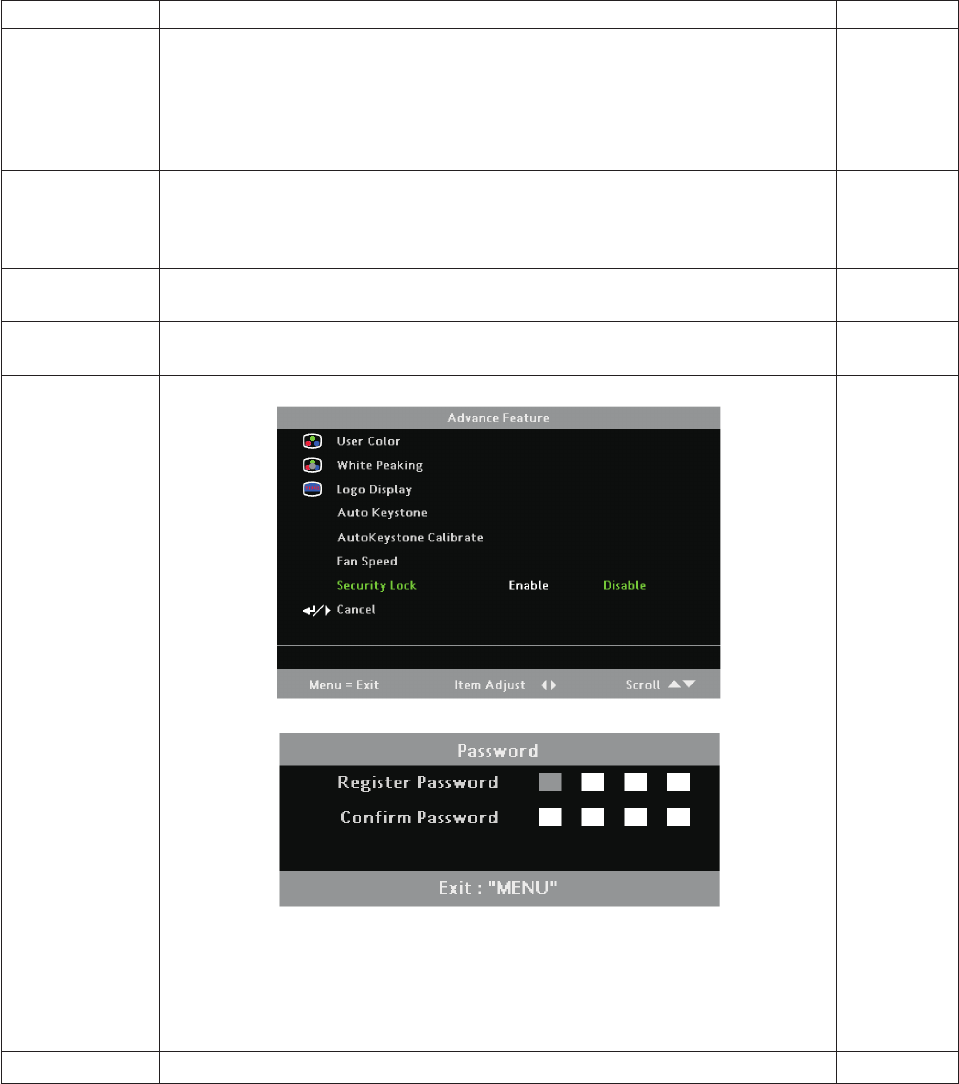
Security lock Press the left or right cursor button to enable or disable Security Lock.
When you enable the security lock, the Register Password dialog box appears:
You can use the cursor buttons numbered 1, 2, 3, and 4 on the remote to enter
the password. You can use any combination including the same number multiple
times, but the password must be four characters. After entering the password a
second time to confirm it, OK displays. When the password is enabled, it must
be entered every time after you power on the projector. See “Setting access
passwords (security lock)” on page 2-4 for steps on setting the password.
no password
Cancel Return to previous menu. n/a
Note: If Security Lock is enabled, you must enter the password every time the projector is turned on.
However, if the projector is already turned on, Security Lock can be disabled without having to enter the
current password.
User Color
1. Press the Menu button to open the OSD menu.
2. Press the left or right cursor buttons to move to the Properties menu. Press the up or down cursor
buttons to move to the Advance Feature menu.
3-8 M500 Projector User’s Guide
