


40
iAUDIO T2
41
iAUDIO T2
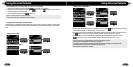
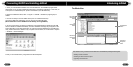
1. When you insert iAUDIO installation CD in the CD-ROM drive, the installation program starts
automatically. It may not start automatically depending on the settings of Windows. In this case, run
x:\setup.exe or x:\JetShell\setup.exe. (where x is the letter of your CD-ROM drive)
2. When the installation finishes, Start -> Program -> COWON -> iAUDIO T2 program group is
created.
3. You are now ready to connect iAUDIO to PC (Don’t run JetShell at this time).
Connect the USB ports of iAUDIO to your PC using the provided USB cable.
(We recommend to connect iAUDIO to the PC directly, not using USB hub)
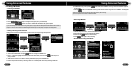
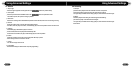
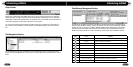
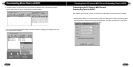
4. As soon as the cabe is connected, the message “Found New Hardware” appears and the USB
driver for iAUDIO is installed automatically. The driver installation message may not appear on the
screen depending on the status of Windows. To make sure that the installation was completed nor-
mally, check for the device “iAUDIO” in My Computer as shown below, or “Control Panel -> System
-> Hardware -> Device Manager”.
5. Now you can transfer files by using JetShell or Window Explorer.
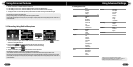
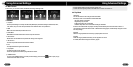
Connecting iAUDIO and Installing JetShell
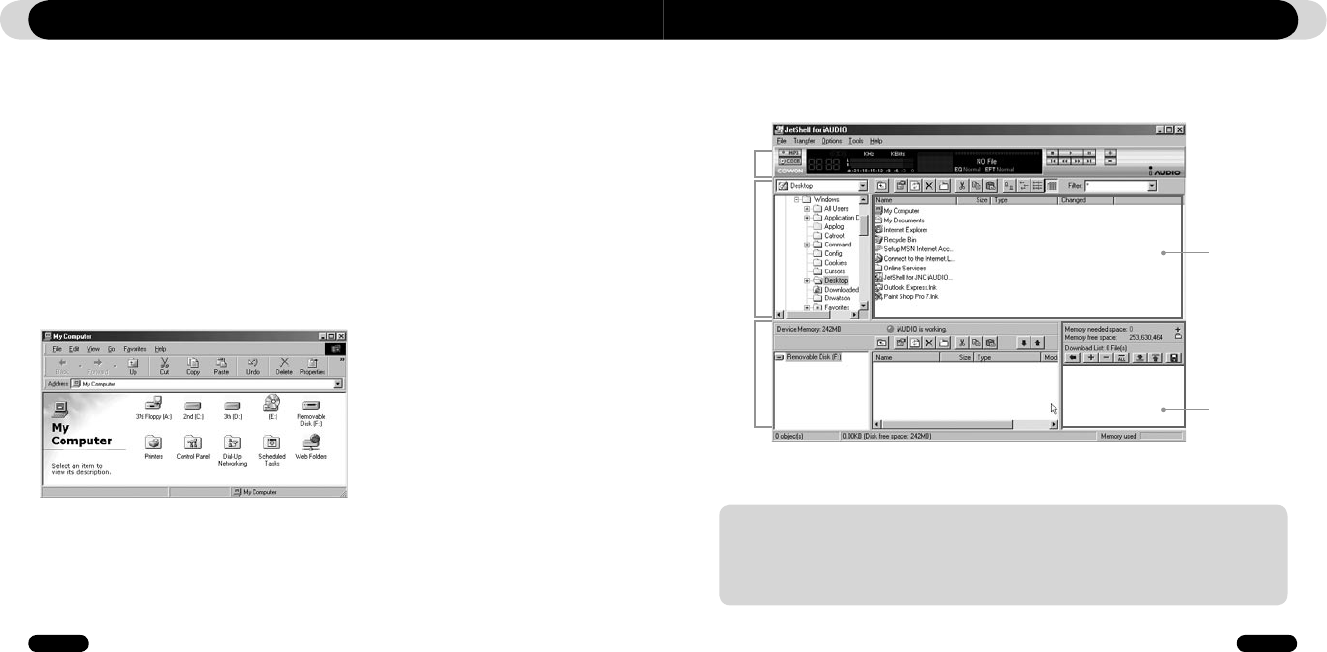
The Whole View
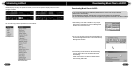
When JetShell is running, it controls the iAUDIO. Make sure to exit JetShell before performing the following tasks:
• Installing iAUDIO's USB driver
• Formatting iAUDIO in Windows Explorer
• Upgrading iAUDIO's firmware
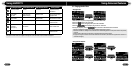
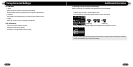
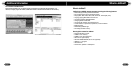
Introducing JetShell
Play and MP3
Management
Section
File
Management
Section
Flash Memory
Management
Section
File Management
Window
Download List
Management
Section