11
Edit an Existing Project
You can open and edit any projects that you have
already recorded to your hard drive or DVD disc.
You do not have to store your video, audio, or
graphic files on your hard drive in order to edit
your projects.
For more information on advanced editing, see
“What about advanced editing?” on page 4.
Open a recorded DVD file
1. Insert the DVD disc into the DVD-R/RW and
CD-RW Combo drive.
2. Open the MyDVD software.
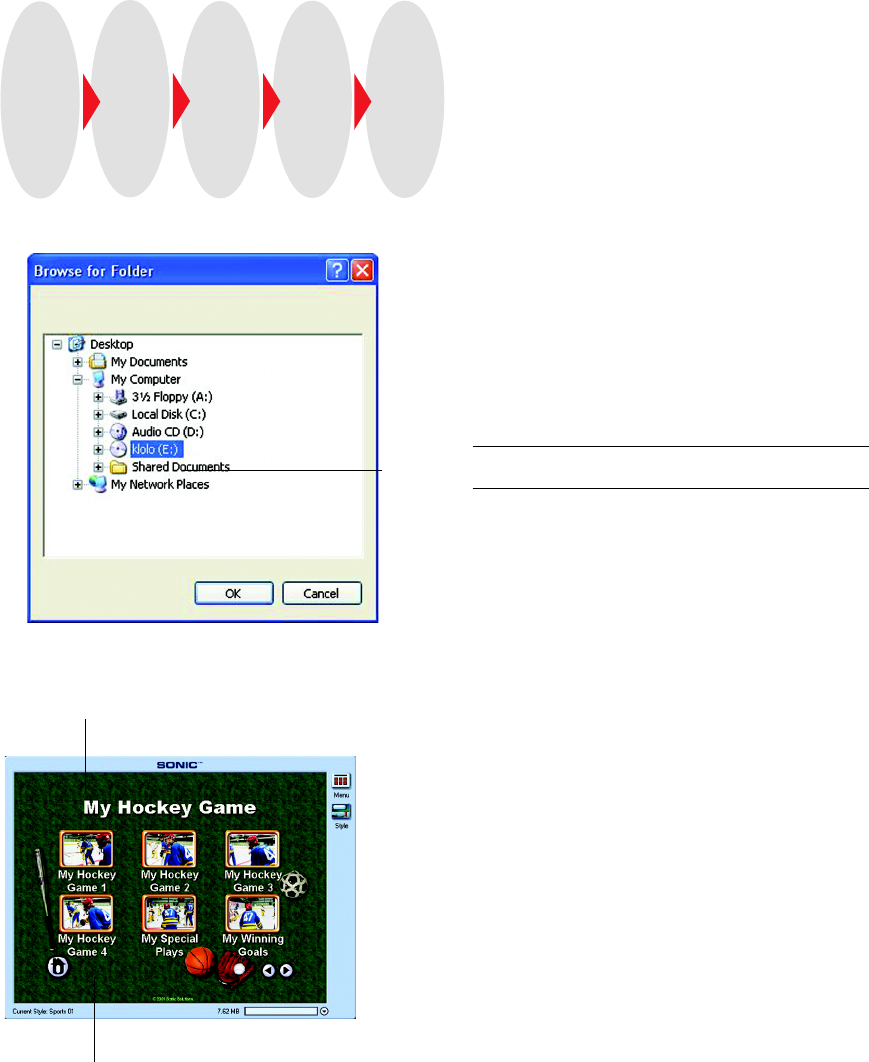
3. Choose File, then Edit DVD.
4. Select the DVD-R/RW and CD-RW Combo drive
that contains the files.
5. Click OK.
Note: The MyDVD Wizard screen displays. Click Cancel to
close it.
Make edits to your project
From the menu editor, you can:
• Add and edit video clips
• Create additional menus
• Delete buttons
• Change menu styles
• Modify menu and buttons labels
Add Video Clips
When creating movie clips, you can use chapter
points to separate your video into one or more
sections that are linked to menu buttons.
If you add chapter points while capturing your
video, MyDVD creates menu buttons for each
chapter point and labels them consecutively with
the project name. For example, if the project name
was “My Hockey Games,” then chapter point menu
buttons would be “My Hockey Games 1,” “My
Hockey Games 2,” and so on.
Record
back
to
DVD*
disc
or hard
drive
Save
new
DVD
project
Click
Preview
to
preview
your
project.
Exit
Preview.
Make
edits
to
your
DVD
project
Open
your
file
from
hard
drive
or DVD
disc
* You can record back to existing DVD disc if DVD-RW is
being used.
Your DVD project file will appear on the D drive
if it is a single-drive configuration.
Select
the disc
Chapter Point
Project name
My Movie Final.p65 02-3-14, 17:3611
