


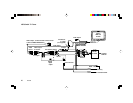
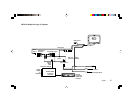
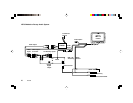
VS735 21
Installing into a Fixed In-Dash Mount (in Toyota, Nissan,
and other ISO-compatible vehicles)
Some vehicles use the “ISO” standard radio-mounting system.
The Clarion VS735 has pre-tapped mounting holes that are
compatible with ISO mounting systems. In these vehicles the
mounting bracket sleeve, the rear nut and washers, and the
backstrap are not used. Also, many ISO-compatible vehicle
installations do not use the provided trim ring.
In some instances the VS735 may be the only in-dash
mounted unit. However, in most situations, the VS735 will be
installed in the dashboard with another head unit that is the
main system controller.
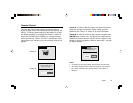
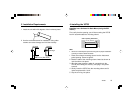
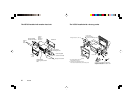
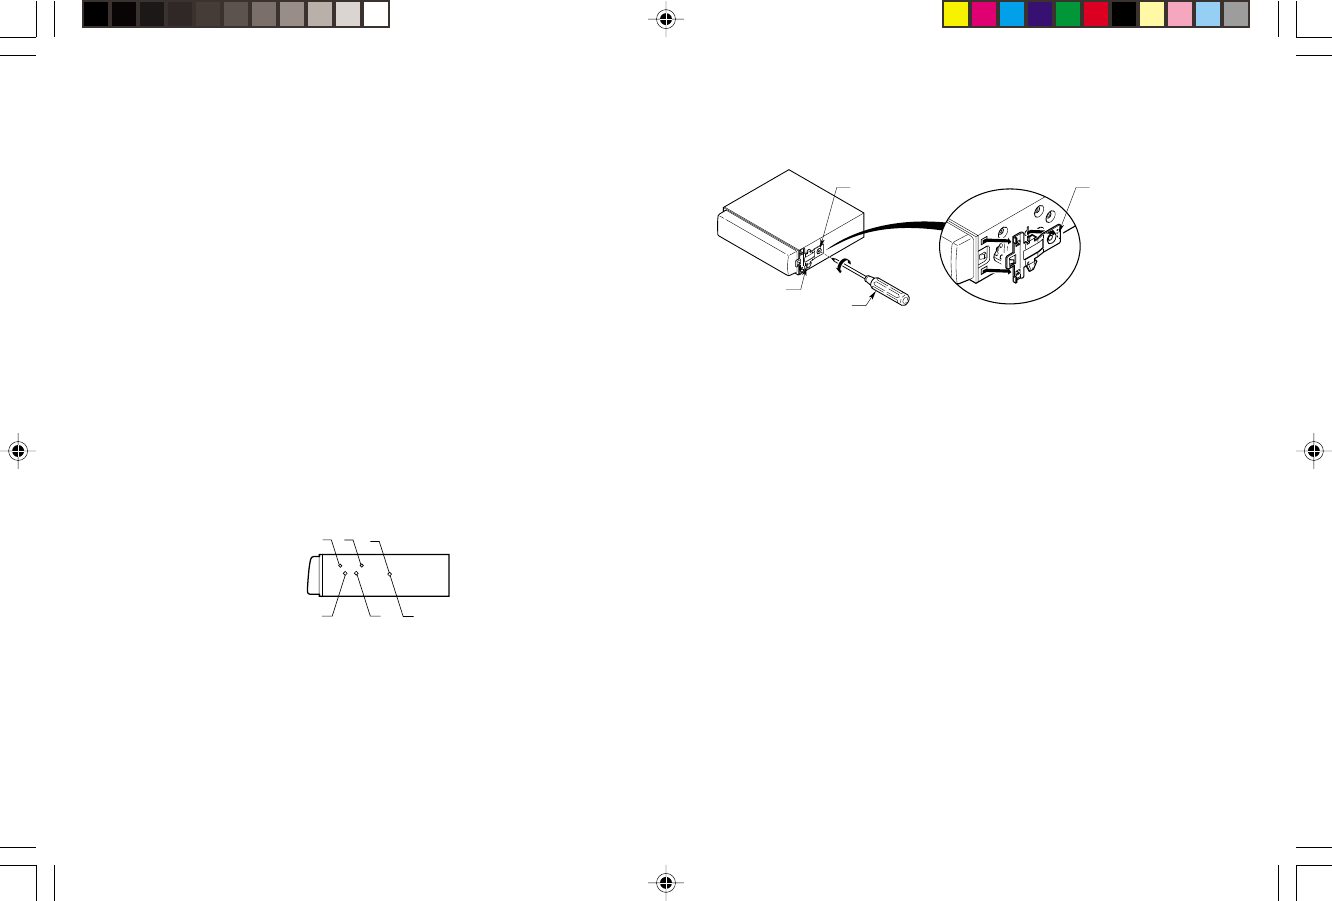
1 Remove the radio from the dash. Determine that the screw
holes on the side of the VS735 match up to the factory
radio mounting brackets.
Pre-threaded holes
Pre-threaded holes
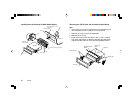
2 Remove the clips on the sides of the VS735.
2-Screw
Spring clip
Screwdriver
DIN sleeve spring clip
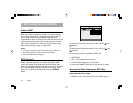
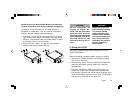
3 Mount the unit to the factory radio brackets, and bolt the
brackets to the dashboard. Reassemble the dash. (See
the diagrams on the next page.)
Note:
• In some cases the factory trim panel may require some slight
trimming, or there may be a slight gap that requires filling.