4
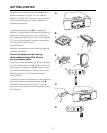
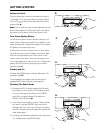
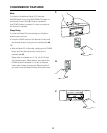
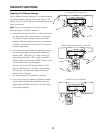
Remove the SoundWorks Radio CD (See A) from its
protective polybag and place it in your preferred
location. The Radio CD’s Tone alarm sound and bass
output will be reduced if the Radio is placed on a
compliant, soft surface.
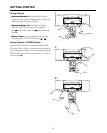
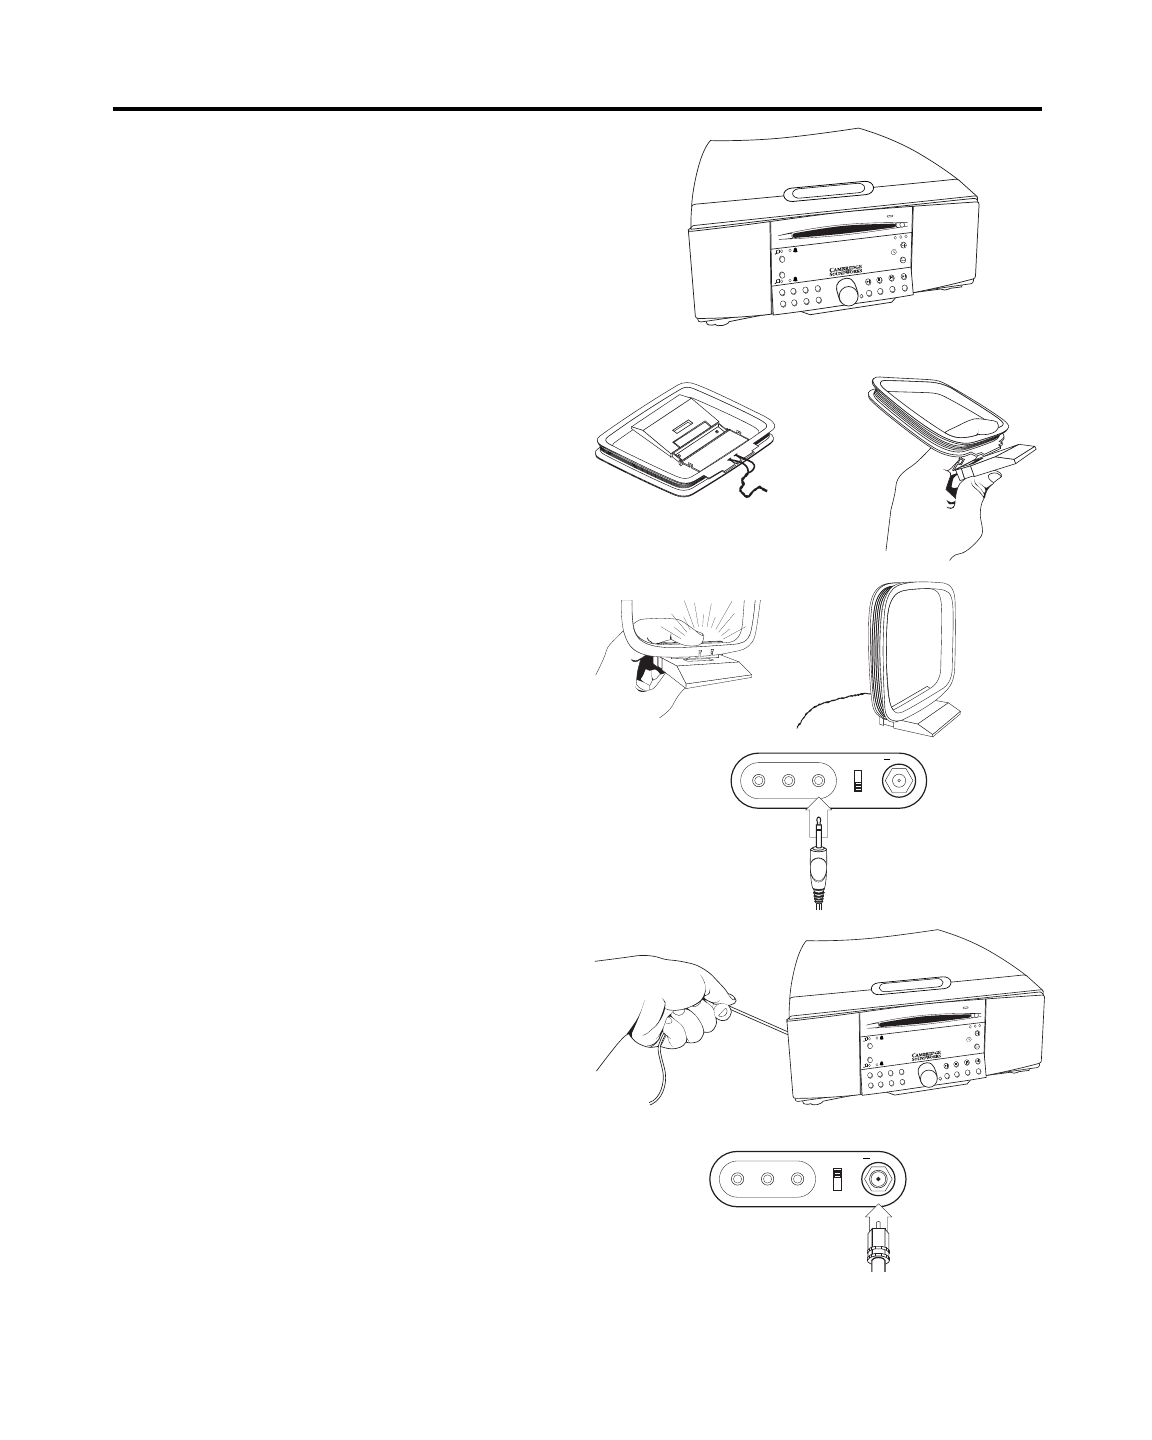
Connect the AM antenna (See B): To prepare the
antenna (1), fold the base (2) and snap it into place (3).
Position the AM antenna (4) in any out-of-the way
site, preferably at least 8 inches apart from the Radio
CD. Insert the AM Antenna’s miniplug into the Radio
CD’s rear panel minijack marked
AM ANTENNA (5).
Rotate the AM antenna to achieve the best signal for
individual AM stations.
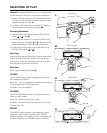
Connect the power cord by inserting
the SoundWorks Radio CD’s AC plug
into a convenient outlet.
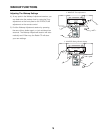
The AC cord is also the Radio CD’s primary FM anten-
na. It will function better if at least 50% or more of it’s
length follows a straight line (See C). Check to make
sure the FM antenna switch on the rear panel of the
Radio enclosure is in the INT (internal) position
(factory default).
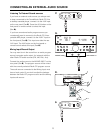
If desired, the external FM antenna can be connected
and used instead of the internal antenna (See D).
Connect the external antenna to the “F”-type con-
necter of the rear panel. Set the FM antenna switch to
EXT (external) .
GETTING STARTED
A
L
A
R
M
PR
E
SE
T
S
S
T
E
R
E
O
C
D
IN
C
D
I
N
F
O
C
D
M
O
D
E
J
O
G
F
M
1
/2
C
D
S
E
E
K
T
R
A
C
K
/T
U
N
E
A
M
AU
X
P
OW
E
R
R
E
P
E
AT
–
F
O
L
D
E
R
+
W
ID
E
M
O
N
O
1
1
2
2
3
4
5
6
7
8
S
N
O
O
Z
E
/
M
U
T
E
MIXING
INPUT
RECORD
OUTPUT
INPUT INPUT
AM
ANTENNA
FM ANTENNA
EXT
INT
INPUT
75 OHMS
AUX
MIXING
INPUT
RECORD
OUTPUT
INPUT INPUT
AM
ANTENNA
FM ANTENNA
EXT
INT
INPUT
75 OHMS
AUX
A
L
A
R
M
P
R
E
S
E
T
S
S
T
E
R
E
O
C
D
IN
C
D
I
N
F
O
C
D
M
O
D
E
J
O
G
F
M
1
/
2
C
D
S
E
E
K
T
R
AC
K
/
T
U
N
E
A
M
AU
X
P
OW
E
R
R
E
P
E
AT
–
F
O
L
D
E
R
+
W
I
D
E
M
O
N
O
1
1
2
2
3
4
5
6
7
8
SNOOZE/MUTE
B.
1.
2.
3.
4.
5.
C.
D.
A.


