23
FM/AM Tuner
FM/AM antenna
• For FM reception, uncoil the FM antenna at the
back of the radio, ensuring it is fully extended
(you may even want to tape it to the wall behind
the radio if possible. The higher the better.)
• For AM reception, connect the AM antenna loop
to the back of the radio. Rotate the AM loop
antenna for better reception.
Accessing FM/AM Radio
• Press SOURCE repeatedly to select FM Tuner or
AM Tuner.
OR
• Press
or to highlight FM Tuner or AM Tuner
in the Source menu and then press SELECT.
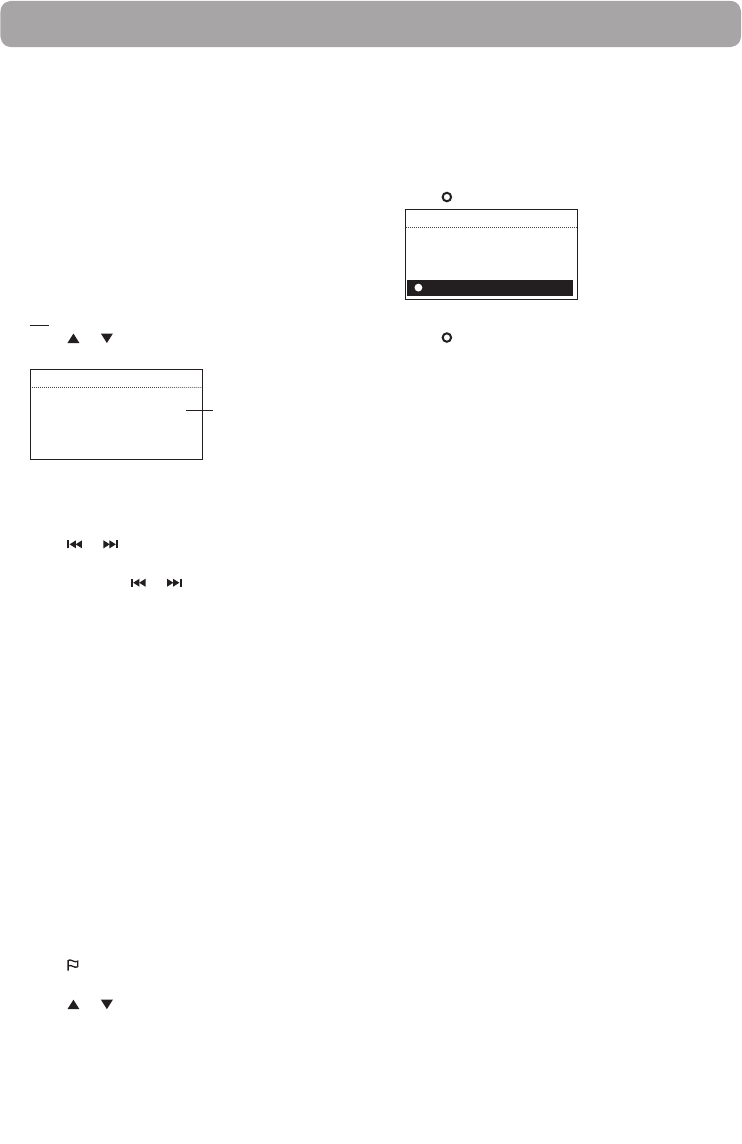
FM RADIO
92.3 MHz
ST
Listening to FM/AM Radio
To select a station:
1. Press or to adjust the frequency.
2. Press and hold
or until the radio beeps to
start searching through the frequency range. The
radio stops searching when it detects the next
station.
To store the current station as a preset:
1. Select a station.
2. Press and hold 1, 2, 3, 4, 5 or 6 on top of the
radio until a beep sound is heard to store the
current station to that preset button.
• To listen to a preset station, press 1-6.
• To edit a preset station, repeat the steps above
to overwrite the previously stored station.
• You can assign a preset station as the wake
sound of the alarm, refer to page 17 for more
information.
To assign the current station as the wake sound
of the alarm clock:
1. Press
.
2. Press
or to highlight Send to Alarm and
then press SELECT.
Recording FM/AM Radio
Warning! Use of the recording feature is for
personal use only. (Files can not be transferred or
moved from the internal memory.)
To record the current station:
1. Press
to start recording.
ST
92.3 MHz
FM RADIO
REC 00:00:34
2. Press to stop recording.
• Recording will be stored in the internal memory
of the radio.
• For playback, please refer to Internal Memory
on page 24.
• The radio names each recording
<Source><Station Frequency>_<Month_
Date>_<Time Stamp>.
For example: FM99.5_1_21_1245.
Stereo signal indicator


