


12
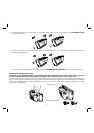
Auto Operation
If the flashlight AUTO/OFF switch is left in the Auto position, the flashlight will turn ‘On’ automatically whenever it is lifted from
the cradle, or whenever the power is interrupted. When the flashlight is returned to the cradle, or the power is restored the
flashlight will shut ‘Off’ automatically.
Manual Operation
If the flashlight AUTO/OFF switch is left in the Off position the flashlight will remain Off until you remove it from the cradle and
press the AUTO/OFF button to select the Auto position to turn the flashlight ‘On’. When you are finished using the flashlight
you may shut it off manually by setting the AUTO/OFF switch to the Off position. Or you may just return the flashlight to the
cradle and it will shut off automatically.
Notes:
• The flashlight battery is being charged whenever the flashlight is in the cradle, regardless of the setting on the AUTO/OFF
switch.
• When fully charged the flashlight should provide more than 5 hours of continuous operation before the battery is
exhausted.
• When fully discharged the flashlight should be recharged in its cradle for 14 to 16 hours to return the battery to its full
charged condition.
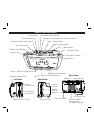
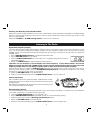
Line Input Jack
You may listen to the sound from an iPod, MP3 player, CD player or other external music source by connecting the external
device to the Line In jack on the back of this clock radio. Use an audio cable (not included) with 3.5mm mini plugs to connect
the headphone jack of the external device to the Line In jack of this unit. An AUX indicator will appear on the display when a
cable is connected to the Line In jack of this radio. Begin playback on the external device and adjust the VOLUME control of
this clock radio.
Note: You must remove the audio cable from the Line In jack of this clock radio in order to listen to AM or FM. When the
audio cable is disconnected the AUX indicator turns ‘Off’ in the display.
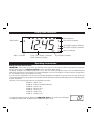
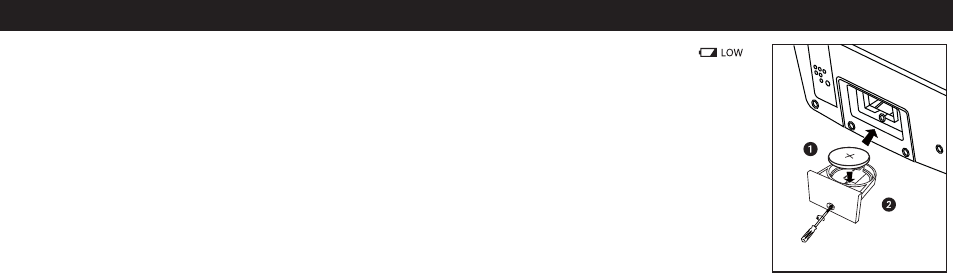
When the back-up battery voltage drops below a certain level the Low Battery indicator ( )
begins flashing in the display. When you see this indicator you should replace the battery as soon
as it is convenient for you to do so.
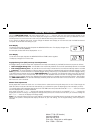
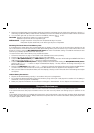
To replace the battery, proceed as follows:
IMPORTANT: Leave the radio connected to the AC outlet when replacing the battery to avoid
losing all of your time and alarm settings.
1. Purchase a replacement 3V lithium battery. The battery type is CR2450. This type battery is
available almost everywhere that batteries are sold.
2. Remove the battery from the packaging so it is ready to install.
3. Place that radio face down on a towel or similar soft surface to avoid scratching the front lens.
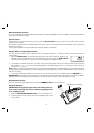
4. Use a small Phillips screwdriver to remove the screw that secures the battery holder and slide
the battery holder out of the cabinet.
Changing The Lithium Back-Up Battery
Battery Compartment