


5
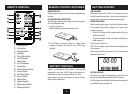
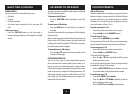
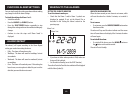
REMOTE CONTROL
a Standby button
b Mute button
c Function button
d Up button
e Select/Enter button
f { /Info button
g Down button
h /, /Scan button
i Sleep button
1) Snooze/Dimmer button
1! Alarm 2 button
1@ } /Preset button
1# Alarm 1 button
1$ Menu button
1% Numeric keypad
1^ Volume down button
1& Volume up button
BEFORE FIRST USE
Before using the remote control, the battery (supplied) must
be tted.
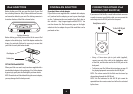
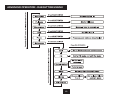
FITTING/REPLACING THE BATTERY
When tting or replacing the battery in the remote control,
refer to the diagram below.
1. Press the catch across.
2. While holding the catch, open the battery door.
Dispose of used batteries with regard to the recycling
regulations in your area. Do NOT short circuit batteries or
throw them into water, the general rubbish or in a re.
Weak batteries can leak and damage the remote control.
Replace them in good time!
REMOTE CONTROL BATTERIES
BATTERY DISPOSAL
3. Fit the battery observing polarity as shown. When
replacing the battery, use only the same CR2025 type
specied.
GETTING STARTED
DAB/FM AERIAL
Before using your radio for DAB or FM reception, unwrap
and fully extend the aerial wire. You may need to adjust the
position of the aerial wire for maximum signal strength.
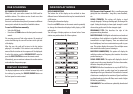
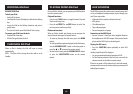
CONNECTING POWER
Before connecting the power, check that the mains voltage
on the rating plate of the AC adaptor is the same as the
voltage in your area.
Plug the DC cord from the AC adaptor into the DC jack on •
the back of the unit.
Plug the AC adaptor into the wall socket and switch the •
mains power on.
The unit is now ready for use.
NOTE:- The AC adaptor may become warm during operation
- this is normal.
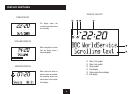
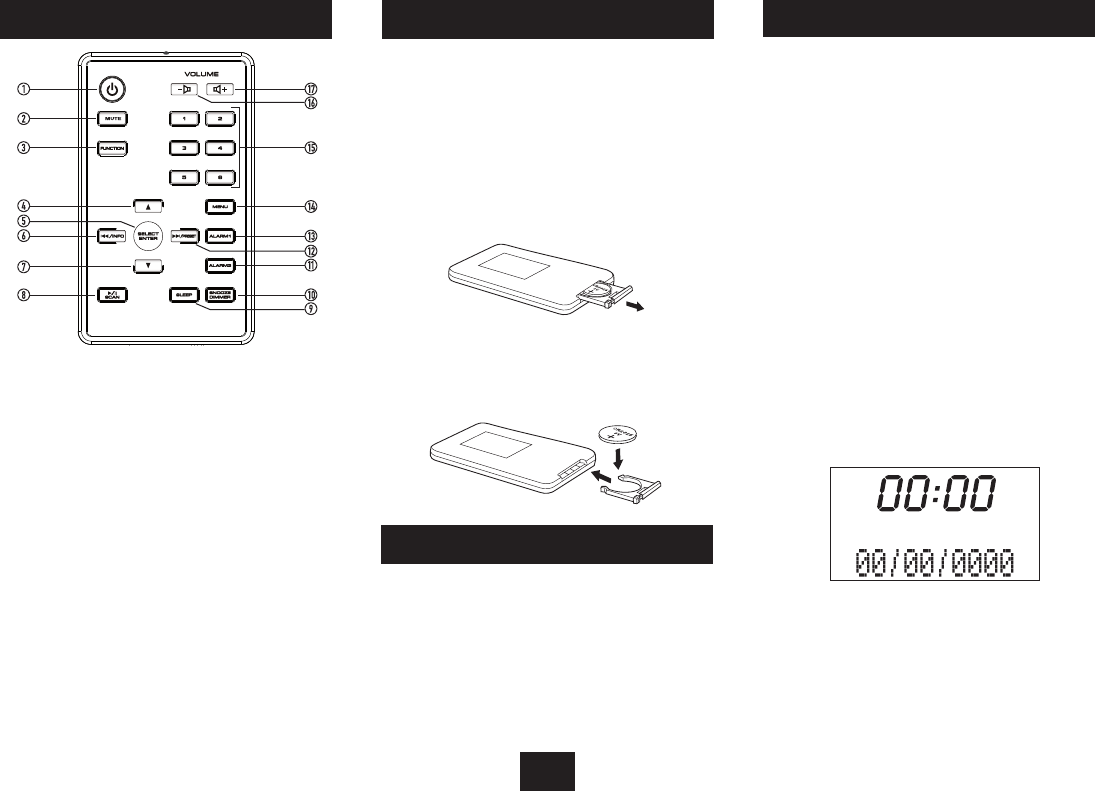
When rst connected to the power, the clock and calendar
display will show ‘zeros’.
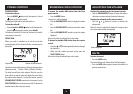
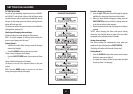
SETTING THE CLOCK
The clock on your radio is automatically set when rst used
from the time signal broadcast with DAB radio stations.
If a DAB station is not available, the clock may be set manually
via the MENU system (see page 13).