English
69
Setup Menu Options
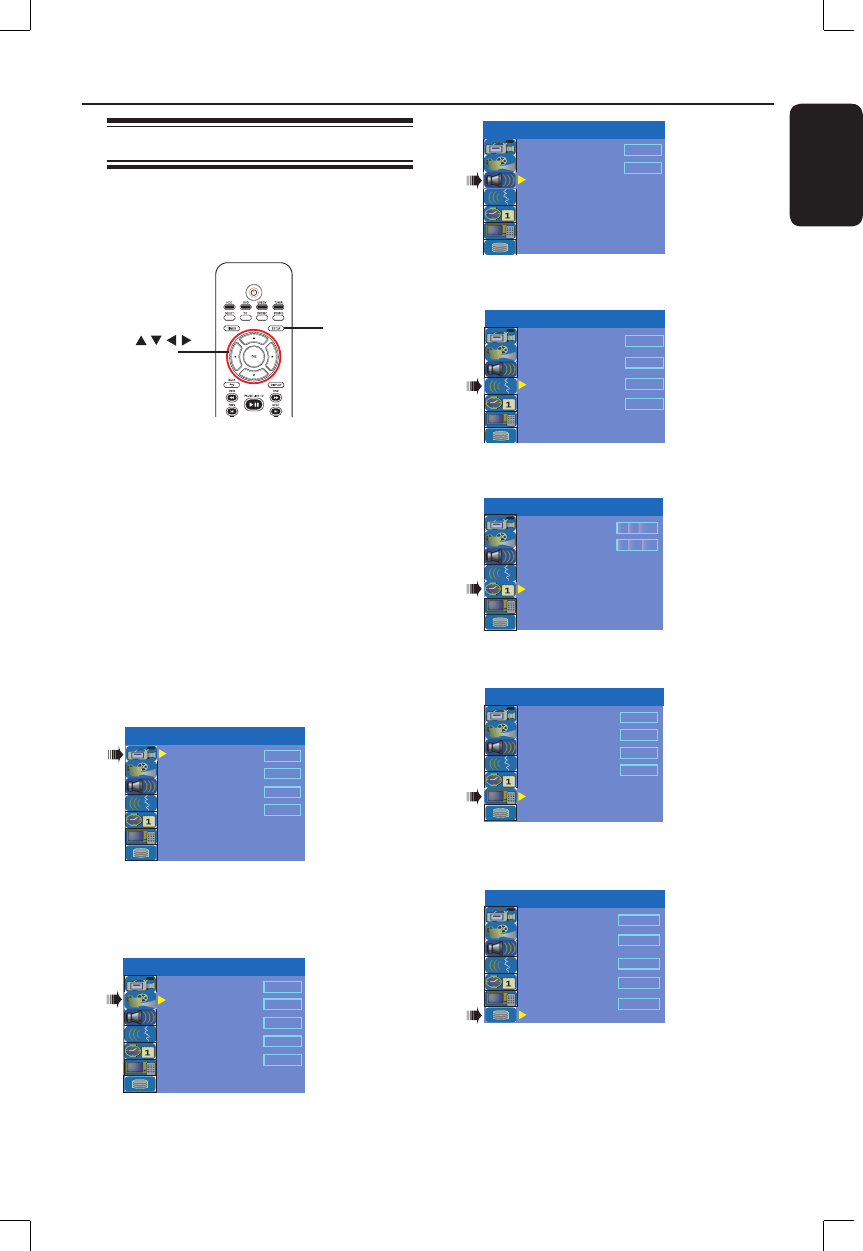
Accessing the Setup Menu
The setup menu provides various options
for you to adjust the recorder to suit
your preferences.
SETUP
OK
A
Press SETUP on the remote control.
The setup menu appears on TV.
B
Use ST keys to highlight a setup option
and press X to access.
C
Use ST keys to highlight the setting you
wish to change and press OK to con rm
and go back to the previous menu item.
Instructions and explanation of the
options are provided in the following
pages.
D
To exit, press SETUP.
Record Quality
Auto Program
Manual Program
SP
Search
Edit
Auto Chapter Marker
5min.
SETUP MENU - GENERAL
See chapters “Before Recording” and
“Setup Menu Options – GENERAL
settings”
TV Shape
Progressive Scan
DivX(R) Video on Demand
4:3 LB
TV System
NTSC
Off
OK
YesDVD
Set
SETUP MENU - VIDEO
See this chapter “Setup Menu Options –
VIDEO settings”
SETUP MENU - AUDIO
LPCM Output
LPCM 96Hz
SPDIF Output
RAW
See this chapter “Setup Menu Options –
AUDIO settings”
Audio Language
Subtitle Language
Off
System Language
Disc Menu Language
English
English
SETUP MENU - LANGUAGE
English
See the chapter “Step 3: Installation and
Setup – LANGUAGE settings”
SETUP MENU -
DATE / TIME
Time(hh:mm)
Date(mm/dd/yyyy)
01 01 2006
10 : 33 AM
See the chapter “Step 3: Installation and
Setup – DATE/TIME settings”
SETUP MENU - PREFERENCES
Change Password
Reset Menu Settings
Screensaver
OK
Parental Level
Off
OK
On
See this chapter “Setup Menu Options –
PREFERENCES settings”
HDD Info
Space Management
Automatic
Save Time Shift Buffer
Delete HDD
Delete Optical Disc
No
SETUP MENU - HDD
Show
OK
OK
See the chapter “Before Recording –
HDD settings”
