9
- -
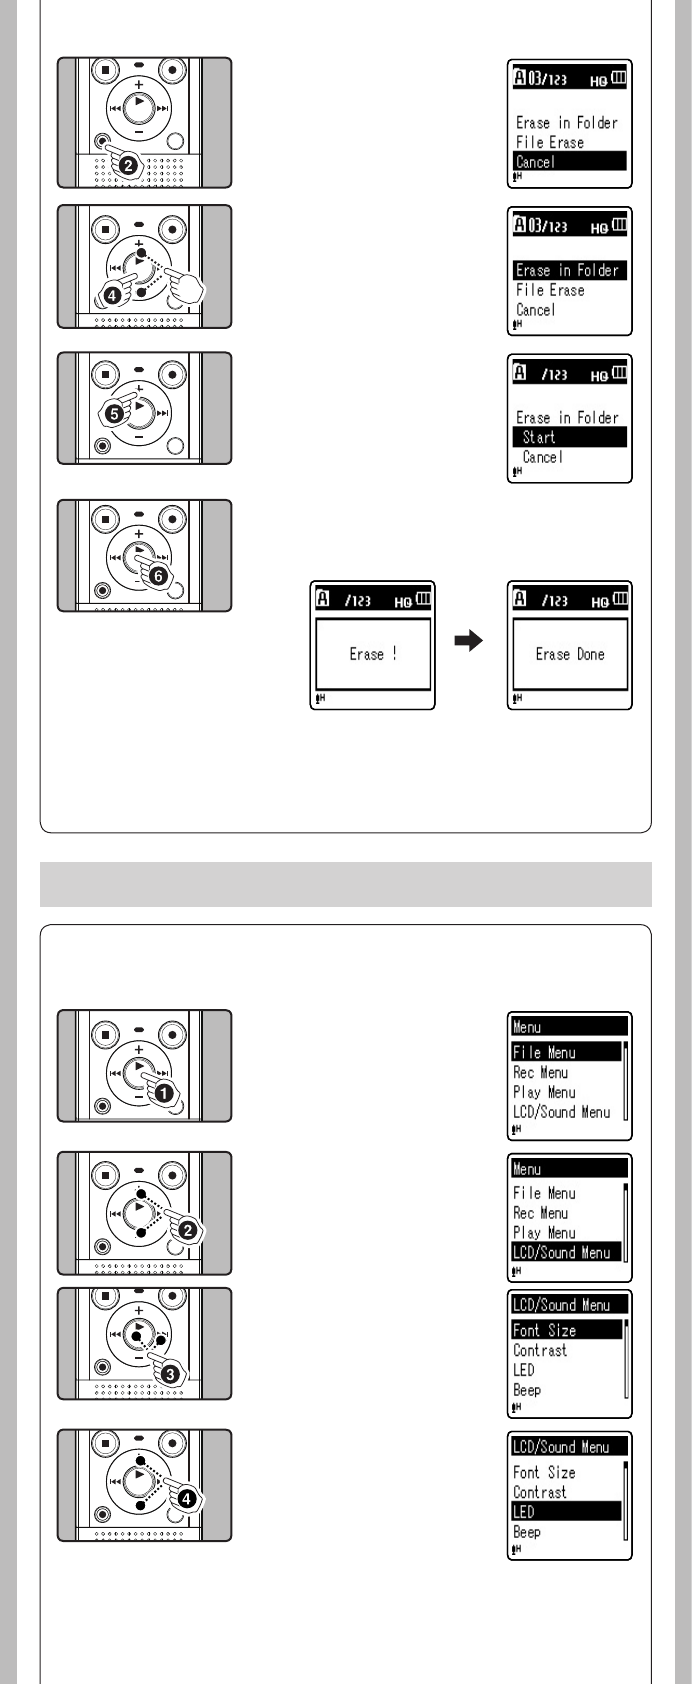
2 While the recorder is dur-
ing stop mode, press the
ERASE
button.
3 Press the
+
or
−
button to
select [
Erase in Folder
] or
[
File Erase
].
4 Press the `
OK/MENU
button.
5 Press the
+
button to
select [
Start
].
6 Press the `
OK/MENU
button.
• The display changes to [Erase!] and erasing will start.
• [Erase Done] is displayed when the file is erased. File
numbers will be reassigned automatically.
Notes:
• The locked les and les set as read-only cannot be erased.
• If an action is not selected within 8 seconds, the recorder will return to stop status.
• It may take over 10 seconds to complete processing. Never remove batteries during this time
because data may be corrupted. In addition, replace the batteries with new ones in order to ensure
that the batteries will not run out while processing.
• You cannot delete folders through the recorder.
h Menu setting method
Items in menus are categorized so that you can quickly set a desired item. You can set each menu
item as follows.
1 While the recorder is dur-
ing stop mode, playback
mode or recording mode,
press the `
OK/MENU
but-
ton for 1second or longer.
2 Press the
+
or
−
button
to move to the item you
want to set.
3 Press the `
OK/MENU
or
9 button to move the
cursor to the item to set.
4 Press the
+
or
−
button
to move to the item you
want to set.
Menu setting
3
