


6
III.
PROGRAM MODE
To enter the Program Mode, hold down the “MODE/MIN” button for 3 seconds, until the time zone
flashes at the bottom of the display. The Program Mode Guide is laid out in a manner that allows you
to program each function separately, or you can follow the instructions entirely to program the
projection alarm. Complete programming is usually done for the initial set-up, and will require you to
skip step 1 and 2 of programming sections D-H. To exit the setting mode simply wait approximately
10 seconds for the projection alarm to automatically return to normal operation.
A. PROGRAMMING SEQUENCE
1. Time Zone Setting
2. Manual Time Display
3. Year Setting
4. Calendar Display
5. Time Display in 12/24 hour Mode
6. Indoor Temperature Display
7. Daylight Saving Time On/Off
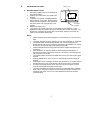
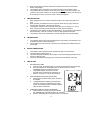
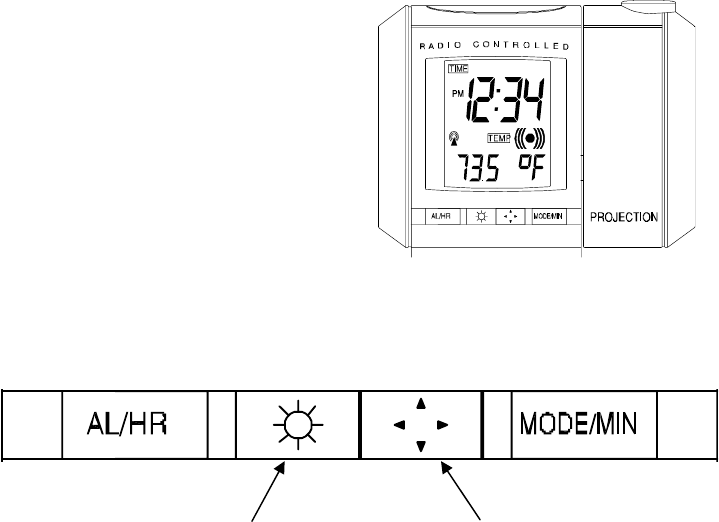
B. FUNCTION BUTTONS
There are 4 function buttons located on the front of the projection alarm and one on the top.
The function buttons are labeled (from left to right): AL/HOUR, light intensity, light direction,
MODE/MIN, and SNOOZE (the top bar).
C. TIME ZONE SETTING
1. Hold down the “MODE/MIN” button for 3 seconds; the time zone will appear and begin
to flash in the bottom section of the LCD.
2. Use the “MODE/MIN” button to toggle through the time zones and select the
appropriate zone. There are 24 time zones to choose from (based relative to the
international time standard of GMT (Greenwich Mean Time).
3. Press and release the “SNOOZE” bar to confirm selection and advance to the next
section of the set-up.
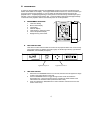
Light Intensity Icon Light Direction Icon