


7
Note:
Reception of the WWVB signal will also set the date and day. The reception of the signal will
override any programmed date and day.
1. Press and hold the SET button for 5 seconds.
2. “LCD” will show in the TIME LCD and the number setting will flash.
3. Press and release the SET button seven times.
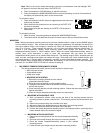
4. The year will flash in the DATE LCD.
5. Press and release the ALM/+ button to advance the year.
6. Press and release the SET button to confirm the year and advance
to the month setting.
7. The month will flash in the DATE LCD.
8. Press and release the ALM/+ button to advance the month.
9. Press and release the SET button to confirm the month and
advance to the day setting.
10. The day of the month will flash in the DATE LCD.
11. Press and release the ALM/+ button to advance the day of the
month.
12. Press and release the SET button to confirm and advance to the snooze setting.
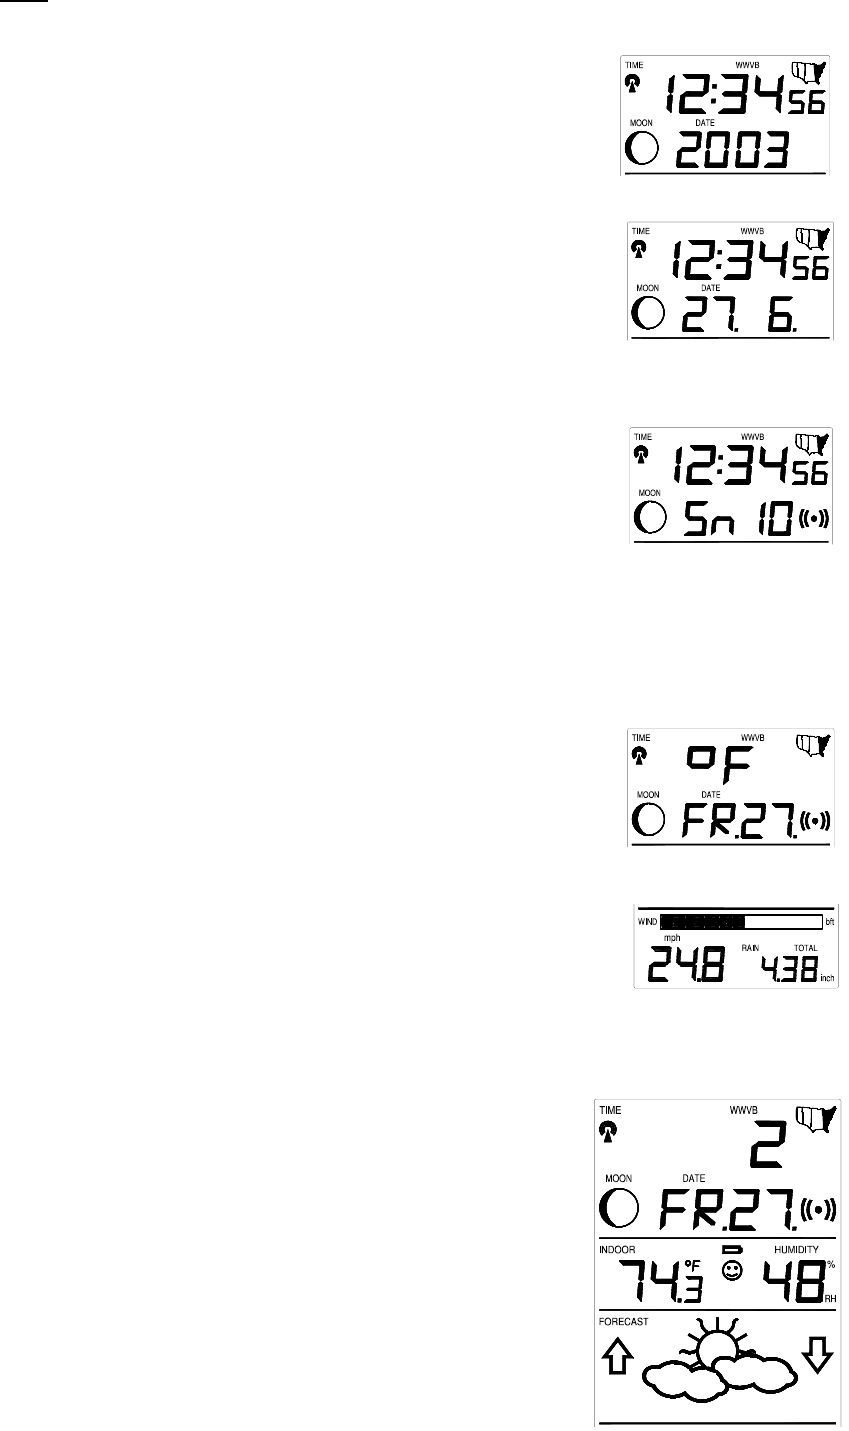
X. SETTING THE SNOOZE
1. Press and hold the SET button for 5 seconds.
2. “LCD” will show in the TIME LCD and the number setting will flash.
3. Press and release the SET button ten times.
4. “Sn” will appear in the DATE LCD and a number will be flashing next
to it.
5. Press and release the ALM/+ button to select the duration of the
snooze.
Note: The snooze can be set for 0 to 30 minutes in 5-minute increments. If 0 minutes is selected
pressing the WIND/SNZ button will deactivate the alarm and it will not come back on.
6. Press and release the SET button to confirm and advance to the temperature format setting.
XI. SELECTING °F OR °C
1. Press and hold the SET button for 5 seconds.
2. “LCD” will show in the time LCD and the number setting will flash.
3. Press and release the SET button eleven times.
4. Either ”°F” or “°C” will flash in the TIME LCD.
5. Press and release the ALM/+ button to select the temperature
format.
6. Press and release the SET button to confirm and advance to the rainfall unit setting.
XII. SETTING THE UNIT OF RAINFALL (inch/ mm)
1. Press and hold the SET button for 5 seconds.
2. “LCD” will show in the time LCD and the number setting will flash.
3. Press and release the SET button twelve times.
4. Either ”inch” or “mm” will flash in the TIME LCD (bottom right corner)
5. Press and release the ALM/+ button to select the desired rainfall unit.
6. Press and release the SET button to confirm and advance to the forecast sensitivity setting.
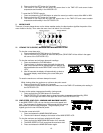
XIII SETTING THE FORECAST SENSITIVITY
Note: The forecast sensitivity can be adjusted to allow for areas
that have a higher or lower sensitivity to changing air pressure (for
example coastal areas have more pressure change than areas such
as southern Arizona).
The numbers correspond to the amount of air pressure change
necessary to trigger a change in the forecast icon. Areas that tend
to have more air pressure change would set the sensitivity to 3,
while areas that experience lower than normal air pressure change
would set the sensitivity to 1.
1. Press and hold the SET button for 5 seconds.
2. “LCD” will show in the TIME LCD and the number setting will
flash.
3. Press and release the SET button twelve times.