Version 1.3 - 11/13/2008
Page 7 of 25
IMPORTANT MESSAGE:
Please DO NOT insert batteries into the Wireless Display or the Outdoor Sensor
until instructed to do so.
Set Up your WD-2512UR-B
Open www.weatherdirect.com in a web browser and click “REGISTER” at the top
of the page. Our Online Registration Wizard will guide you through the complete
registration process.
Hardware Installation
NOTE: Hardware installation is only intended to be performed after you have
registered your Wireless USB Transceiver and Wireless Display and have
confirmed successful reception of weather data.
Optional TX-50U Wireless Outdoor Sensor Installation Options
OPTIONAL: TX-50U Wireless Outdoor Temperature Sensor – Measures the
outdoor temperature where you are and sends temperature data to your Wireless
Display with a wireless range of up to 330 feet (open air). See
www.weatherdirect.com
for details on how to add this sensor to your system.
NOTE: Move the Wireless Outdoor Sensor into its intended location and wait for
10 minutes to make sure the outdoor temperature is still being received by the
Wireless Display. Press the “+” Key on your Wireless Display to show the
outdoor temperature. If the display shows - -,-F for the outdoor temperature, the
signal cannot reach the Wireless Display. Find a closer location to mount the
Wireless Outdoor Sensor and wait 10 minutes to check the Wireless Display
again for reception.
DO NOT mount the Wireless Outdoor Sensor in a permanent fashion until
you are sure the signal is being received by the Wireless Display.
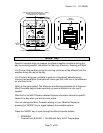
To Surface Mount the Outdoor Sensor:
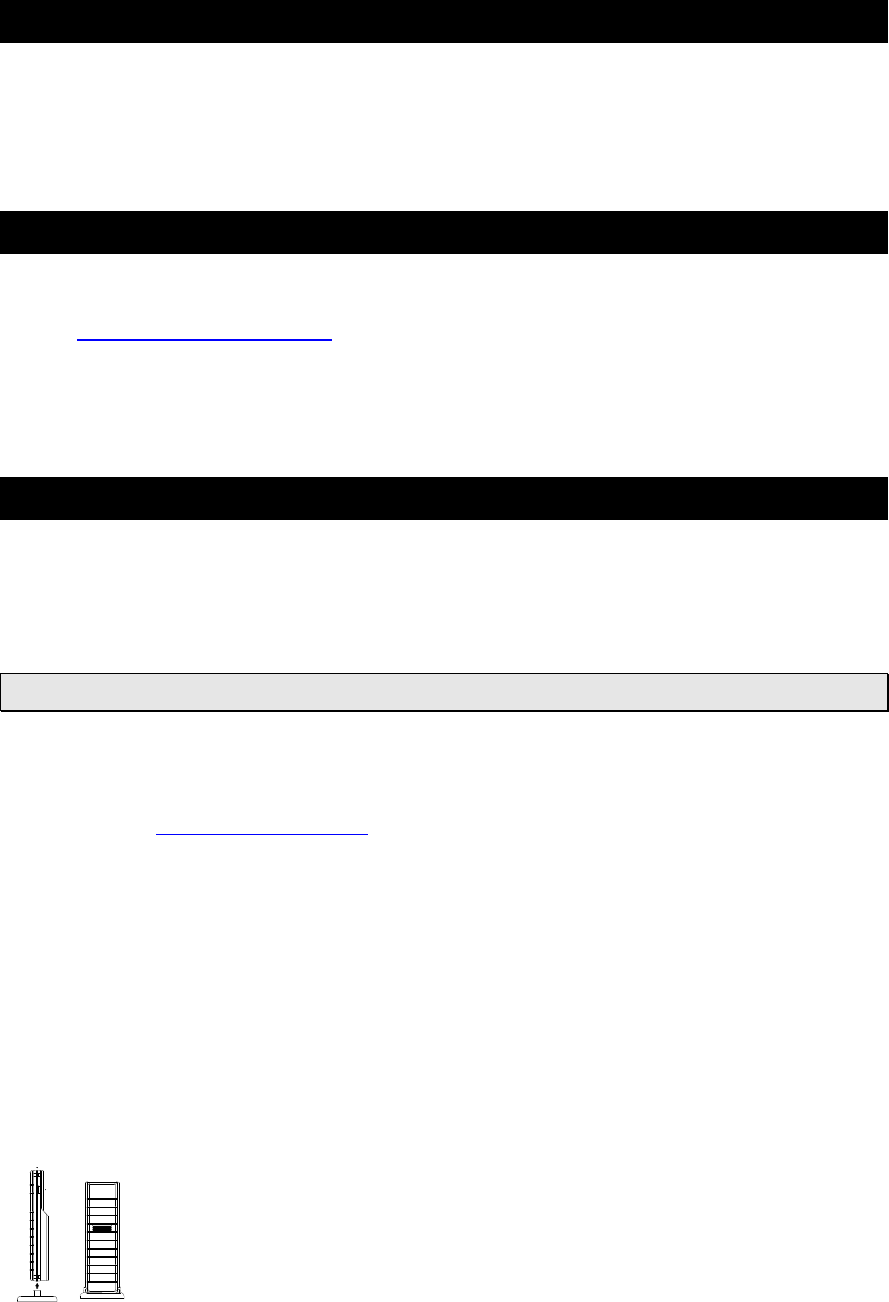
We have provided a mounting plate that you can attach to a surface
with the supplied screws. The Sensor can be positioned on a flat
surface by securing the stand to the bottom by gently pushing the


