Replacing Clock Back-up Battery
7
Dimmer Operation
During normal operation, press the Snooze/Dimmer Button to control the brightness of the LCD display.
USB Charging
The unit has a USB charging port located on the back of the unit.
1. To charge your device, connect one end of a USB charging cable (not included) into the USB charging port on the unit
and the other to your device’s charging port.
2. Monitor the charging status on your device. If it does not appear to be charging, try moving the USB Mode Switch on
the unit to the other position.
NOTE: While the USB port should charge the majority of devices, some makers use proprietary standards and their
devices may not charge. If this occurs, use the charger that came with the device.
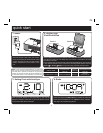
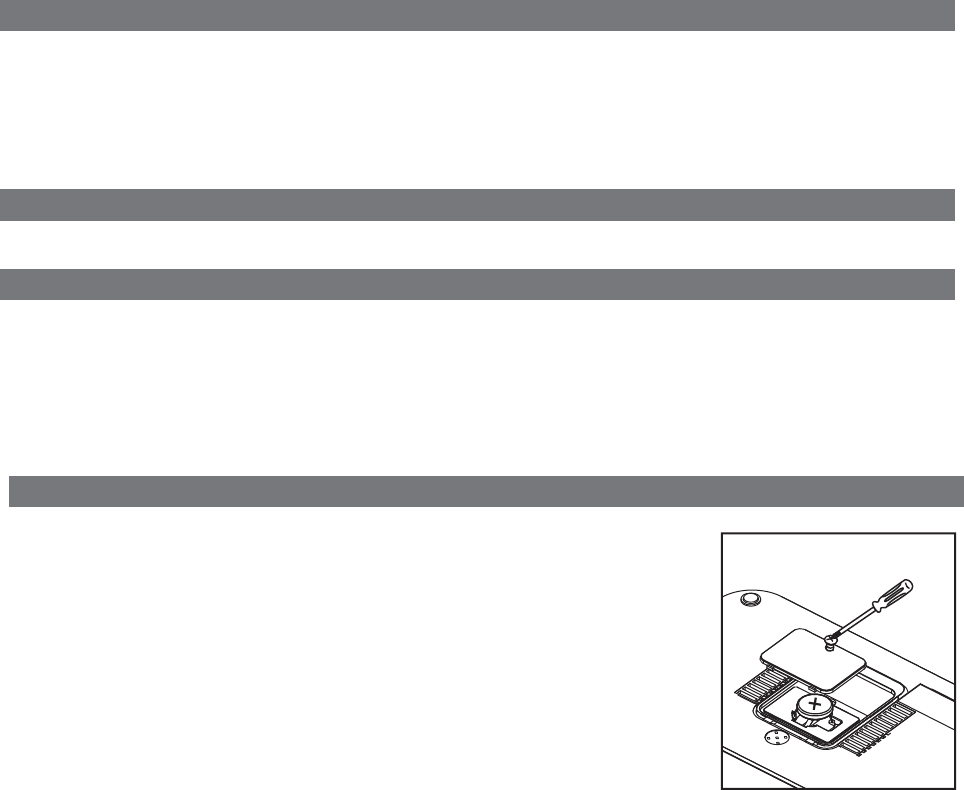
The unit comes with 1 CR2450 back-up battery installed to provide continuous alarm
operation and clock settings in the event of a power failure. Remove the battery pull
tab before use. When the Battery Low Icon located on the lower right of the display is
flashing, it is time to replace the back-up battery. The battery compartment is located on
the bottom of the unit.
1. Please make sure the AC adaptor is connected, otherwise all settings may be lost
during battery replacement.
2. Use a Phillips screwdriver to remove the battery compartment cover located on the
bottom of the unit. Remove the exhausted battery.
3. Insert 1 CR2450 battery checking that the + side is facing you. Replace the
compartment door.
Note: Make sure you dispose of battery properly (see your local regulations).
WARNING: Lithium batteries can explode or cause burns if disassembled, shorted, recharged, exposed to water, fire,
or high temperatures. Do not place loose batteries in a pocket, purse, or other container containing metal
objects, mix with used or other battery types, or store with hazardous or combustible materials. Store in
cool, dry, ventilated area. Follow applicable laws and regulations for transport and disposal.
Replacing Backup Battery
P9
Nap Operation
Nap mode lets you set an alarm separate from the Alarm 1 and Alarm 2 settings. The nap wake to source by default is the
buzzer alarm.
1. Press the Nap Button located on the top of the unit as needed to adjust the nap timer for 5, 10, 15, 20, 30, 45, 60, 90
or 120 minutes or OFF.
2. The nap time remaining will appear on the display as the time diminishes. Pressing the Nap Button again will change
nap time to the next highest setting.


