


7” and 9” Dual-Screen Portable DVD Players
5
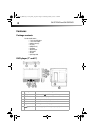
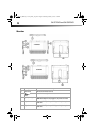
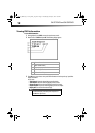
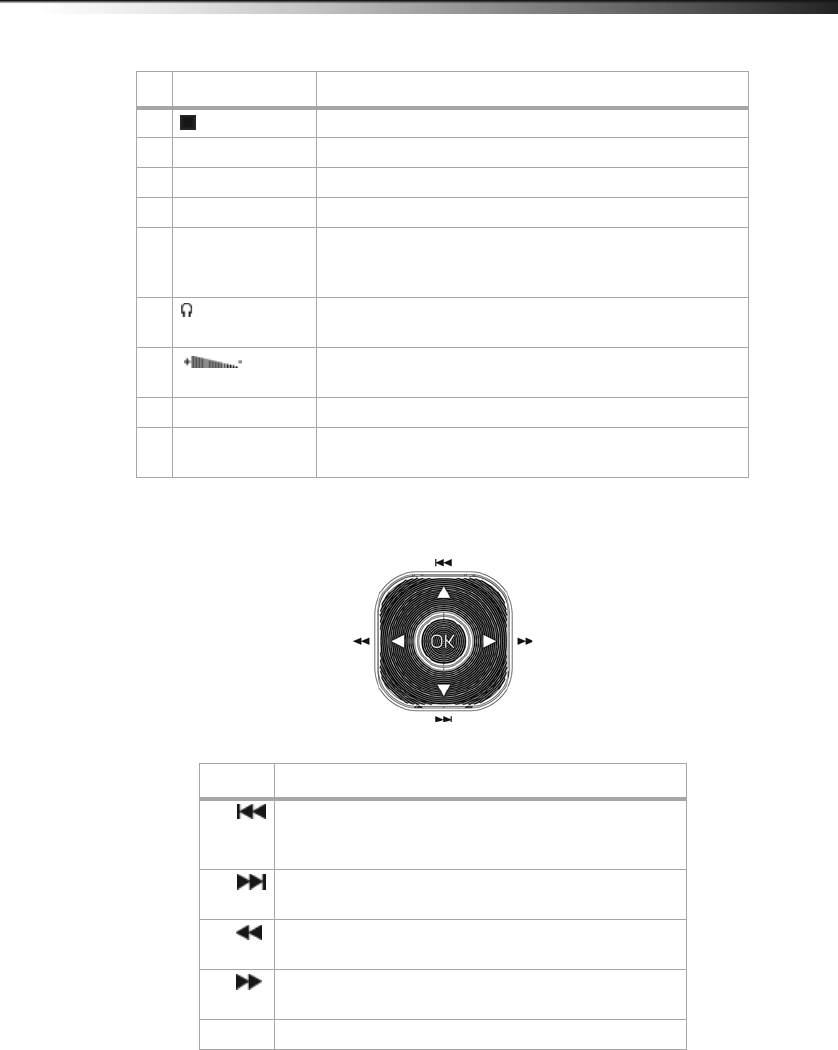
Navigation controls
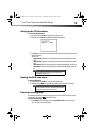
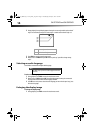
7 (Stop) button Press to stop disc playback.
8 Power indicator Lights when your player is powered and turned on.
9 DC IN jack Connect the AC adapter or vehicle charger to this jack.
10 DC OUT jack Connect the extra monitor to this jack using the AV/DC cable.
11 AV OUT jack Connect the extra monitor to this jack using the AV/DC cable, or
connect a remote monitor, TV, or amplifier to this jack using the
supplied AV cable and an RCA cable (not supplied).
12 (headphone) jack Plug headphones into this jack. Note: When headphones are
plugged in, the internal speakers are muted.
13 (volume
control)
Rotate this knob to adjust the volume.
14 Stand Pull out to set up your player on a desktop or table.
15 Strap slots Slide the mounting straps through these slots when installing the
player in a vehicle.
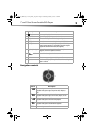
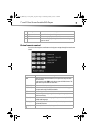
Control Description
S/ In Menu mode, press to move up in a list or menu.
In playback mode, press to go to the previous title, chapter, or
track.
T/ In Menu mode, press to move down in a list or menu.
In playback mode, press to go to the next title, chapter, or track.
W/ In Menu mode, press to move left.
In playback mode, press to fast reverse the playback.
X/ In Menu mode, press to move right.
In playback mode, press to fast forward the playback.
OK In menu mode, press to confirm a selection.
# Component Description
DX-D7_D9PDVD_12-1341_MAN_V2_EN.fm Page 5 Wednesday, January 9, 2013 1:40 PM