Using other functions
09
86
en
Making an audio or a video recording
You can make an audio or a video recording from the
built-in tuner, or from an audio or video source
connected to the receiver (such as a CD player or TV).
1
Keep in mind you can’t make a digital recording from an
analog source or vice-versa, so make sure the
components you are recording to/from are hooked up in
the same way (see Connecting your equipment on
page 17 for more on connections).
Since the video converter is not available when making
recordings (from the video OUT jacks) make sure to use
the same type of video cable for connecting your recorder
as you used to connect your video source (the one you
want to record) to this receiver. For example, you must
connect your recorder using Component video if your
source h
as also been connected using Componen
t video.
For more information about video connections, see
Connecting an HDD/DVD recorder, VCR and other video
sources on page 30.
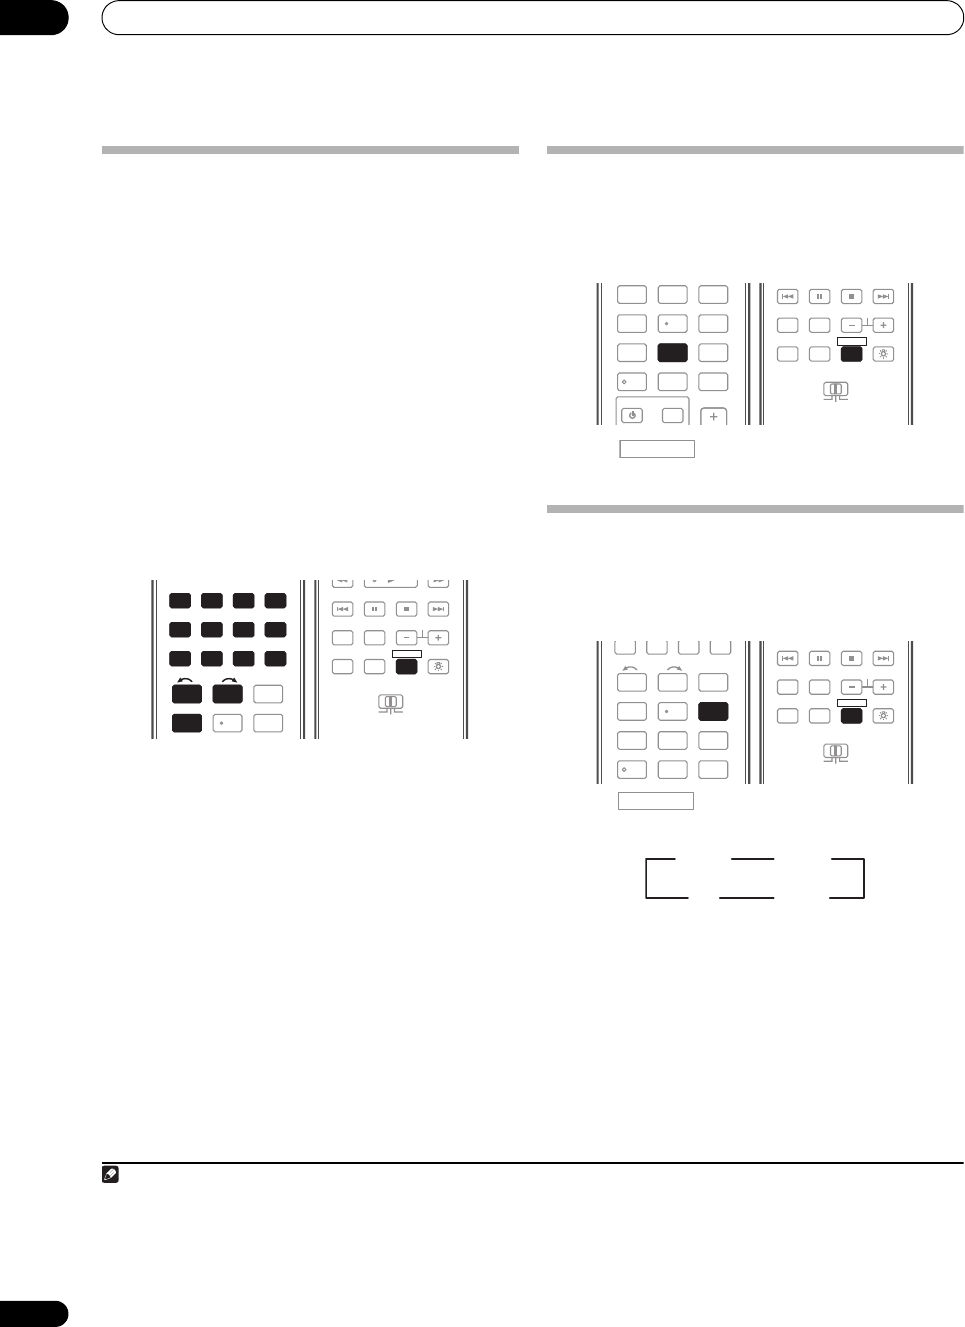
1 Select the source you want to record.
Use the input function buttons (or INPUT SELECT).
• If necessary, set the remote control to the receiver
operation mode, then press SIGNAL SEL to select the
input signal corresponding to the source component
(see Choosing the input signal on page 63 for more
on this).
2 Prepare the source you want to record.
Tune to the radio station, load the CD, video, DVD etc.
3 Prepare the recorder.
Insert a blank tape, MD, video etc. into the recording
device and set the recording levels.
Refer to the instructions that came with the recorder if
you are unsure how to do this. Most video recorders set
the audio recording level automatically—check the
component’s instruction manual if you’re unsure.
4 Start recording, then start playback of the source
component.
Reducing the level of an analog signal
The input attenuator lowers the input level of an analog
signal when it’s too strong. You can use this if you find
that the OVER indicator lights often or you can hear
distortion in the sound.
2
• Press , then press
A.ATT
to switch the
input attenuator on or off.
Using the sleep timer
The sleep timer switches the receiver into standby after a
specified amount of time so you can fall asleep without
worrying about the receiver being left on all night. Use
the remote control to set the sleep timer.
• Press , then press
SLEEP
repeatedly to set
the sleep time.
• You can check the remaining sleep time at any time
by pressing SLEEP once. Pressing repeatedly will
cycle through the sleep options again.
3
1• The receiver’s volume, Audio parameters (the tone controls, for example), Video parameters and surround effects have no effect on the
recorded signal.
• Some digital sources are copy-protected, and can only be recorded in analog.
• Some video sources are copy-protected. These cannot be recorded.
DVD BD DVR HDMI
TV CD CD-R
TUNER XM SIRIUS
HOME MEDIA
GALLERY
iPod USB
123
HDMI OUT
SLEEPMCACC
INPUT
SELECT
SIGNAL SEL
456
DIMMERA ATTSBch
DVD BD DVR HDMI
TV CD CD-R
TUNER XM SIRIUS
HOME MEDIA
GALLERY
iPod USB
12
INPUT
SELECT
SIGNAL SEL
4
REMOTE
SETUP
ZONE 2
MAIN
ZONE 3
ANT
AUDIO
MULTI OPE
INFO
DISP
MPX PQLS
MEMORY
CH
RECEIVER
TV CTRL
RECEIVER
2 The attenuator isn’t available with digital sources, or when using the Stream Direct (ANALOG DIRECT) modes.
3 • You can also switch off the sleep timer simply by switching off the receiver.
• The sleep timer is valid for all zones. If any zone is on, the sleep timer continues functioning.
INPUT
123
HDMI OUT
SLEEPMCACC
SELECT
SIGNAL SEL
456
DIMMERA.ATTSBch
789
CLASS
MASTER
VOLUME
CH LEVELD.ACCESS
/CLR
0
ENTER
A.ATT
8
REMOTE
SETUP
ZONE 2
MAIN
ZONE 3
ANT
AUDIO
MULTI OPE
INFO
DISP
MPX PQLS
MEMORY
CH
RECEIVER
TV CTRL
RECEIVER
RECEIVER
123
HDMI OUT
SLEEPMCACC
INPUT
SELECT
SIGNAL SEL
456
DIMMERA.ATTSBch
789
CLASS
MASTER
CH LEVELD.ACCESS
/CLR
0
ENTER
SLEEP
6
REMOTE
SETUP
ZONE 2
MAIN
ZONE 3
ANT
AUDIO
MULTI OPE
INFO
DISP
MPX PQLS
MEMORY
CH
RECEIVER
TV CTRL
RECEIVER
RECEIVER
SC-9540.book 86 ページ 2009年4月24日 金曜日 午後1時42分


