


1
Preparation For Use
Battery Back-up System
Your new Timex Bluetooth Clock Radio has a battery back up system that will maintain the time and alarm settings during a temporary
power interruption. The battery back up system requires two “AAA” batteries (not included). We recommend you use a well-known brand
of alkaline batteries for longest life and best performance. If you experience a power failure while batteries are installed, the display will turn
‘off’ but the clock will continue to run and maintain your alarm settings. When power is restored the display will turn ‘on’ again and the time
and alarm settings will be correct.
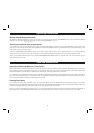
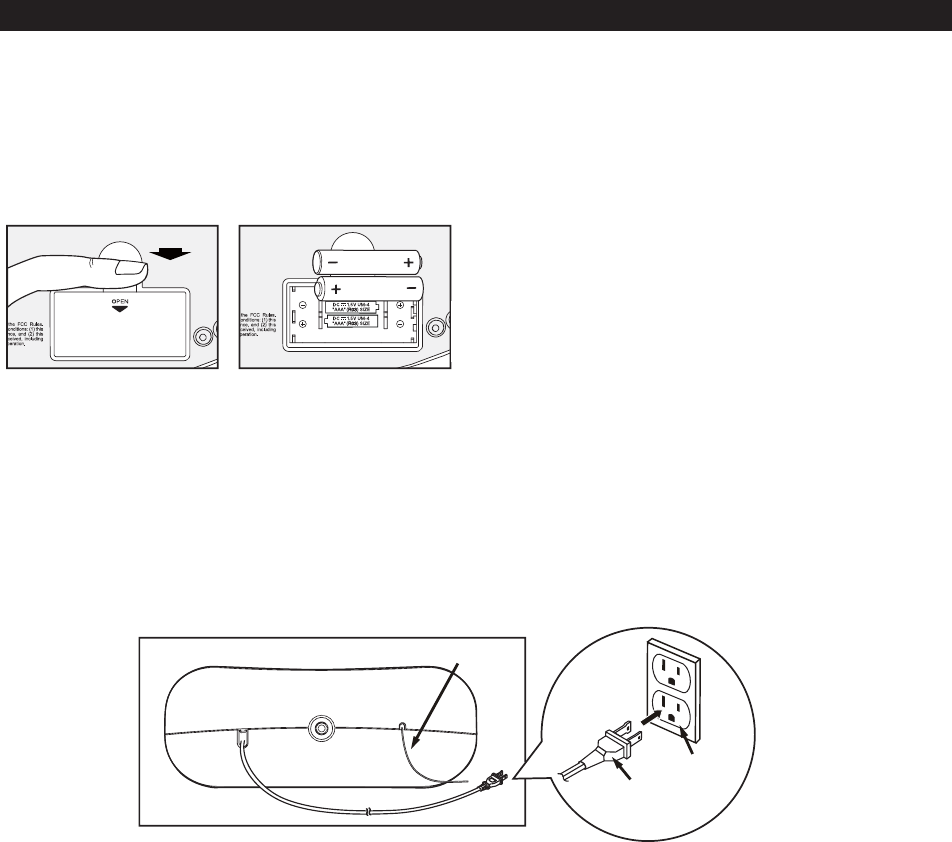
Installing The Batteries
Protect Your Furniture
This clock radio has two silicon rubber feet on the bottom cabinet to prevent the radio from sliding and to avoid scratching your furniture.
These rubber feet are designed not to leave marks on furniture. However the use of certain furniture polishes could cause the rubber feet
to soften and stick to your furniture. If this radio is going to be placed on fine, highly polished wooden furniture, you should place small
self-adhesive felt pads on the rubber feet, or place a cloth between the radio and the surface of the furniture.
AC Power Plug
This model is equipped with a polarized AC power plug that has one wide blade and one narrow blade. This plug will only fit in a polarized
AC outlet. This is a safety feature designed to prevent electric shock. Do not try to defeat this safety feature by filing the wider blade or
using an adapter to make this plug fit in a non-polarized outlet. If this plug will not fit in your outlet you should have your outlet changed
by a qualified electrician.
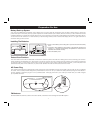
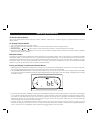
FM Antenna
Unwind the FM wire antenna, located on the back cabinet, and extend it to its full length for best FM reception.
AC Plug
FM wire antenna
AC Outlet
AUX IN
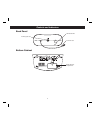
• Press on the battery door locking tab to open and remove the battery
door.
• Install two “AAA” batteries in the battery compartment. Observe the
polarity
(+/- ) markings in the battery compartment to make sure the
batteries are inserted correctly.
• Close the battery door.
Press