


User's Manual
8
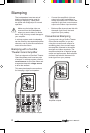
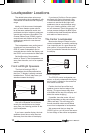
The CRS-3 loudspeakers can be wall
mounted vertically, for example, on either
side of a plasma display. We recommend
that the ribbon section is positioned at a
height close to ear-level, therefore you
can fi t the CRS-3 loudspeakers with the
ribbon at the bottom if necessary.
The CRS-3C center loudspeaker can
be fi tted horizontally, either above or
below the plasma display.
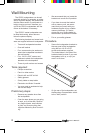
The following brackets and screw hard-
ware are supplied with each loudspeaker:
• Two small loudspeaker brackets
• One wall bracket
• Four screws and nylon washers to
attach the loudspeaker brackets to
the wall bracket
• Four 1/4-20 x 5/16” screws and
washers to attach the loudspeaker
brackets to the loudspeaker
• Three dry wall anchors and screws
Tools required:
• Phillips screwdriver
• Pencil or other marker
• Electric drill and 3/8" drill bit
• Safety glasses
• Sturdy ladder or step ladder
• Electronic stud fi nder if needed.
• You may need an assistant to help
with the last steps.
Preliminary steps:
• Remove any speaker wires from
the loudspeaker.
• Clear the area where you are going
to work, so it will be safe. Remove
any fragile objects, small children
or pets, and cover anything that
might be affected by dust from drill-
ing.
Wall Mounting
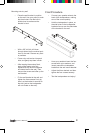
• We recommend that you locate the
bracket onto a wall stud if possible.
• If you have to mount the bracket
onto a masonry wall, we recom-
mend that you consult with your
hardware supplier to buy suitable
masonry hardware. If in doubt,
please ask your Sunfi re dealer to
recommend a professional installer.
• Put on your safety glasses.
Procedure
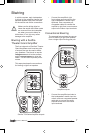
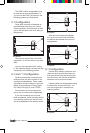
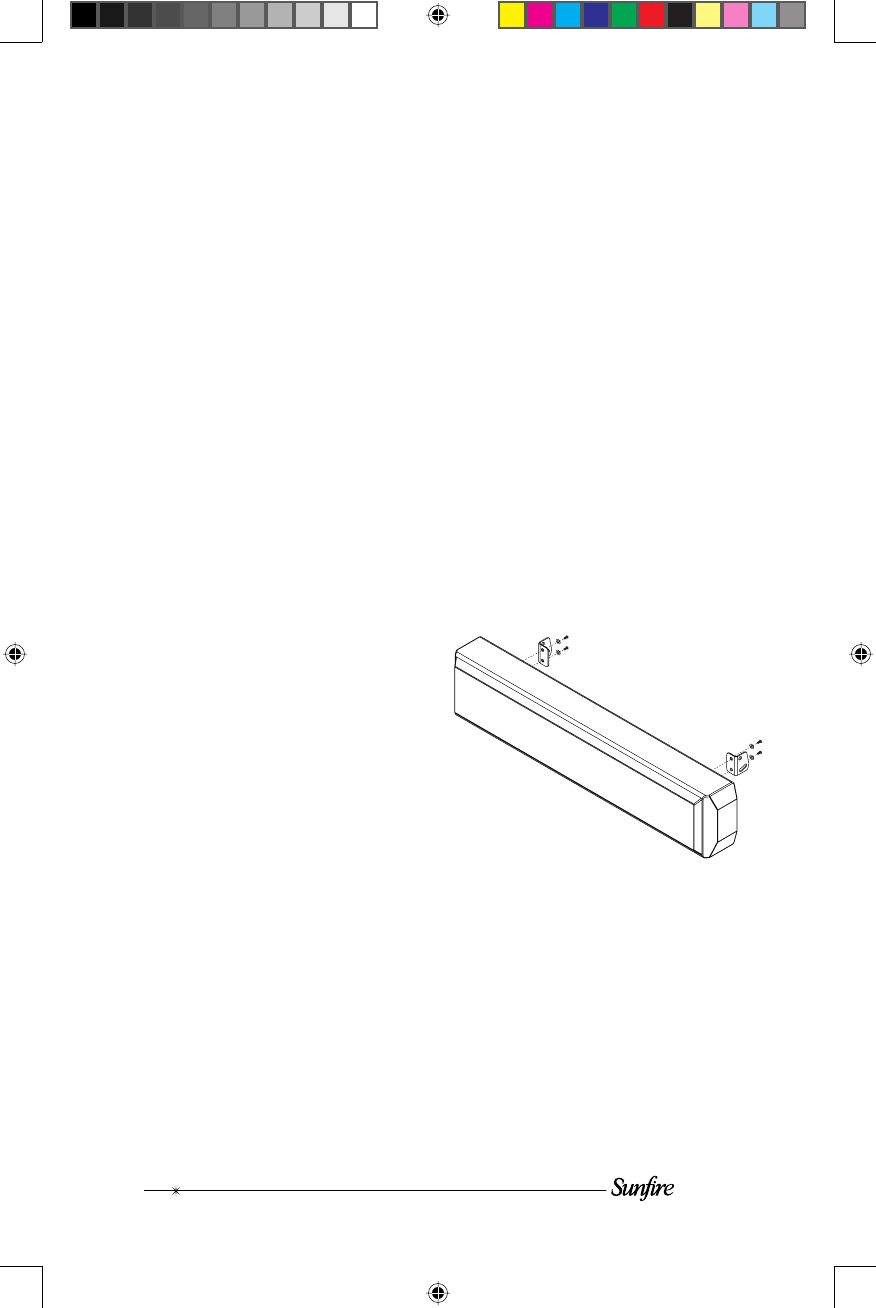
• Secure the loudspeaker brackets to
the rear panel of the loudspeaker
using the four 1/4-20 x 5/16”
screws and washers supplied.
The slotted holes in the side of the
bracket should be down if you want
the speaker to tilt up, or up if you
want it to tilt down.
• On the rear of the loudspeaker, set
the Boundary Compensation switch
to the "Wall" position.