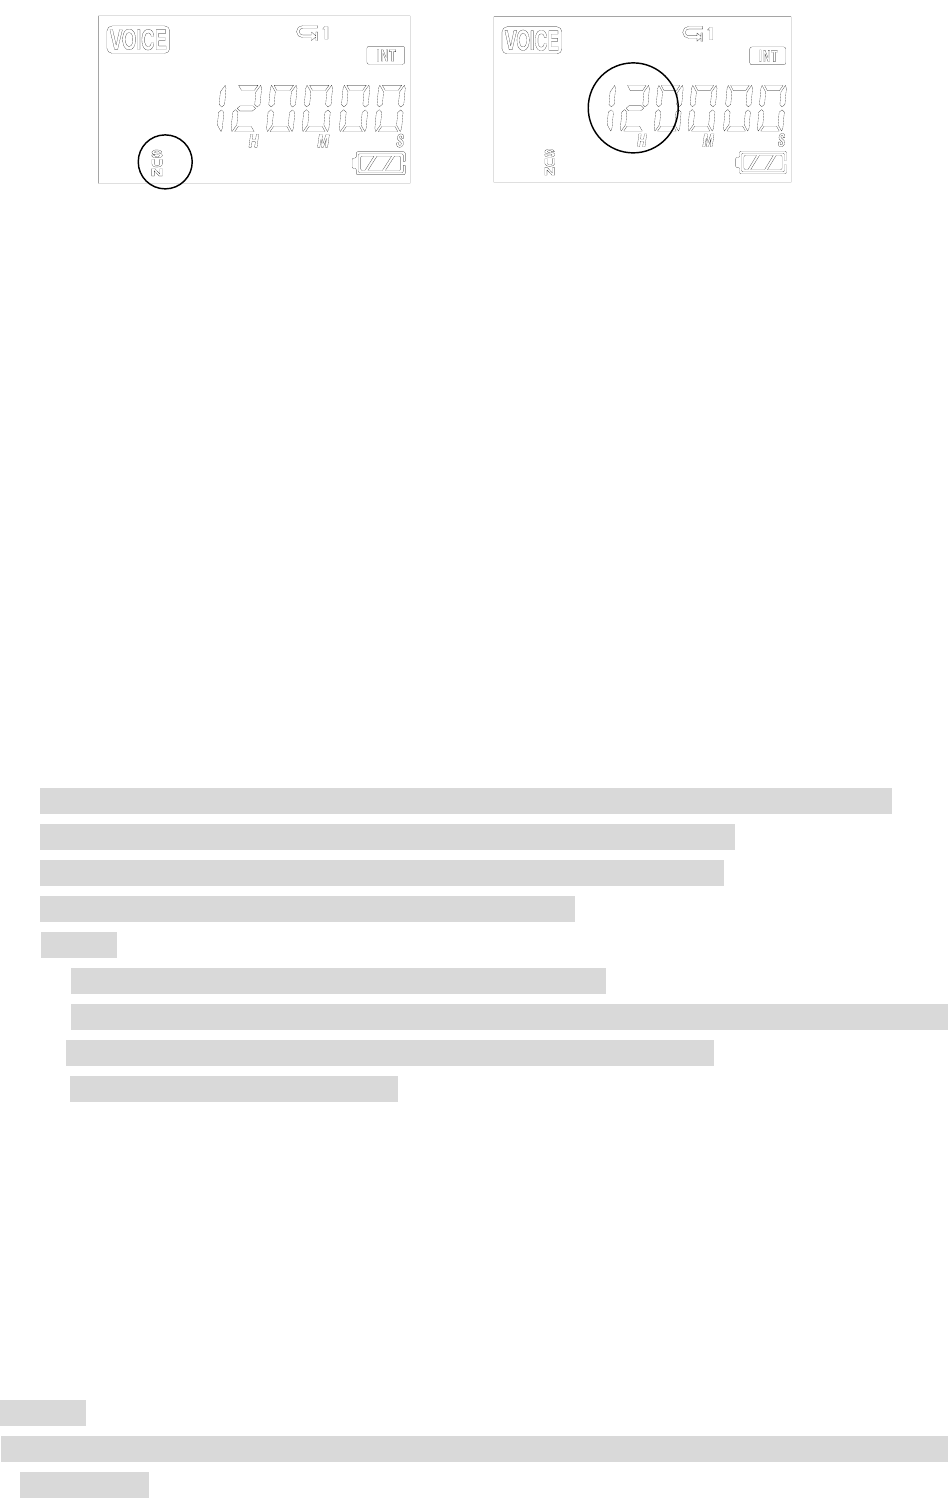
③ When the time setting is completed, you may return to the initial screen by pressing the
STOP button.
④ To check the time, press the TIMER button, the current time (hour/minute/second) will
display, and if you want to change the time, you may change the day/hour/minute by
pressing and holding the TIMER Button.
● How to Record
When you are in VOICE/AM/FM Mode, you may record using the RECORD Button.
① Select the mode by pressing the MODE Button.
(When you are in the AM/FM Mode, the frequency currently received is recorded).
② Press and hold the RECORD (REC/STOP) Button for about 1 second with the microphone
toward the sound source.
The recording is initiated and a red light indicating the recording is ON.
③ To stop recording, press the RECORD/STOP (REC/STOP) Button again.
※ Once recording is initiated, you may not stop recording for the first Five (5) seconds.
※ The recording is automatically recorded at the last available number.
※ When recording for a long time, replace the battery with a new one.
※ Check the capacity of the battery prior to recording.
※ Note
Perform a test recording to avoid an error in recording.
If the battery is completely run down during a recording, the message “low battery (BAT)”
will display on the screen and the power is automatically shut OFF.
Replace the battery with new one.
.
.
● Monitoring a Recording
You may listen to what is being recorded by connecting an earphone.
※ Note
-. Do not take the battery out during a recording because it may cause the recording to be lost or
a malfunction


