Initial Settings menu
11
60
En
Chapter 11
Initial Settings menu
Using the Initial Settings
menu
The Initial Settings menu gives you complete
control in setting up your DVD system,
including video output settings and parental
lock settings, among others.
If an option is grayed out it means that it
cannot be changed at the current time. This is
usually because a disc is playing. Stop the
disc, then change the setting.
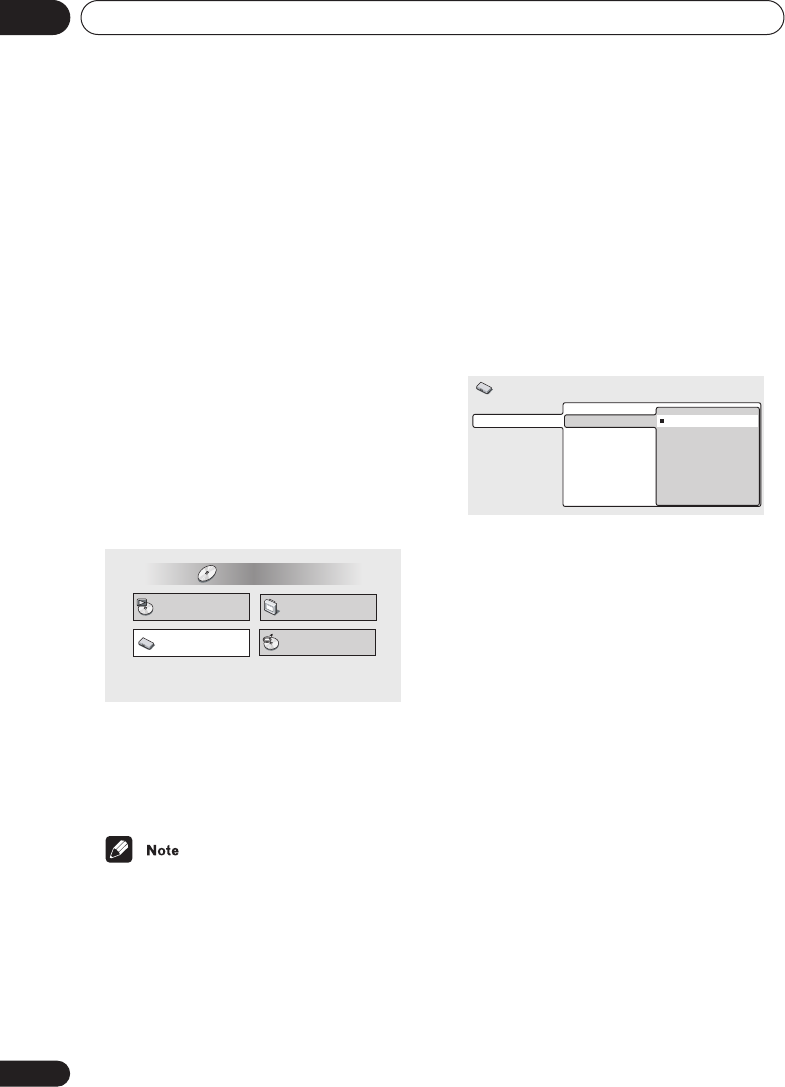
1 Press HOME MENU and select ‘Initial
Settings’ from the on-screen display.
2 Select the setup category from the list
on the left, then select an item from the
menu list to the right.
3 Make the setting you want.
• The language options shown in the on-
screen display illustrations on the
following pages may not correspond to
those available in your country or region.
Video Output settings
TV Screen
• Default setting:
4:3 (Letter Box)
Illustration shows the European model
If you have a widescreen TV, select the
16:9
(Wide)
setting—widescreen DVD software is
then shown using the full screen area. When
playing software recorded in conventional
(4:3) format, the settings on your TV will
determine how the material is presented—
see the manual that came with your TV for
details on what options are available.
If you have a conventional TV, select either
4:3
(Letter Box)
or
4:3 (Pan & Scan)
. In Letter
Box mode, widescreen software is shown with
black bars at the top and bottom of the
screen. Pan & Scan chops the sides off
widescreen material to make it fit the 4:3
screen (so even though the image looks
larger on the screen, you’re actually seeing
less of the picture). See also
Screen sizes and
disc formats
on page 82.
AV Connector Out
European model only
You only need to make this setting if you
connected this player to your TV using the AV
SCART-type connector.
Play Mode
Disc Navigator
Initial Settings
Video Adjust
HOME MENU
DVD
Video Output
Language
Display
Options
TV Screen
AV Connector Out
4:3 (Letter Box)
4:3 (Pan&Scan)
16:9 (Wide)
Initial Settings
HTS.book 60 ページ 2003年2月25日 火曜日 午後1時45分


