


13
Preparation
Note
Ask a friend or a professional personnel to •
safely mount the product under your kitchen
cabinet.
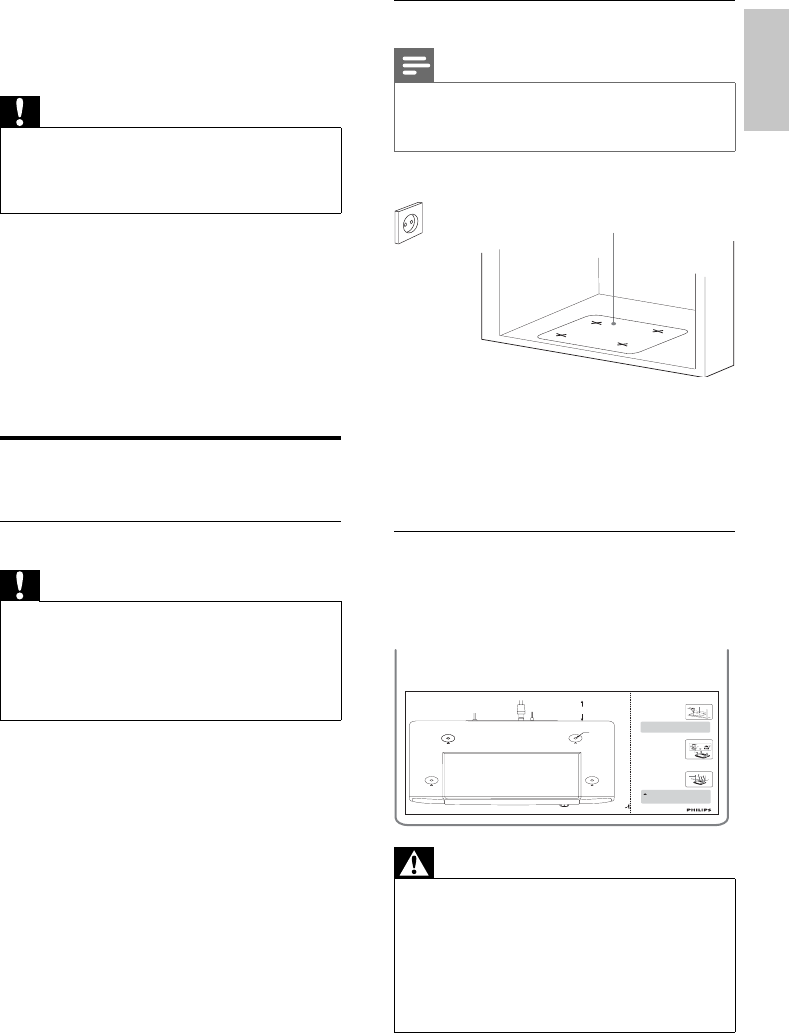
a. Find a mounting location near a wall outlet.
b. Use the mounting template to test the
design and thickness of your kitchen cabinet.
c. Decide whether you want to connect the
set with other audio/video equipment.
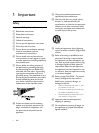
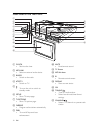
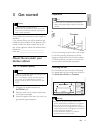
Mounting the set
For full details on how to use the Mounting
Kit, please refer to the printed instructions in
the Quick Start Guide and Template.
FRONT
Use 1/4"
drill
Recommended depth of cabinet
at the rear to allow for connections
FM
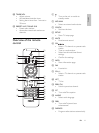
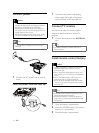
Mount it
Ask a friend to help you mount the unit as it is quite heavy.
A
•
Cut the template to fit inside the cabinet.
•
Align the template border marked "FRONT"
along the front edge of your cabinet.
•
Use adhesive tape to fix the template.
•
Drill 1/4 inch holes (size X.X mm diameter,X
inch),as marked X on the template.
•
Remove the template when you finish drilling.
B
Using the spacers
On the spacers,there are 4 pairs of notch length
options.Depending on the thickness of you cabi-
net bottom (with/ without an overhang),these
notch lengths correspond to the 4 notch height in
the space holders,and allow you to adjust to the
best height to help you mount the unit.
•
Measure the height of the cabinet bottom
and/overhang.
•
Turn the spacer counterclockwise to determine
which of the 4 heights is most suitable:High ••
Low
•
Insert the spacers accordingly.
C
•
Manuallyfasten the 4 screws down into the
spacer holder holes to mount your set.If the
overhang is more than 1 1/4 inch,use longer
screws (not included).
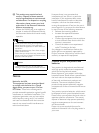
Tip
– Use a nail to start each drill hole.
– Hold your drill rmly at 90o with the cabinet bottom and drill holes at
low speed.
– Clear wood shavings.
Tip
To prevent damage to your set,do not use an electric drill
to secure screws when mounting!
– Hold the unit horizontally when installing it,since the CD tray may
open if the unit is shaken.
– Use the cable manager to manage excess power cord length.
C
Template
A
L
Spacer
L (Low)
L••H (4 heights)
Arrow
B
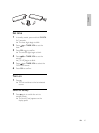
Warning
Never plug in the AC power cord to the •
power outlet before installation is completed.
Do not use a converter or extension cord.•
Install the set as far as possible from sources of •
interference, such as a refrigerator, microwave
oven, fl uorescent lamp, etc.
There should be at least 2.5” distance •
between the unit and the wall.
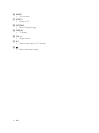
Template
b
a
3 Get started
Caution
Use of controls or adjustments or •
performance of procedures other than herein
may result in hazardous radiation exposure or
other unsafe operation.
Always follow the instructions in this chapter in
sequence.
If you contact Philips, you will be asked for the
model and serial number of this apparatus. The
model number and serial number are on the
rear of the apparatus. Write the numbers here:
Model No. __________________________
Serial No. ___________________________
Mount the set under your
kitchen cabinet
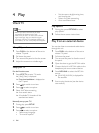
Test TV reception quality
Caution
Test the TV reception before mounting the set •
under the kitchen cabinet.
If the TV reception is poor, connect the main
•
unit with a fi x TV cable or buy an active
antenna (PHILIPS SDV 2740, SDV 6122, SDV
2750).
1 Connect the supplied antenna to
ANTENNA jack.
2 Place the main unit as close to open area
or window as possible.
3 Adjust the place of the main unit until you
get optimal signal reception.
English
EN