5
Using the Unit with Optional
Accessories
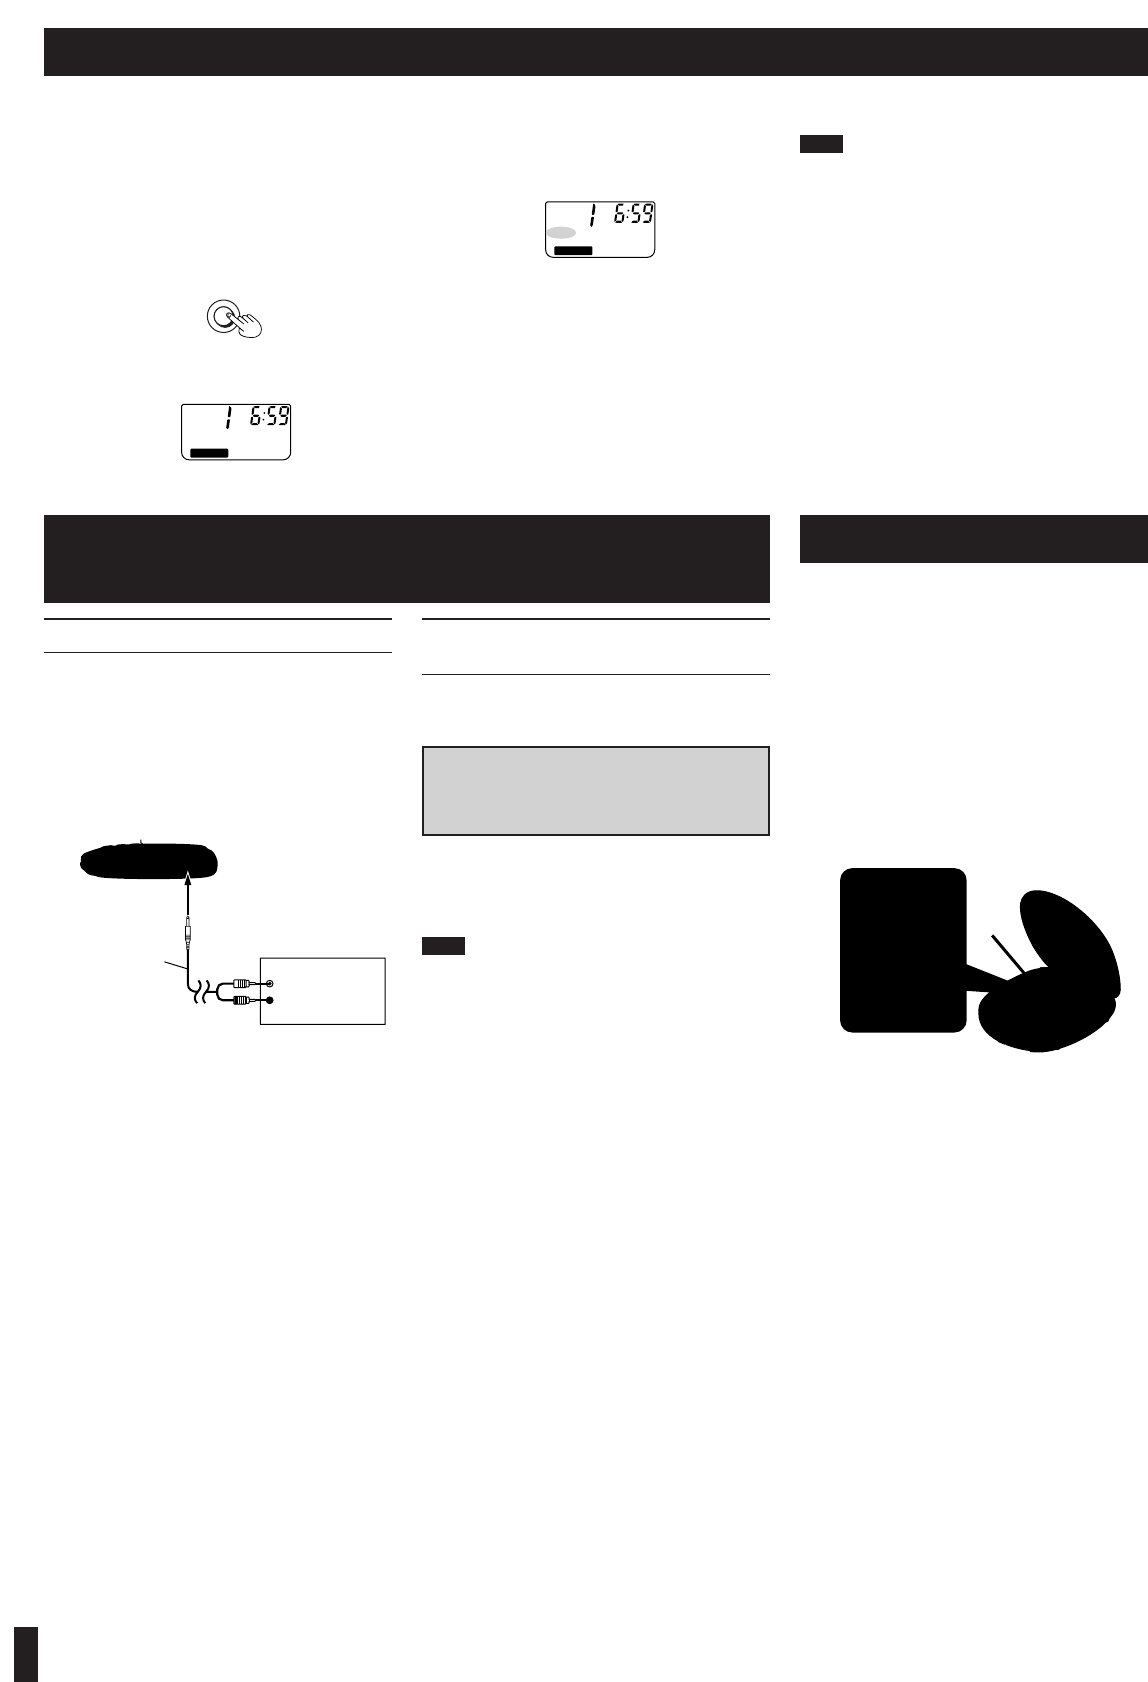
Using the unit with an audio system
Using the stereo connection cable (not included), you
can listen to CDs on your audio system.
≥Turn off the amplifier power and connect the cable.
≥Do not connect the cable to the PHONO jacks on the
amplifier.
≥Obtain the optional connecting cable if the amplifier
comes with mini-phone jacks.
≥Adjust the volume on the amplifier.
Using the unit with a car audio
system
Items to be purchased
For connection to the car audio system:
Car stereo cassette adaptor (SH-CDM10A)
For securing the unit and connecting the
power supply:
≥Car adaptor (SH-CDC9)
≥Car mounting kit (SH-CDF7)
≥Car mounting arm, Car insulator
Note!
≥It may not be possible to use the unit with some types
of car stereo owing to restrictions imposed by the con-
struction of the car stereo cassette adaptor.
≥Move the unit away from the car adaptor if noise inter-
feres with the radio.
For further details, refer to the instructions of the part
concerned.
L
R
Connect the car stereo cassette adaptor to the
unit’s headphone jack. (When doing this, keep
the unit’s VOLUME at a setting between 4 and
6.)
Maintenance
If the surfaces are dirty
To clean this unit, wipe with a soft, dry cloth.
If the surfaces are extremely dirty, use a soft cloth
dipped in a soap-and-water solution or a weak deter-
gent solution.
≥Never use alcohol, paint thinner or benzine to clean
this unit.
≥Before using chemically treated cloth, read the instruc-
tions that came with the cloth carefully.
Maintaining the lens
Open the lid and clean the lens as shown in the figure.
Use a cotton swab to gently wipe off any finger-prints.
Recommended product: Lens cleaner kit (SZZP1038C)
RQT5160
OUT jack
Side panel of the unit
Amplifier
(White)
(Red)
Stereo phono cable
(not included)
To CD or AUX
terminals
Air blower for
camera lens
Lens
Lens
The anti-shock function works by reading audio data
and storing it in memory (up to 40 seconds worth). The
unit then fills in interruptions caused by bumps and vi-
brations with data from the memory. This unit also in-
corporates a powerful anti-shock mechanism that
prevents skipping caused when play speed is changed
by swinging of the unit.
Press during play or stop mode.
The following indicator appears on the display.
When bumps continue repeatedly
The following indicator appears on the display and
sound is interrupted.
To cancel the anti-shock function
Press [A.SHOCK, FM RECEPT,
%
CITY/NOR] again.
Note!
≥The anti-shock setting can be changed during play,
but this may cause a slight interruption in the sound
because the disc’s rotational speed changes.
≥During anti-shock operation, the disc rotates at a high-
er rate than usual to collect extra audio data. This
could result in a slight increase in disc rotation noise.
Using the unit with an audio system
The anti-shock function uses digital signal compression
technology. It is recommended that the anti-shock func-
tion be canceled if the unit is connected to a home
audio system.
The letters such as A in the various illustrations refer to the descriptions in the “Location of Controls” section (See page 4.) .
E
A.SHOCK
FM RECEPT
%CITY/NOR
D
A.SHOCK
A.SHOCK
D
SORRY
Anti-Shock Function


