5
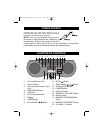
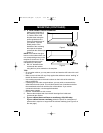
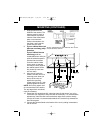
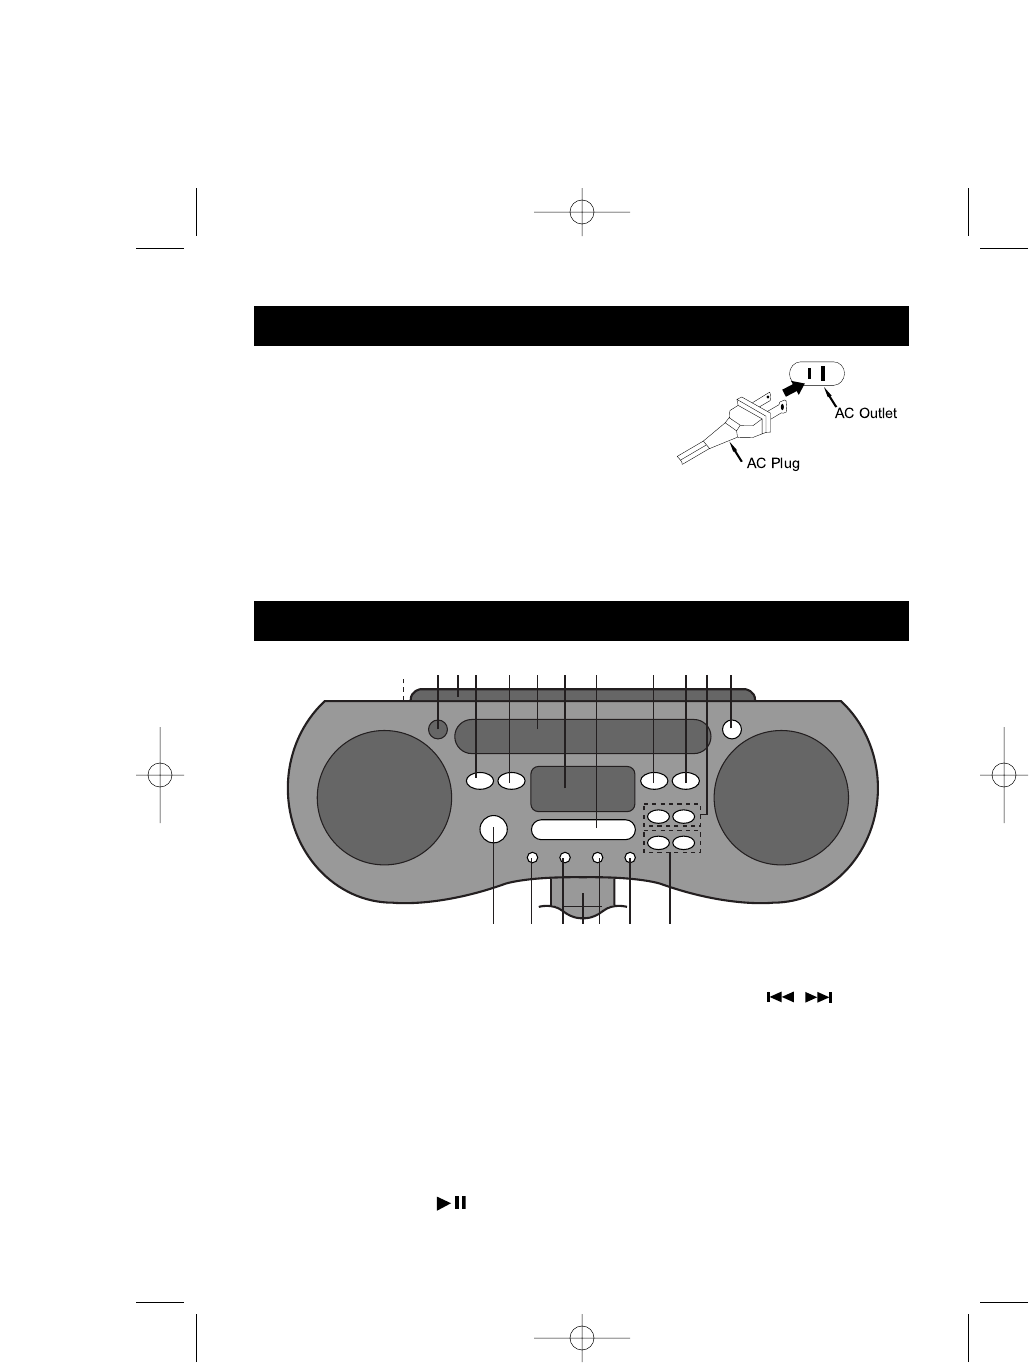
LOCATION OF CONTROLS
21 4 5 9 10 12113 6
13
14 151617 18 19
7 8
1. AC Cord (Rear of Unit)
2. Remote Sensor
3. Mounting Screw Holes (Top of
Unit)
4. RADIO/BAND Button
5. CD Button
6. CD Compartment Door
7. Display
8. TIMER Button
9. PLAY/PAUSE ( ) Button
10. STOP (
■
) Button
11. SKIP/TUNING / Buttons
12. OPEN/CLOSE Button
13. POWER Button
14. DISPLAY Button
15. MEMORY/CLOCK SET Button
16. Remote Stand
17. MEMORY DOWN/RANDOM
Button
18. MEMORY UP/REPEAT Button
19. VOLUME +/– Buttons
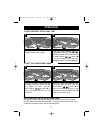
POWER SOURCE
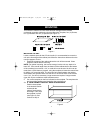
Unravel the AC cord and connect it to a
conveniently located AC outlet having 120V and
60Hz only. The Clock Display will blink.
NOTE: The AC plug supplied with the unit is
polarized to help minimize the possibility of
electric shock. If the AC plug does not fit into a
nonpolarized AC outlet, do not file or cut the wide blade. It is the user’s
responsibility to have an electrician replace the obsolete outlet.
MMG-CR3810.OM.QXD 7/15/02 7:09 AM Page 5


