14
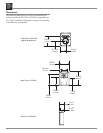
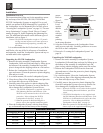
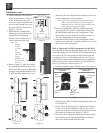
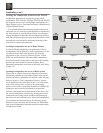
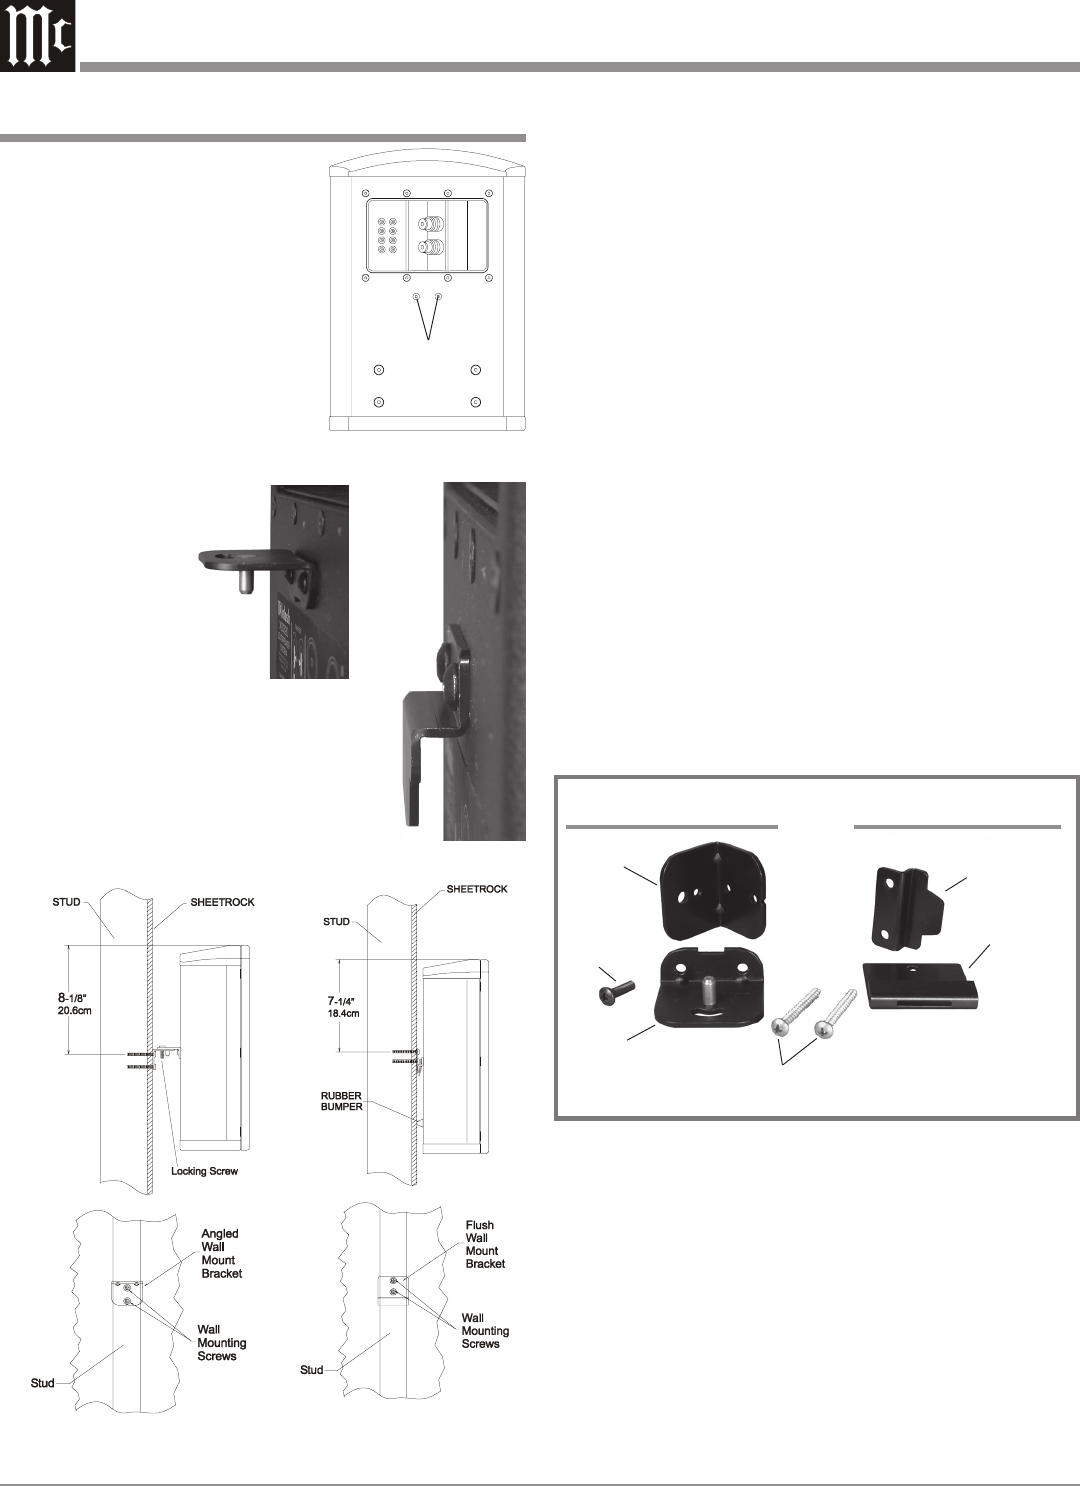
Figure 15
Figure 16
Installation, con’t
2. Attach either the flush mount or
angle mount bracket to the rear
of the Loudspeaker using the
two screws (just removed in the
previous step), being sure to ori-
ent the bracket as illustrated in
figures 15 and 16.
3. Determine the Loudspeaker
Mounting Location on the wall,
making sure the Mounting
Bracket will be anchored to a
stud located inside the wall.
Note: Use
extreme
caution
to avoid
any
existing
electrical
wiring,
plumbing, etc.,
located inside
the wall.
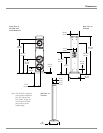
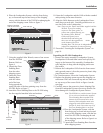
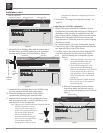
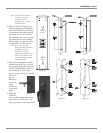
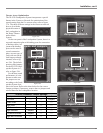
4. Refer to figures 17 and 18 to install
the appropriate Wall Bracket on the
wall (orient the bracket as illustrated)
using the supplied Mounting Screws.
If the Flush Mount Bracket is used,
Remove
Screws
Figure 14
attach the two cone shaped rubber bumpers to the rear
of the Loudspeaker, near the bottom.
Note: If the wall covering material and/or thickness is
different from the illustration, the two supplied
Mounting Screws need to be replaced with screws
of the appropriate type and length.
5.Orient the Loudspeaker with the rounded end at the
Top, carefully line up the Loudspeaker Bracket with
the Wall Bracket and lower the Loudspeaker. If the
angle mount is used, install the Locking Screw to se-
cure the Loudspeaker at the desired angle.
6. Align the Grille fasteners to the Loudspeaker Grom-
mets (two on each side). Carefully push down to secure
the Grille to the Loudspeaker.
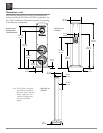
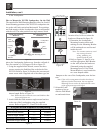
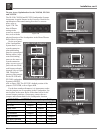
How to Mount the XLS340 Loudspeaker On the Wall
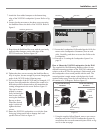
The supplied On Wall Mounting Brackets allow for two dif-
ferent mounting positions of the XLS340 Loudspeaker rela-
tive to the wall. The first position is flush mount, with the
Loudspeaker close to and parallel with the wall. The sec-
ond position is angle mount, which places the Loudspeaker
further away from the wall and allows for horizontal rota-
tion of ± 30 Degrees. Refer to figure 19.
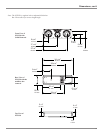
1. Using the supplied Allen Wrench, remove four screws
from the rear of the XLS340 Loudspeaker System. Re-
fer to figure 20.
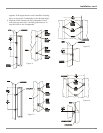
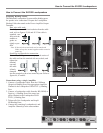
2. Attach either the flush mount or angle mount brackets
to the rear of the Loudspeaker using the four screws
(just removed in the previous step), being sure to orient
the bracket as illustrated in figures 21 and 22.
3. Determine the Loudspeaker Mounting Location on the
wall, making sure the Mounting Brackets will be an-
chored to a stud located inside the wall.
Wall
Bracket
Loudspeaker
Bracket
Locking
Screw
Wall Mounting
Screws
Wall
Bracket
Loudspeaker
Bracket
Angled Wall Mounting
Hardware
Flush Wall Mounting
Hardware
Figure 19
Figure 17
Figure 18


