


GB
P.18
GB
P.19
Maintenance and Care Instructions
A. Extreme temperatures, vibration, and shock should be avoided to prevent damage to the units.
B. Clean displays and units with a soft, damp cloth. Do not use solvents or scouring agents; they
may mark the displays and casings.
C. Do not submerge in water.
D. Immediately remove all low powered batteries to avoid leakage and damage.
E. Opening the casings invalidates the warranty. Do not try to repair the unit. Contact La Crosse
Technology for repairs.
TROUBLESHOOTING
Problem : The LCD is faint.
Solution : 1) Set the LCD contrast to a higher level.
2) Replace batteries.
Problem : No outdoor temperature/humidity is displayed.
Solution : 1) Remove all batteries, reinsert into the remote thermo/hygro sensor first, then into the
indoor weather station.
2) Place remote thermo/hygro sensor closer to the indoor weather station.
3) Be sure all batteries are fresh.
4) No other interfering sources are being used (such as computer monitors, TV sets,
headphones, or speakers) in the vicinity. The signal travels in a straight line, an electrical
source near that "line" may cause interference.
Problem : Temperature, humidity, or air pressure is incorrect.
Solution : 1) Check/Replace batteries.
2) If multiple remote sensors are in use, check location with corresponding "boxed
numbers."
3) Move away from sources of heat/cold.
4) Adjust relative air pressure to a value from a reliable source (TV radio, etc.).
5) The indoor weather station and remote sensors are calibrated at the factory. If there is
a consistent problem, please call La Crosse Technology.
Problem : "- -" in humidity display.
Solution : 1) Humidity is below 1% or above 99%.
2) TX3U or TX3UP is used for remote temperature.
Problem : WWVB time and date will not set or update
Solution : 1) Wait until overnight for signal to be received
2) Move indoor weather station away from sources of electricity
3) Place indoor weather station in window facing Colorado
4) The first reception is most difficult, as the indoor weather station needs five continual
minutes of clear signal reception. After the initial time/date set, the indoor weather
station only requires one full minute of clear reception each night.
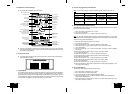
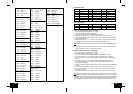
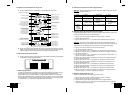
SPECIFICATIONS
Radio-controlled Time Signal WWVB, 60 kHz from Ft. Collins, CO
Indoor weather station recommended
operating temperature 32˚F to 122˚F (0˚C to 50˚C)
LCD contrast 8 levels (1-8)
Sunrise/set, Moonrise/set, and moon phase
dates available January 1, 2000 through December 31, 2099
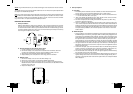
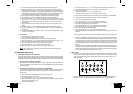
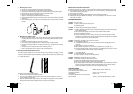
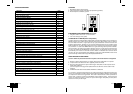
REMOTE
THERMO-SENSOR
433 MHz
REMOTE
THERMO-SENSOR
433 MHz
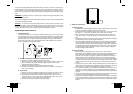
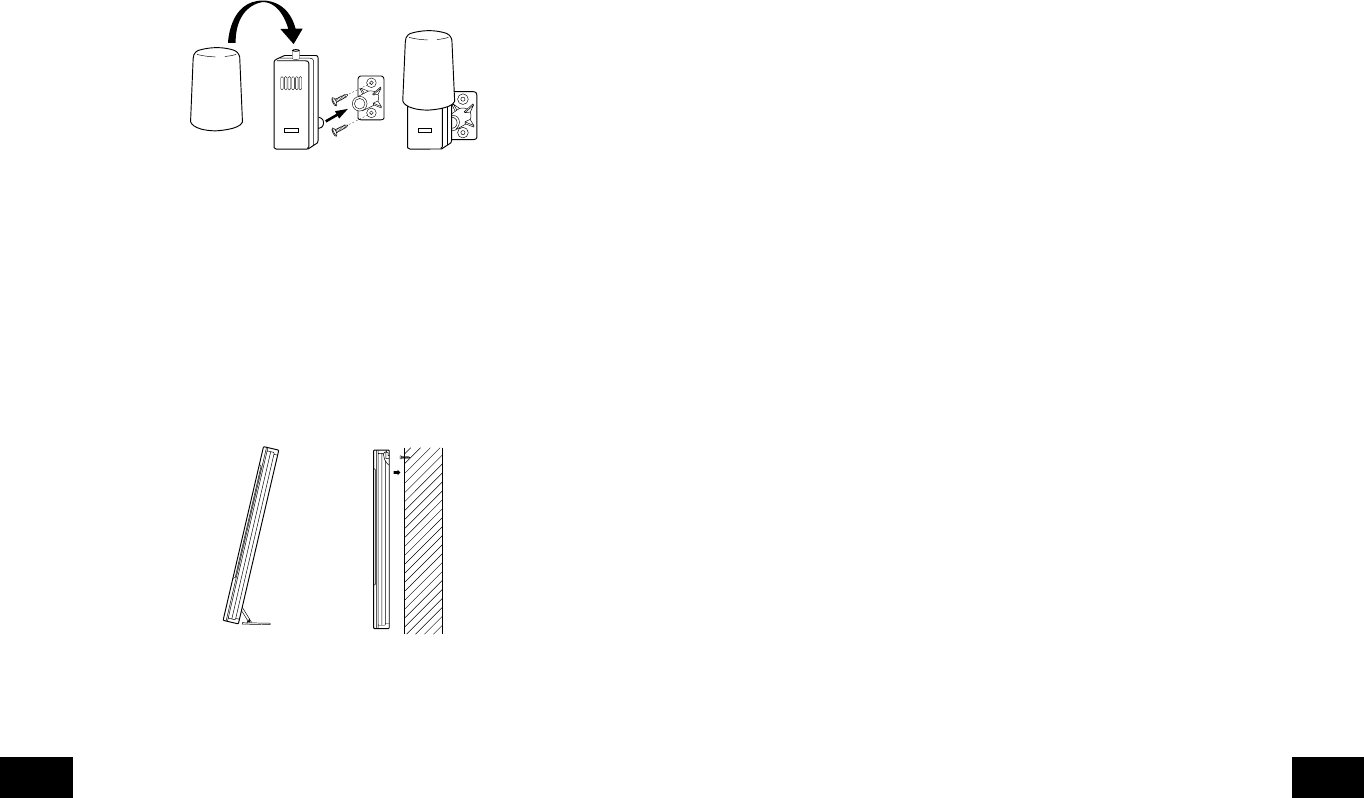
1. Mounting with screws
a. Remove the mounting bracket/receptor from the packaging.
b. Place the mounting bracket over the desired mounting surface.
c. Through the 2 screw holes of the bracket, mark the mounting surface with a pencil.
d. Where marked, start the screw holes using the provided screws.
e. Remove screws from the mounting surface.
f. Align the mounting bracket with the started screw holes.
g. Screw mounting bracket onto the mounting surface. The screws should be flush with
the bracket.
h. Fit the mounting post (on the back of the transmitter) into the receptor of the mounting
bracket.
2. Mounting with Adhesive Tape
a. With a nonabrasive solution, clean and dry the back of the mounting bracket and the
mounting surface to ensure a secure hold. The mounting surface should be smooth
and flat.
b. Remove the protective strip from one side of the tape.
c. Press firmly onto the designated area on the back of the mounting bracket.
d. Remove the protective strip from the other side of the tape, and situate the mounting
bracket.
e. Firmly press the mounting bracket onto the mounting surface.
f. Fit the mounting post into the receptor of the mounting bracket.
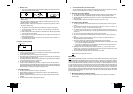
B. Mounting the WS-8025SU Weather Center
The indoor weather station can be mounted in two ways; free standing or hanging on a wall.
To have the indoor weather station free standing, simply unfold the stands on the back and set
on a stable flat surface.
To wall mount the indoor weather station;
1. Ensure that the integrated stands are folded in.
2. Fix a screw (not included) into the desired wall, leaving approximately 3/16 of an inch
(5mm) extended from the wall.
3. Place the indoor weather station onto the screw using the hanging hole on the backside.
Gently pull the indoor weather station down to lock the screw into place.