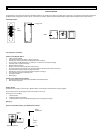
1. Slide open the battery cover of the transmiter as indicated above.
2. Checking the correct polarization, insert the 2 x AAA, IEC LR3, 1.5V batteries into the battery compartment.
3. Replace the cover while ensure the batteries do not spring free from the contacts as this may cause transmission start up problems.
4. Within 2 minutes of step 3, flip open the front cover of the Weather Station from slot at the base of the unit.
5. Carefully lift off the front cover using both hands from the top and base of the cover to reval two battery compartments and two function keys (“SET“ and“+“ keys) as
indicated above.
6. Checking the correct polarization, insert 1 x AA, IEC LR6, 1.5V battery into each of the 2 battery compartments.
7. Replace the front cover while ensuring that the batteries do not spring free from the contacts as this may cause transmission start up problems (should this happen see
Resetting below)
8. Your Weather Station is now operational.
Note: For securing the product into place, please see “Positioning the Temperature Transmitter“ and “Positioning the Weather Station“ below.
When setting up, always remember to insert the batteries into the transmitter first as this will start the 433MHz transmission signal for the Weather Station to pick when it is
actived (always ensure batteries being used are new and of correct sizes).
Setting up
Going into Setting up, the display will run through the following sequence modes:
•
LCD contrast
•
Time setting unit (hour followed by minutes)
•
Relative air pressure setting
•
Weather sensiyivity setting
LCD contrast setting
There are 8 different LCD contrast tones to suit the hanging level of the Weather Sation (default at Level 5). Simply hang the Weather station in the desired place and adjust
the contrast level so that the LCD digits are sharp and clear from that particular level.
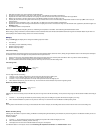
1. Flip open the front cover of the Weather Station from the slot at the base of the unit and then press and hold the “SET“ key until the “LCD5“ start flashing.
2. Press the “+“ key to select and go through each of the 8 different contrast tones
3. Once the desired contrast tone is selected, press the “SET“ key once to move to the time setting mode.
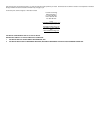
Time setting mode
The hour digits will now start flashing.
1. Using the “+“ key, sety the required time in hours. Each press will increase the digits by one.
2. Once the hours are selected, press the “SET“ key to move into the minutes mode.
3. Press the “+“ key to set the required time in minutes. Each press will increase the digits by one.
4. When the time has been set, press the “SET“ key. The LCD will now enter the Relative Air pressure inHg setting mode.
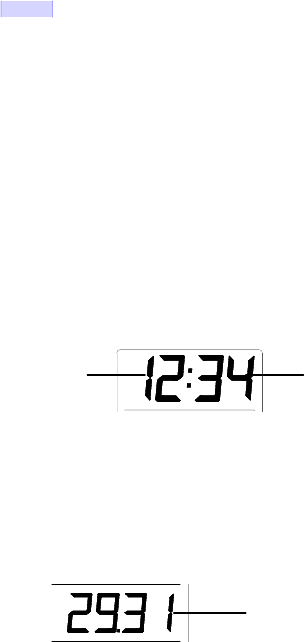
Relative air pressure (inHg) setting
Following from the manual setting mode, the Relative air pressure inHg on the LCD will start flashing. The air pressure inHg range can be set between 28.60 to 30.45 inHg as
follow:
1. Press the “+“ key to change the Relative air pressure setting. Each press or holding the key down will increase the digits by 0.01 inHg.
2. When the desired Relative air pressure is set, press the “SET“ key. The LCD will now enter the Weather sensitivity setting mode.
Note:
The inHg feature is beneficial for user living at various altitudes who want for example, to set readings base at sea level and not from their current surrounding area.
Weather sensitivity setting
Following from the Relative air pressure setting, the Weather sensitivity setting will start flashing in the Relative air pressure inHg section. The Weather sensitivity can be set
between the range of
2-4 hPa as follows:
1. Press the “+“ key to select the hPa. Each press or holding the key down will increase the digit by one hPa.
2. When the desired hPa is selected, press the “SET“ key.
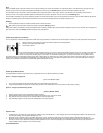
3. Now replace the front cover of the Weather Station and hang the unit into place.
Your Weather Station is now fully set. Please read “Positioning the temperature transmitter“ and “Weather Station“ below.
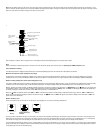
Set key
Hour setting
(flashing)
Minutes setting
(flashing)
Relative air pressure
(flashing)