


8
English
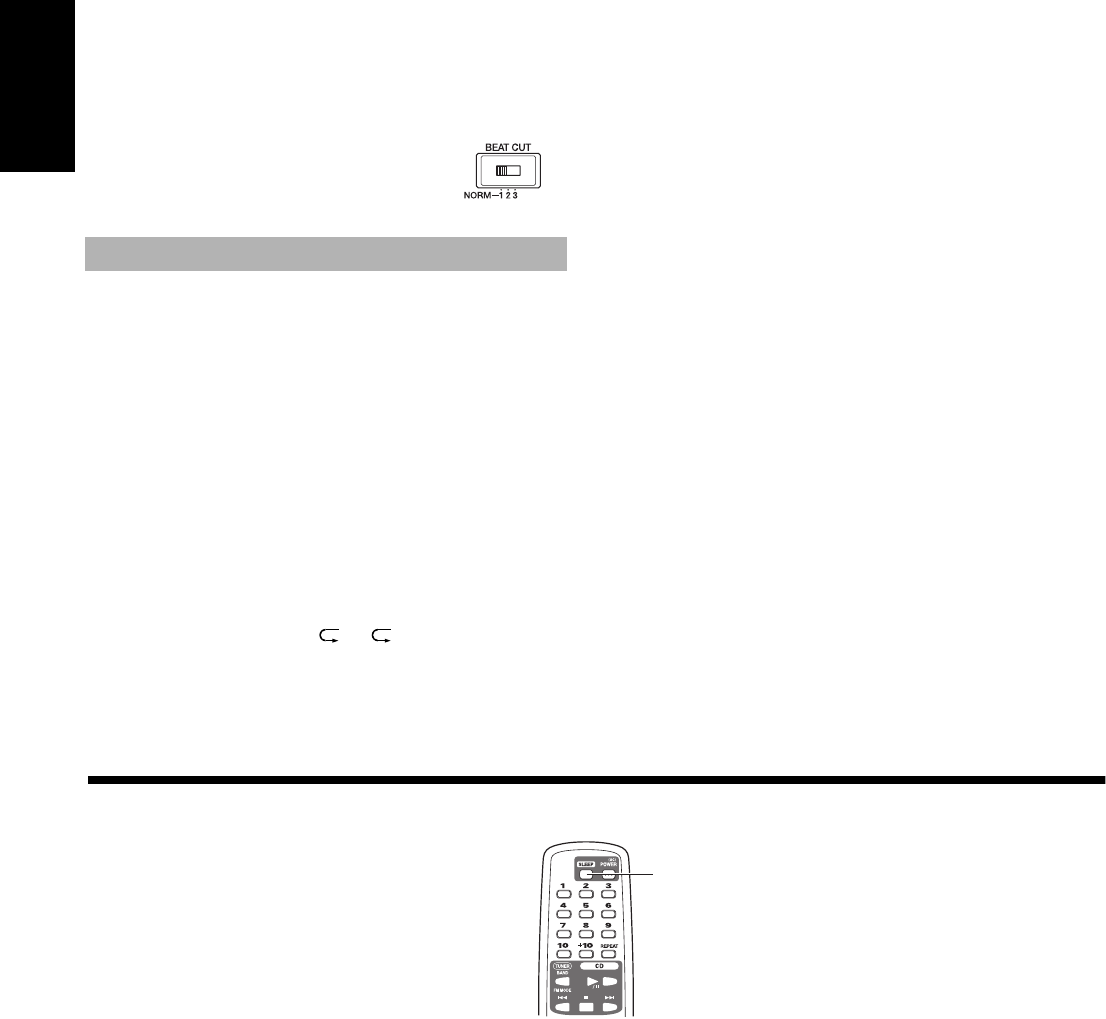
Recording an AM station (BEAT CUT)
When recording an AM broadcast, beats may be produced which
are not heard when listening to the broadcast. If this happens, you
can use the BEAT CUT function.
Switch the BEAT CUT switch on
the back of the Unit from the
NORM-1 to 2 or 3.
Note: In regular use, the BEAT CUT switch
should be set to the NORM-1 position.
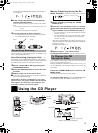
The CD Player can be started with the Cassette Deck for synchro-
nous recording and everything on the CD recorded onto the tape in
the order it is on the CD.
■
1. Insert a cassette tape in the Cassette
Deck and wind past the leader tape.
■
2. Load a CD.
■
3. Press the CD
6
button.
■
4. Press the
7
button to stop the CD.
• You can check the number of tracks and the total playback time
of the CD on the display. (See page 6.)
■
5. Select the Repeat mode of the CD if
desired.
To select the Repeat mode ( or ALL), press the RE-
PEAT button on the Remote Control.
■
6. Choose whether to have approx. four sec-
onds of blank tape between tracks.
If you want the blank section, skip this step.
If you do not want the blank section, perform the follow-
ing operation on the CD Player.
• Press the CD
6
button twice.
■
7. Press the
¶
REC button on the Unit.
The PLAY button is pressed at the same time, the “REC” indi-
cator lights up, and the synchronous recording begins.
• The tape is recorded and then stops when it reaches the end.
• To continue recording to the other side of the tape, perform the
following steps.
1. Reverse the cassette tape and wind past the leader tape.
2. Press the CD
6
button and then press the
¶
REC button.
Then, the synchronous recording begins from the beginning of the
last track that was stopped at the end of the first side of the tape.
To stop recording, press the
§
STOP/EJECT button.
To remove the tape, stop the tape, and press the
§
STOP/
EJECT button again to open the cassette holder.
Notes:
• If the CD reaches its end before the tape, the tape will continue
to run until stopped. Press
§
STOP/EJECT button to stop
the tape.
• During synchronous recording, the CD
6
,
4
, and
¢
buttons for the CD Player do not function.
• If you press the
¶
REC button during play the CD, recording
will start from the beginning of the track being played.
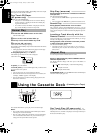
Recording from the CD
■■
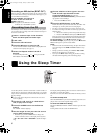
Using the Sleep Timer
SLEEP
Use the Sleep Timer to turn the Unit off after a certain number of
minutes when it is playing. By setting the Sleep Timer, you can fall
asleep to music and know that your Unit will turn off by itself rather
than play all night.
■
You can only set the Sleep Timer when the Unit is on and a
source is playing.
■
1. Play back a CD, tune in to a desired sta-
tion, or play back a tape.
■
2. Press the SLEEP button on the Remote
Control.
The “SLEEP” indicator lights up.
■
3. Set the length of time you want the source
to play before shutting off.
• Each time you press the SLEEP button, it changes the
number of minutes shown on the display in this sequence:
=
30
=
60
=
90
=
120
=
Cancelled
=
(back to the begin-
ning)
The display will stop blinking after 5 seconds and return to the dis-
play before you set the Sleep Timer.
The Unit is now set to turn off after the number of minutes you have
set.
To Confirm the Sleep Time
When the SLEEP button is pressed, the remaining sleep time is dis-
played. After 5 seconds the original display returns.
To Cancel the SLEEP Timer Setting
Press the SLEEP button until the “SLEEP” indicator goes off on the
display.
Turning off the Unit also cancels the SLEEP Timer.
Rc-qn1(J)-e.fm Page 8 Thursday, January 13, 2000 4:32 PM