


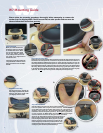

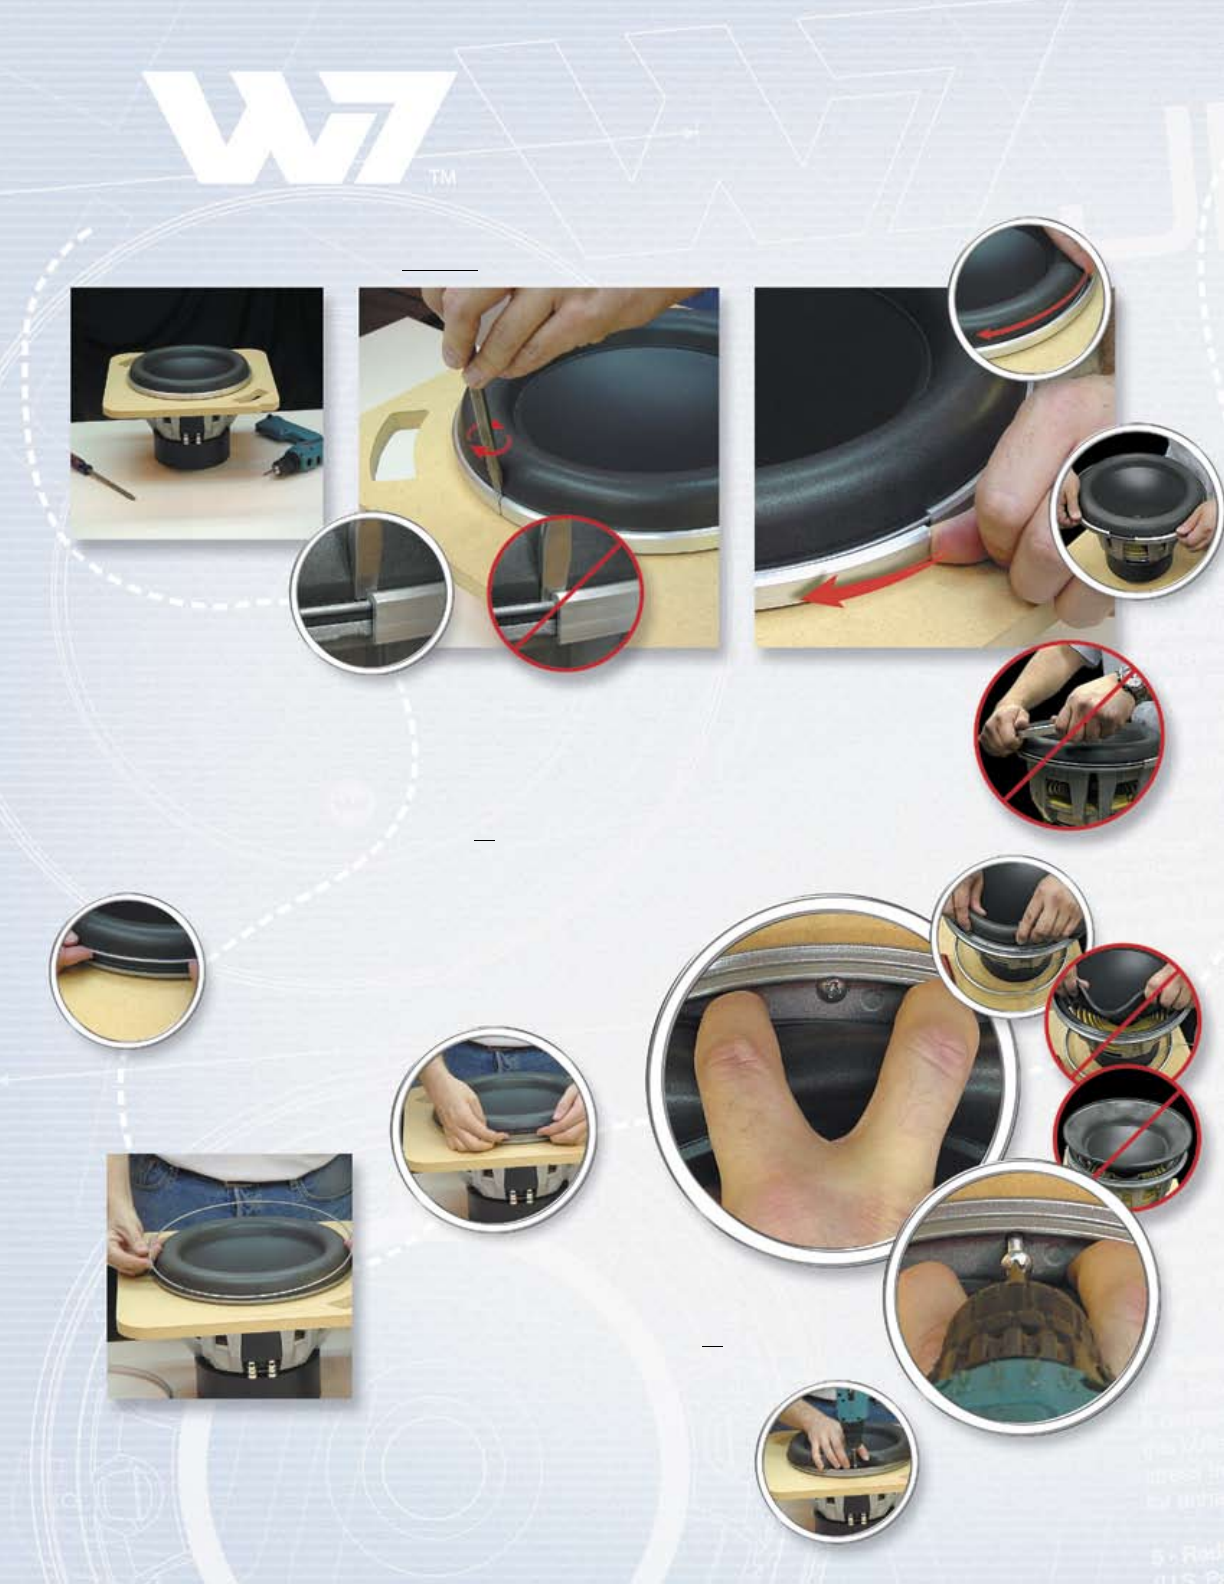
Step 2: Remove Clamp-Ring
Gently insert the tip of the large flat-head screwdriver between the shiny aluminum clamp-ring
and the foam surround (picture 2a). Be careful not to push the screwdriver too far down or it
will wedge behind the hidden O-Ring (picture 2b). Gently twist the screwdriver to “pop” the
clamp-ring off of the O-Ring and frame (picture 2c). This should require little effort... if you are
encountering high resistance, pull the screwdriver up a bit to make sure it is not wedged behind
the O-Ring. Once you have released the tip of the clamp-ring, a gentle push with your thumb
in the direction of the speaker circumference (picture 2d) will separate the clamp-ring fully
(picture 2f). Do not pull up on the ring until it is completely removed (picture 2g).
Please review the mounting procedures thoroughly before attempting to remove the
speaker from its shipping baffle. The W7 mounts like no other speaker and care must be
taken to follow these instructions precisely.
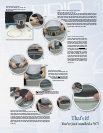
Step 3: Remove O-Ring
Once the clamp-ring is removed, the
steel O-Ring is exposed. Gently lift this
O-Ring up and off the speaker with
your fingertips and set it aside.
Step 4: Remove Screws
Once the O-Ring is out of the way, the surround is completely
free of the speaker frame (no glue is used to secure it). Lift the surround
up and fold it back inside the speaker frame (picture 4a). This exposes the
mounting screws (picture 4b). The surround should be folded back and in
towards the center of the speaker (picture 4c). Do not pull it up (picture 4d)
or invert it (picture 4e). While holding the surround back with two fingers
as shown, back the first screw out using your electric screwdriver
(picture 4f, 4g). Repeat this process eleven more times (there are
twelve screws on a W7) until you have separated the speaker
from the shipping baffle-board. Before you panic, be aware
that the surround and cone materials are rugged and will
not be damaged if you follow the procedures shown. Only
careless acts like picking the speaker up by the surround or
creasing it by force will cause permanent damage.
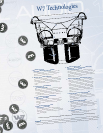
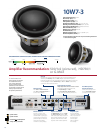
Step 1: Your Tools
When you remove the W7 from
its shipping carton, it is attached
to an MDF baffle board. Make
sure you keep this baffle board
and all the packing material
in the unlikely event that the W7
ever needs to be shipped back to
JL Audio for service.
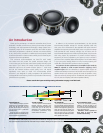
Two tools are required to install a W7:
a large flat blade screwdriver and an
electric screwdriver with a #2 Phillips-
head bit.
1
2a 2b
2c
2d
2e
2f
2g
3a
3b
4a
4b
4f
4g
4c
4d
4e
Wrong
Correct
Wrong
Correct
Wrong
Wrong
W7 Mounting Guide
4