12
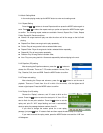
6.2.1 Press & hold the or buttons to start auto scanning within
the FM frequency band (87-108MHz);
6.2.2 When a strong station is received the tuning will stop and broadcast will be heard;
6.2.3 Press the MODE button and then select SAVE to store this station to the preset as
Channel 1;
6.2.4 You can save up to 20 stations. Retrieve a preset station by pressing the PLAY button.
6.3 Further Options
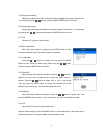
Press the Mode button and you will access the following options:
6.3.1 Save: Save the present station to a preset channel location, starting from location 01 up
to location 20.
6.3.2 Record: Record the content of present frequency/station, the display will switch to the
RECORD mode but you can still listen to the radio during the record process. The record
procedures remain unchanged, as mentioned in RECORD mode.
6.3.3 Delete
6.3.4 Delete All
6.3.5 Auto Search: It is as same as (5.2)
6.3.6 Normal Band: 87.0 to 108.0MHz (Commonly use in most countries)
6.3.7 Japan Band: 76.0 to 89.0MHz (use in Japan only)
6.3.8 Exit
7. Picture Browsing
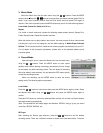
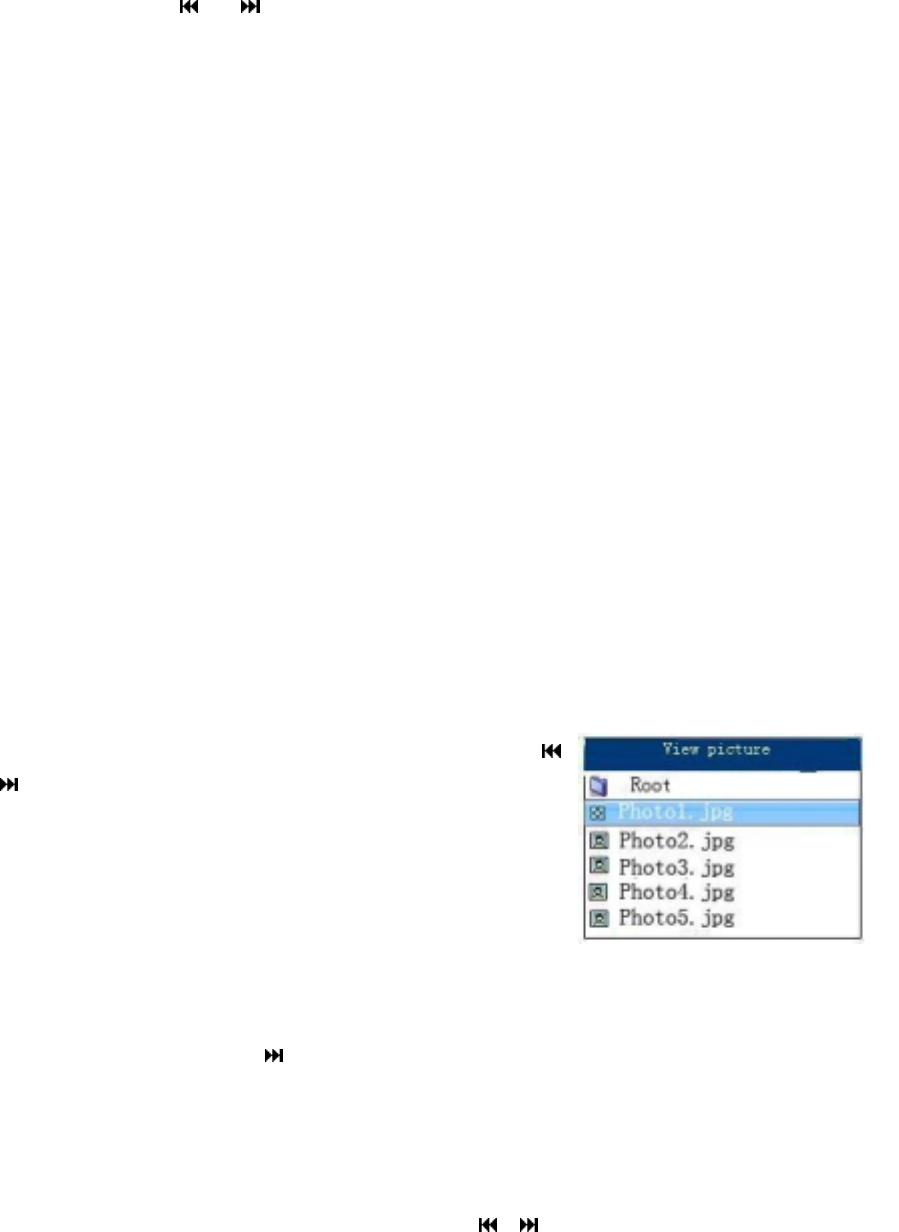
Select the “View Picture” icon from the main menu using the
/
buttons. Press the MODE button to enter. You can browse a
folder that contains pictures you have saved. Select a file and press
PLAY to view the picture. Pictures in JPEG, GIF and BMP format can
be viewed. From within the same folder, press the MODE button once,
and the following options will be available (similar to Music Mode).
Local folder; Delete file; Delete all; Exit and
Play Set:
When viewing a picture, press
to view the next photo, or choose Play Set from this
sub-menu to choose to play a set of pictures in a specific folder automatically or manually. You
need to set the viewing time (1-10s) for each picture if “Auto Play” is chosen.
8. System Setting
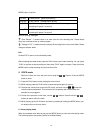
Select the “Sys Set” icon from the main menu using the / buttons. Press the MODE
button to enter.


